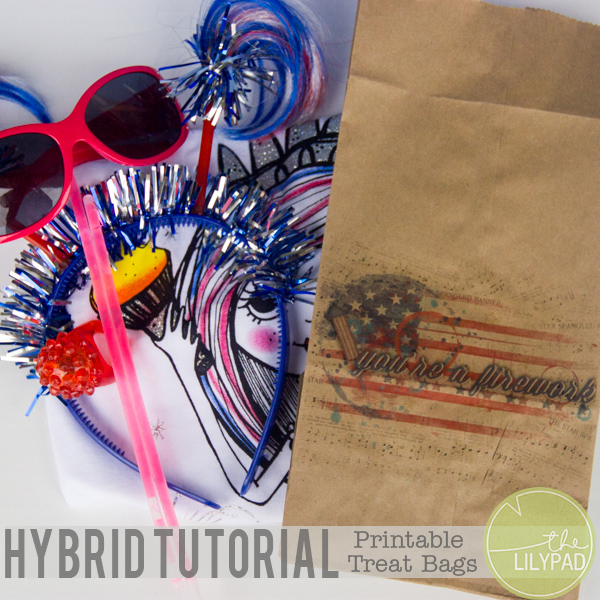
Hybrid Tutorial – Printable Treat Bags
Fourth of July is just around the corner! For those of us who are Americans this is a time we celebrate our patriotism for our country. I’ve always had a soft spot in my heart for this holiday because my grandpa was in the army during WWII. He was the type of man who cried when we sang patriotic songs or when the flag was presented at an event we were attending. When he was alive he loved to see me dress my kiddos up in red, white, and blue for the holiday. Even though my grandpa isn’t alive anymore I try and do things for the Fourth of July that I think would bring a smile to his face. This year I have a few little goodies to give my girls to help them enjoy some the activities we will be doing on the Fourth. I wanted to make something nice for their goodies to be wrapped in before they received them. I came up with the idea to create a printable treat bag for these goodies, and today I’m going to be showing you how to make your own!
*I understand not everyone is American, and a Fourth of July bag may not be applicable to you. However, I truly feel this tutorial can be adapted to be used for many other uses!*
Supplies Needed:
- Paper bag – non coated
- Life, Love and Liberty by Stolen Moments
- The Land of the Free by Laurie Ann
- Gelato Star Brushes by Just Jaimee
- Splatterific 8-paint clusters by Karrah Fredricks
- Goodies for the bag
- Printer
1. Measure your paper bag. Create a canvas in Photoshop the exact same size as your paper bag.
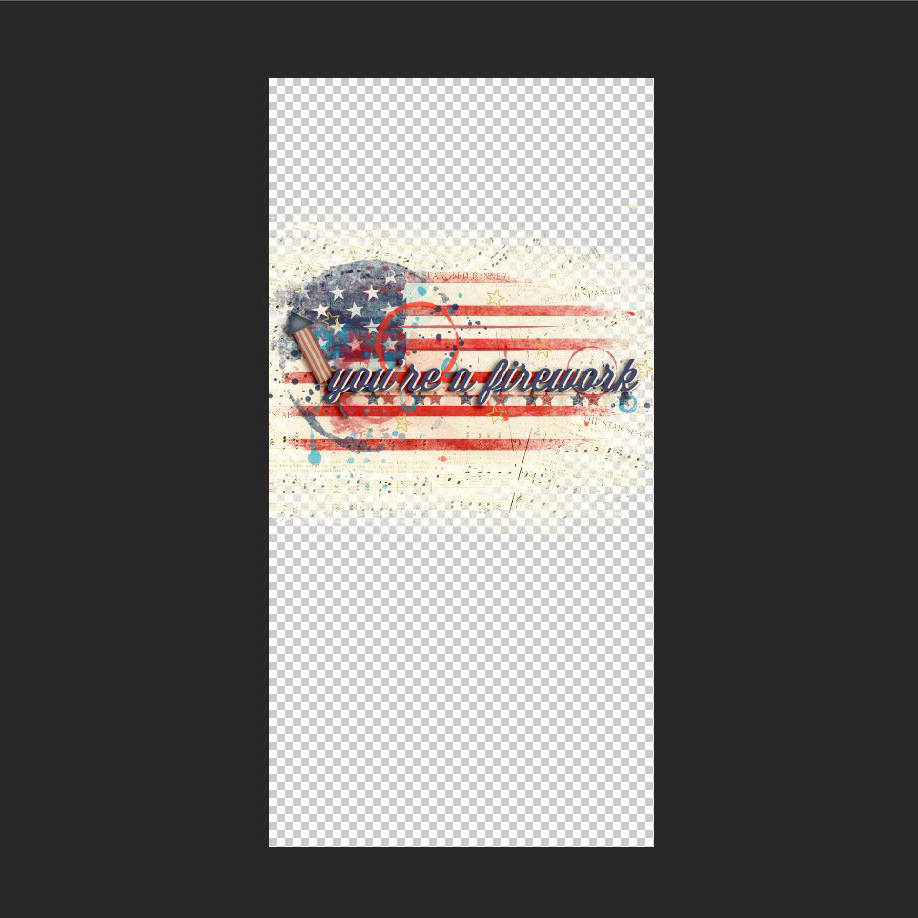
2. Using your digital supplies create a printable for you paper bag. A few things to note as you create this design:
- Shadows are not going to show up well if using a brown paper bag. Keep the shadows to a minimum!
- Printers don’t print white. If you want white to be part of your design you need to use a white paper bag.
- For best results keep your design in the middle of your bag. I felt mine looked best slightly above the middle of the bag.
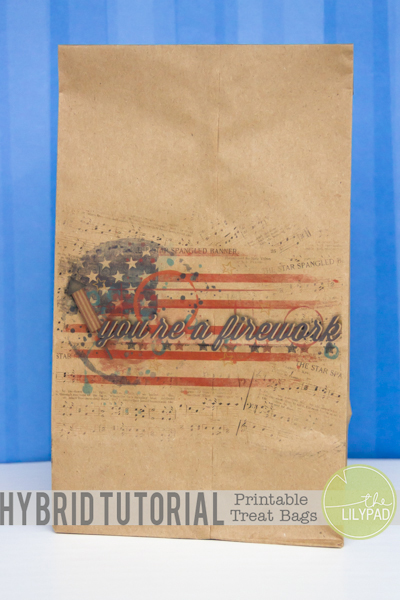
Here is what mine looked like:
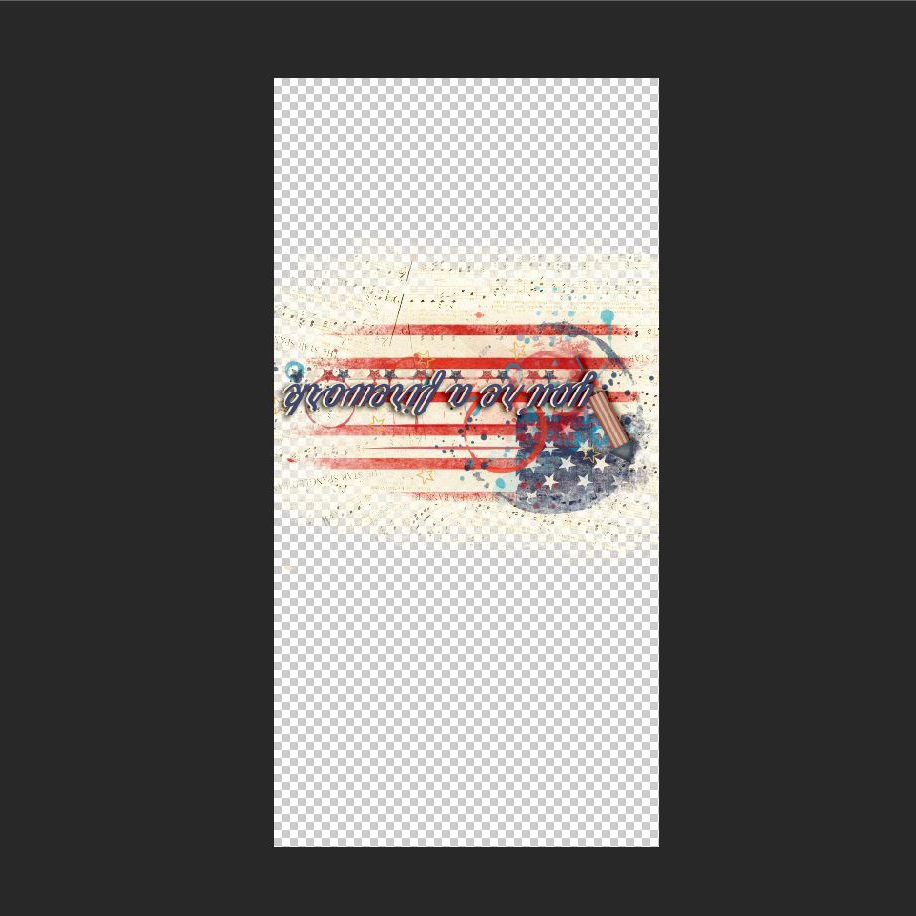
3. Select all layers of your design and flip them horizontally. When you print your bag this will allow the words to come out in the correct orientation.
4. Create a custom print setting within your print settings for the size of your paper bag. Below is an example of what my print settings looked like, and alos the path I followed to get to it. I named mine paper bag so that I can come back later and use this setting. All printers will be different so look around a bit until you find the custom print setting area.
Print —> Print settings—-> Features—–>Paper Size Options—-> Custom

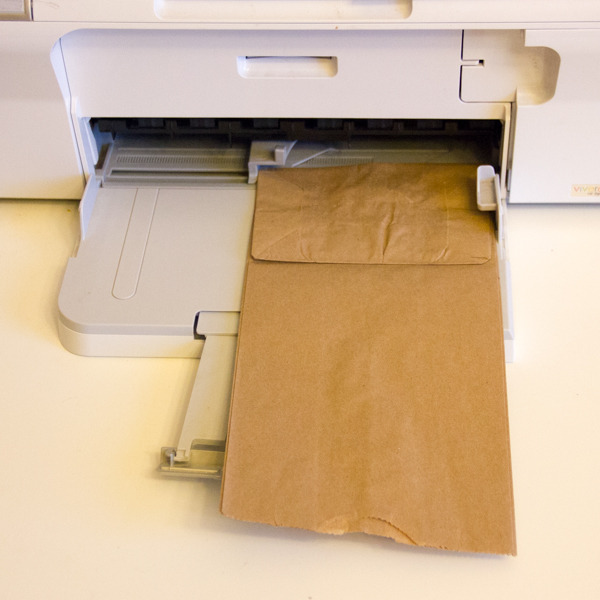
5. Place your paper bag in your printer with the thick side entering first and facing up.
6. Print! Allow to dry.
7. Fill with goodies and enjoy!
Each of my kiddos are going to receive a bag with a different design on it. This will allow them to know which bag is theirs. Later in the day I plan to refill these bags with treats for the firework she we attend every year. Snacks will portioned out and no complaining should occur with everyone having the same amount of treats! Ahhh, the little things that make life easier!
I hope you have enjoyed this tutorial and it inspires you to create some some treat bags. Please share any of your creations with us in TLP Gallery. We love to see what you make!


