Hybrid Tutorial — Perpetual Birthday Calendar
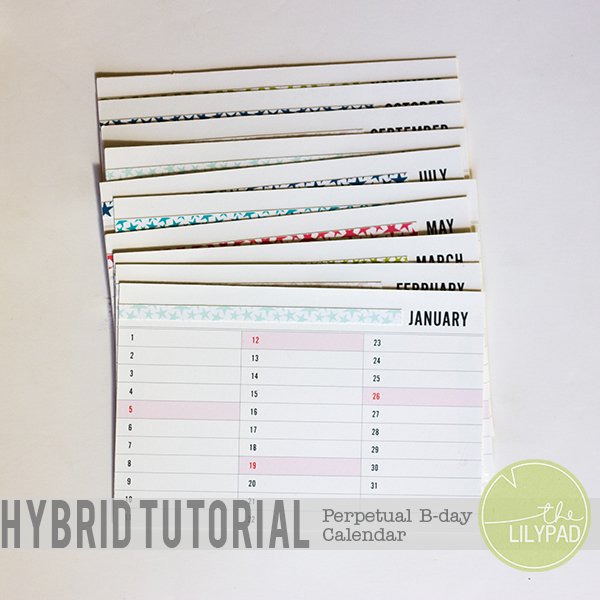
Hey all! How are you enjoying the festivities of TLP’s 7th birthday?! Are you enjoying some of the games, or shopping up a storm?! To keep with the birthday theme, I have a very simple hybrid tutorial for you today! My husband and I enjoy sending out birthday cards to our nieces and nephews. We have over 30+ of them! Up until now we have been keeping track of their birthdays on this ragged, crumpled, and ripped piece of paper. I got fed up with this piece of paper this week and decided to create myself a much nicer way to keep track of the birthdays. I decided to create a perpetual calendar! This is what my calendar looks like…
Lets get this tutorial under way!
Supplies Needed:
- 2014 Calendar Cards (4×6) by Lili Niclass
- Storyteller January 2014 Journal Cards Extra Patterns by Just Jaimee
- Presentation Paper
- Adhesive
- Cutting tool (Precision scissors, Silhouette, etc.)
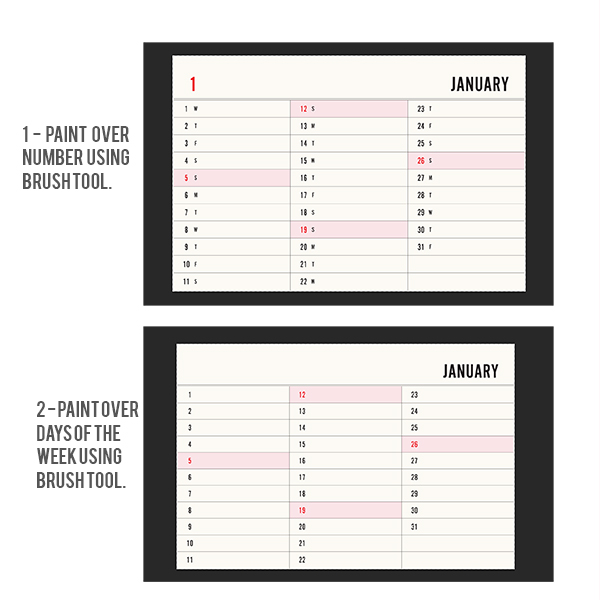
1. Begin by opening all 12 calendar cards in Photoshop. To make the calendar cards perpetual(ie able to use year to year) we need to do a bit of editing to them. First, using the eye dropper tool set your foreground color to the cream color of the calendar card. Using the brush tool paint over the large number in the left hand corner. Next proceed to paint over the days of the week using the brush tool. I found it easiest to go through all 12 cards and brush over the weekdays that are on the cream background. Then I went back and using the eyedropper tool set the foreground color to the pink color. I brushed over the rest of the weekdays on the calendar cards. Below is a before and after of this step.
2. Copy these calendar cards onto 8.5 x 11 documents. You should end up with six documents. Print. Cut out.
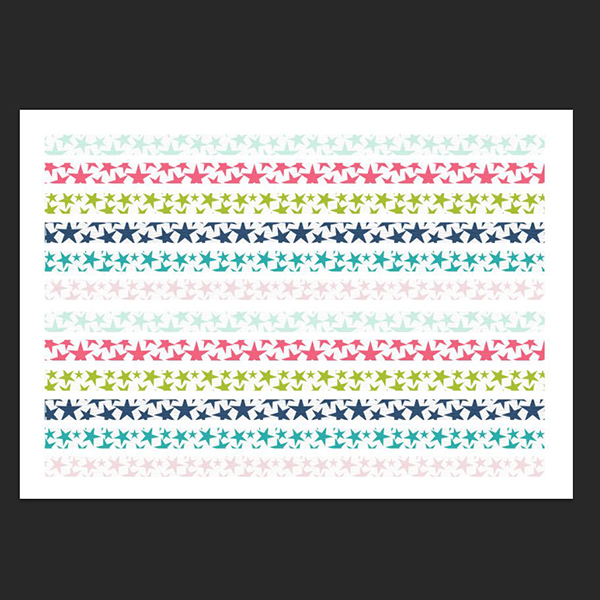
3. Create a new 8.5 x 11 document. Using the Storyteller paper pack create 12 strips of paper that are .25″ tall and 6″ wide. Print and cut.
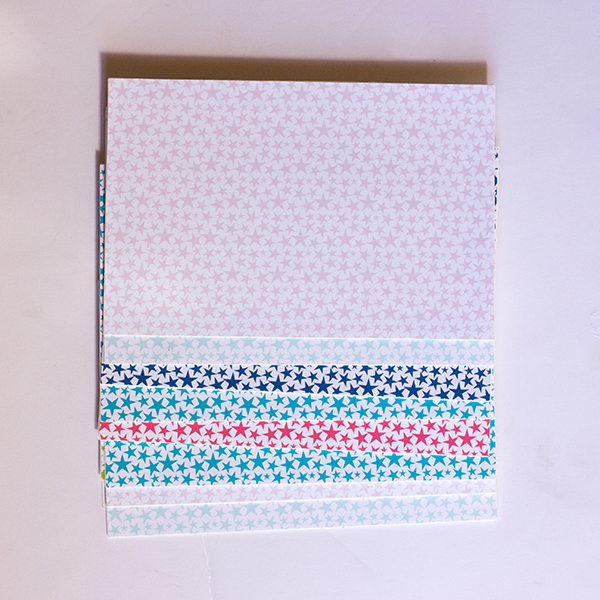
3. Using the Storyteller paper pack crop your desired papers to 4×6. Copy these papers onto 8.5 x 11 documents. You should end up with six documents again. Print. Cut out.
4. Adhere the calendar card and the 4×6 papers back to back. This way if you flip your calendar over you have a nice decorative back. If you would prefer to skip this step you could always adhere two calendar cards back to back.
5. Adhere your thin strips of paper to the front of the calendar cards. (Note: I used the same color on the front of my cards as I did on the back of my cards). You can either adhere it next to the month as I did, or you could adhere it across the top. The choice is yours! Get creative!
6. One optional step that you could do is to punch a hole of the corner of each card and use a binder ring to attach them all together.
You are finished with your perpetual birthday calendar! It is ready and waiting for you to add birthdays {or other important events} to it!
If you create your own perpetual birthday calender, be sure and post it in the LilyPad Hybrid Gallery. We love to see what our members create!


