How to Make Fall Flair
How to Make Fall Flair
Fall is certainly on my mind. I am longing for the cooler weather and all of the beautiful colors. Living in a warmer climate, it is sometimes necessary to create my own little bit of fall. Today we are going to use fall as the gorgeous backdrop for creating this DIY fall flair. I was inspired by the beautiful fall colors in The Lilypad Designer Collab, Capturing Fall.

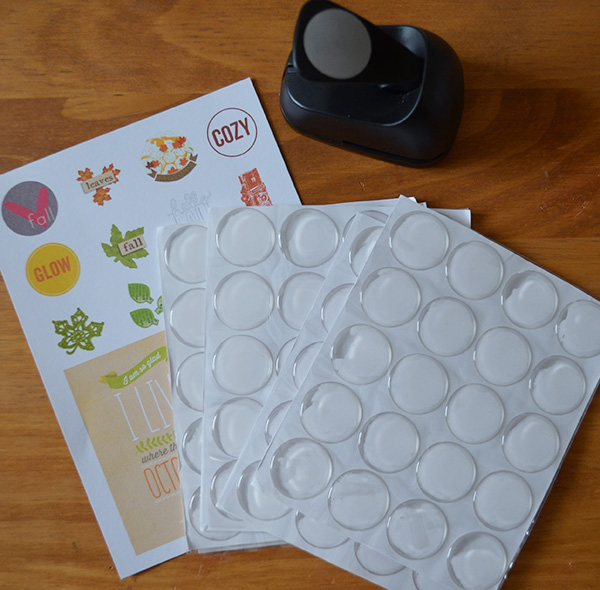
Supply List:
Cardstock, white
1″ circle punch
1″ epoxy stickers
Images (resized to 1″)
Printer
Scissors
——————————————————————————-
1. Visit The Lilypad, or your digital stash, to find images to print and resize to one inch. I used Capturing Fall, a Lilypad Collab.

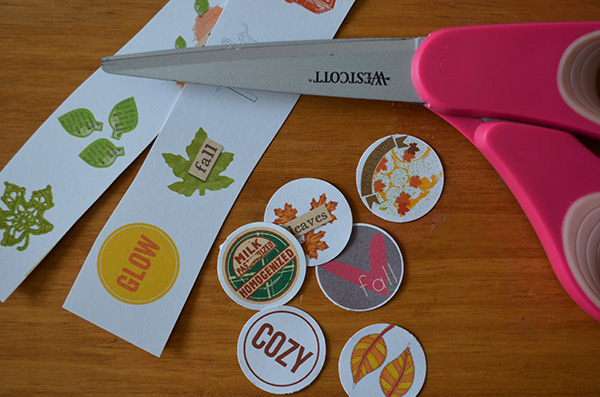
2. Print images on heavy cardstock.
3. Cut images into strips.
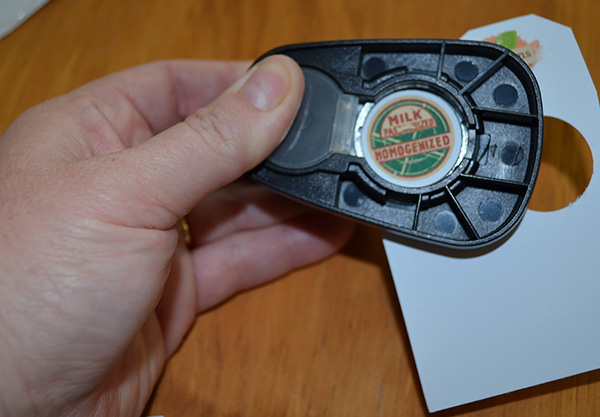
4. Use a 1″ circle punch to cut out all of the images. Tip: Turn the punch upside down so you can easily see where the image will be cut.
5. Peel the epoxy stickers from the sticker backing. Tip: Try to avoid touching the sticky back.
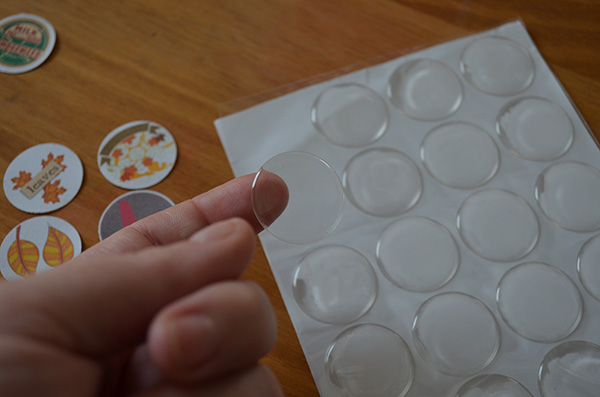
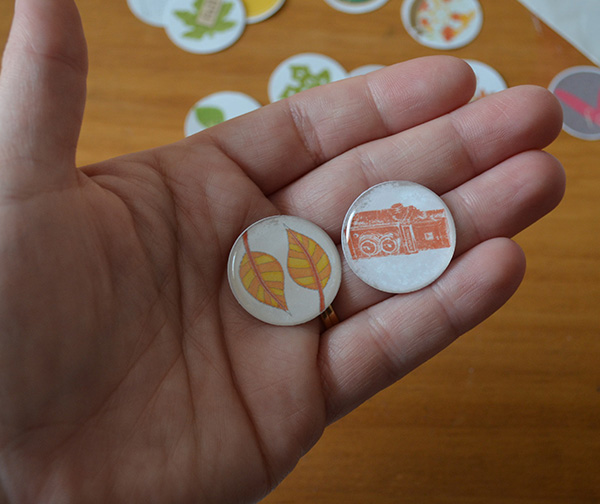
6. Place the epoxy sticker over the cutout image.

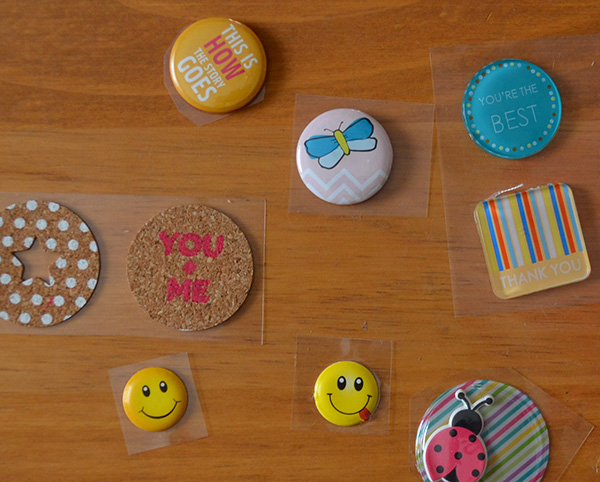
There is a wide variety of flair avaialable. They vary in size, shape, and material. This is just a handful of samples from my stash.
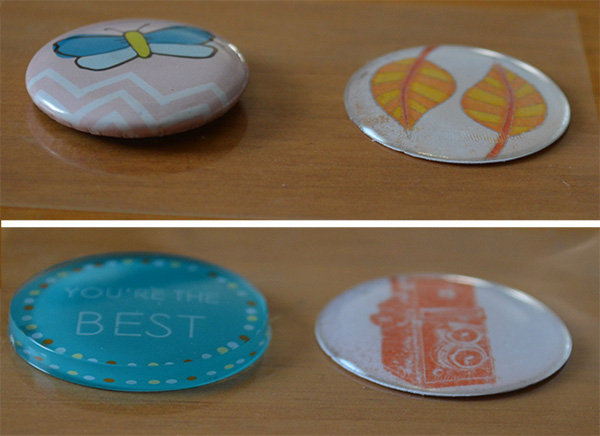
Below is a side by side comparison of the smaller DIY flair compared to a few other varieties. The DIY flair in both images is on the right. I like that the customized flair is thinner and lays flat in my planner or other project.
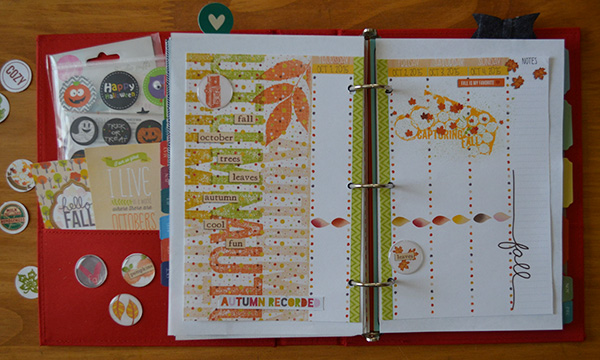
Here is the flair in my planner.
Note: I purchased the 1″ circle punch at a local craft store and the epoxy stickers were purchased from Amazon.


