Freezer Paper Stencils
Greetings, Happy Scrappers!
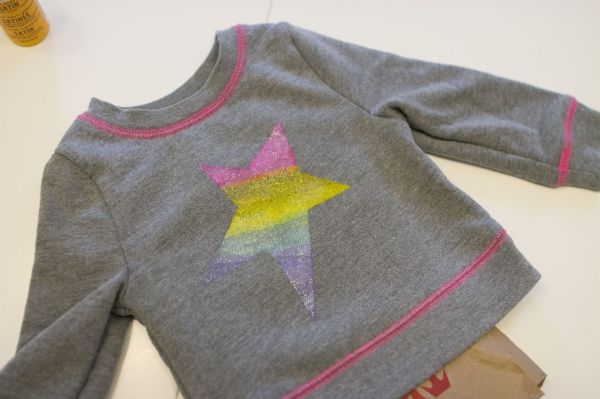
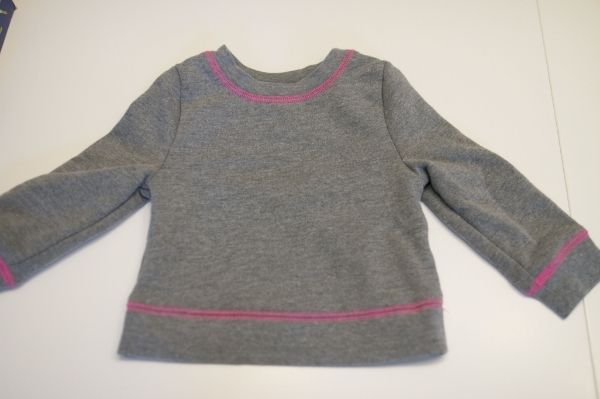
Polly Liana here, with a tutorial about using freezer paper to create stencils for painting designs on clothes. Have you ever longed for a “silkscreenish” painted design on one of your plain old shirts? Well now’s your chance! It’s quick and easy when you use freezer paper. My daughter had a cute gray sweatshirt with pink thread accents but it was just a little too plain. She asked me to add a rainbow star on the front.
Here’s how I did it:
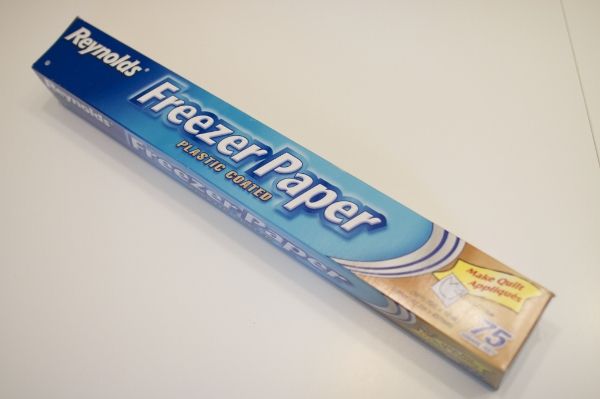
First, I got some freezer paper. It comes on a roll in the plastic wrap/aluminum foil aisle of most supermarkets. It’s like a combination of waxed paper and parchment paper. One side is plain and the other is coated with a thin layer of wax. The wax part is what adheres to the garment so the paint won’t soak through.
I ironed all the wrinkles out of the sweatshirt. Sweatshirts are great to use for your first freezer paper stencil because they’re a bit more forgiving and you don’t have as many issues with paint seeping through.
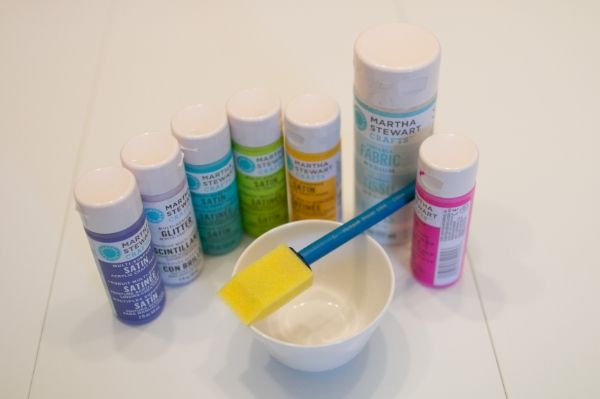
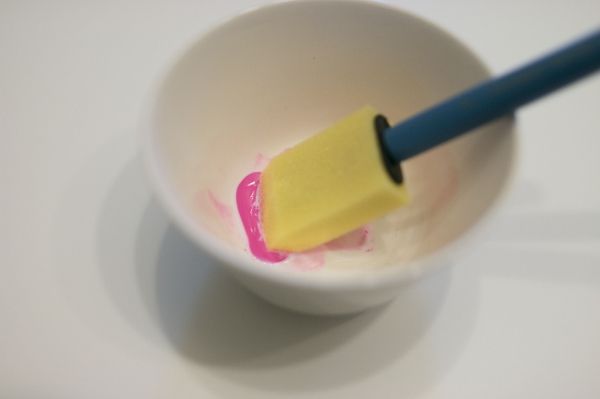
For this project, I used a bunch of Martha Stewart craft paints. I also used her fabric medium (the big bottle pictured here) to help stabilize the paints for washing. I got a small bowl and a sponge applicator.
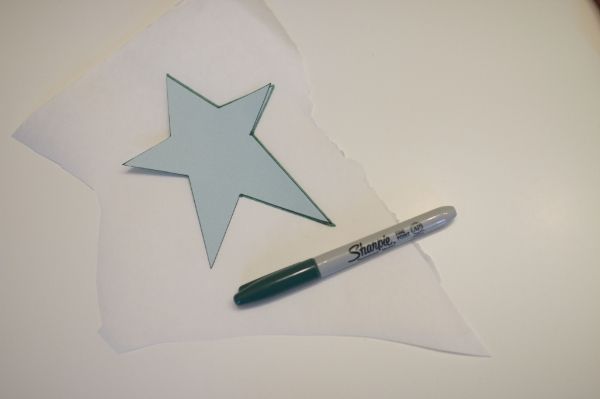
I printed out a star on card stock using my cricut. Then I traced it on to the plain side of a piece of freezer paper.
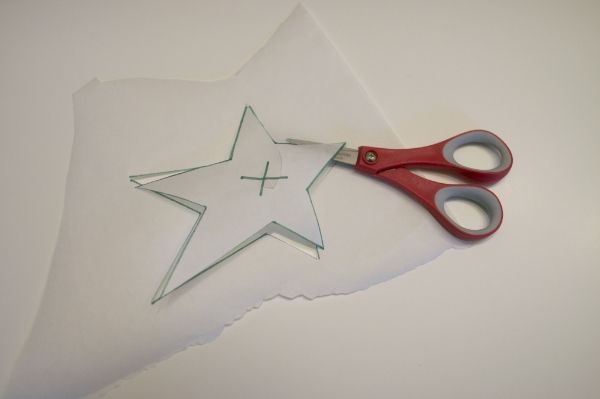
When preparing to cut the stencil, I always put an X on the inside of the shape because it’s easy to forget that you’re saving the outside of the stencil, not the inside. I make a small cut in the middle of the star and then cut out to the edge. You do not want to cut through the outside part of the stencil!
Then I trimmed down the paper a bit so it would fit easily on the front of the shirt. I positioned it where I wanted it to go with the wax side down.
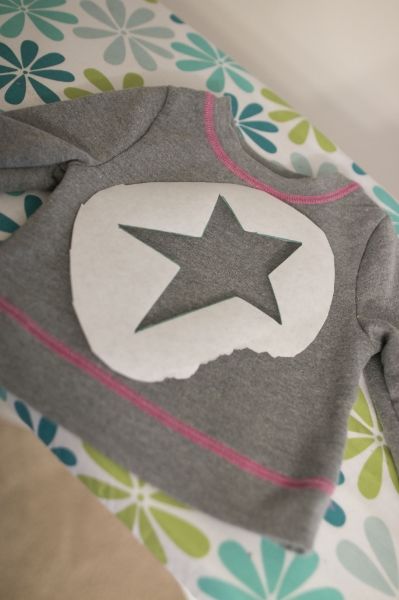
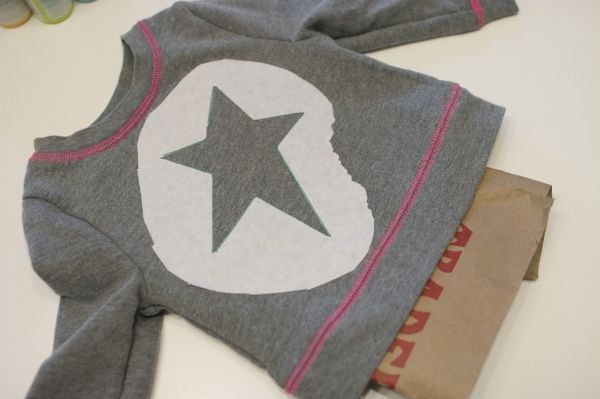
I then ironed it with a dry iron (no steam) at med-high temp, paying extra close attention to the corners and making sure the inside edges of the star were completely stuck to the fabric. This next part is important : I took part of a paper shopping bag and tucked it into the sweatshirt. This ensures that the paint will not soak through to the other side.
I mixed a small amount of paint with a small amount of medium in a bowl. You do not need lots of paint because the area you’re covering is not very large and you do not want to waste paint.
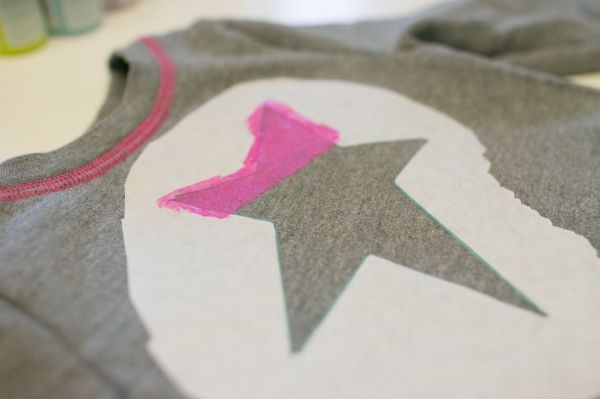
Next, I dabbed the paint in a diagonal line across the stencil. It’s fine if it gets on the stencil.
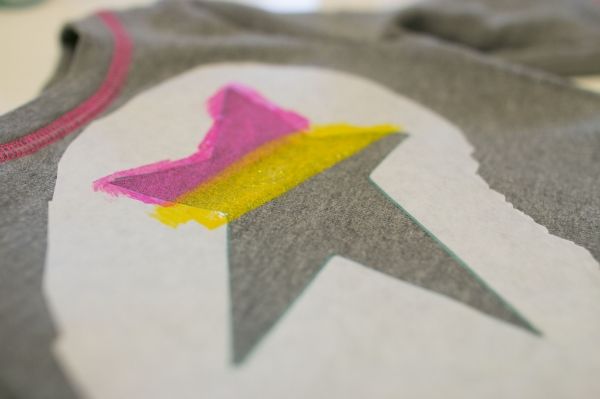
I repeated the process with yellow paint, overlapping a bit with the pink to make some orange.
After completing the rainbow colors and waiting for it to dry a bit, I dabbed on a thin layer of glitter paint.
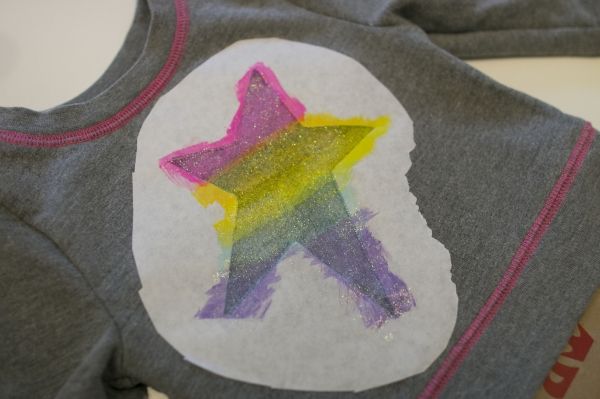
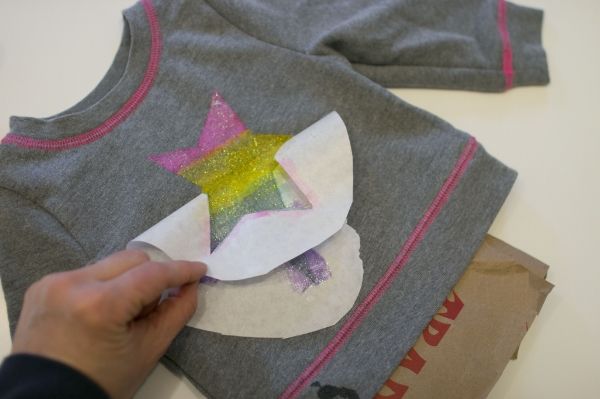
After waiting for the last layer to dry a bit, I carefully peeled the freezer paper back to reveal the finished star. When it had been dried completely, I heat sealed it by ironing it with a medium heat dry iron.
This sweatshirt has been washed several times now (inside out) and the paint hasn’t budged. This technique is a quick, easy, affordable way to personalize garments for you or for gifts. Give it a try on a rainy spring day!
Have a great weekend, scrappers!