Chalk Paint Tutorial

Greetings, Happy Scrappers!
Hope you’re having a lovely start to your weekend. Today, I’m going to show you how to use stencils and chalkboard paint. Even though I’ve been a kindergarten teacher for 20 years, I have to admit, my chalkboard skills are nothing to write home about. I wanted to add some fun chalkboard accents to my home but I didn’t want to be reminded of my less-than-stellar handwriting so I decided to use chalk paint. The paint I used is made by Martha Stewart (link here) and it cost about $8 in my local craft shop. In that shop, I also found a fantastic combo chalkboard- hanging twine board that I thought would be perfect to create an ever-changing photo gallery.

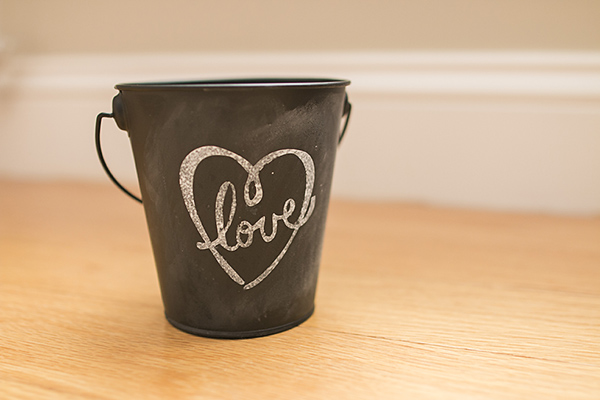
First, I printed some photos, surrounded by the fantastic frames created by our designers here at the Lilypad. I cut them out and hung them from the twine. I didn’t want to mess up the chalkboard with my first try so I decided to make an attempt on a cute chalkboard bucket I spotted at Target. It worked great, and I would recommend trying a small practice piece like this before heading into the more complicated pieces.
First, “season” the board by rubbing a standard piece of white chalk all over it.

Then, rub the chalk in lightly with your fingertips until the entire surface is evenly covered.

Print out the quote or picture you want on vinyl. I wanted a quote that complimented the photos so I chose my favorite quote by Albert Einstein “Rejoice with your family in the beautiful land of life!” “Weed” the vinyl to remove all extraneous pieces, remembering that you are making a stencil, so you’re removing the letters and keeping the background.

Mount your vinyl onto sticker transfer film so you can easily add it to your surface.

After your vinyl is mounted where you want it, carefully use the built-in dauber in the bottle to add a liberal amount of chalk paint to the inside of your stencil. There are three great things about this paint: It goes on with a sponge so it’s got that chalky “look” to it, it does not smudge once it’s dry and it comes off easily with a wet towel when you’re ready to remove it.

Let the chalk paint dry and peel off your stencil pieces.

To make the finished product look like an authentic chalkboard, use your fingertips to lightly smudge the outside edges where the vinyl left lines.

Finito! I loved the way it turned out.
Hope you have a lovely weekend and happy crafting!