6 Ways to Respect Privacy in Photos (+ a bonus one!)
With the ability to share photos digitally these days and issues surrounding permission and privacy that are laws in some countries and an issue of contention in others, for scrapbookers this can present a dilemma. With group photos and extended families (and even moody teens or less than enthusiastic participants!) adding some kind of blur or hiding faces entirely can enable use of the photo without issues sharing your page publicly in galleries. I asked some of the Pollys and Designers about their preferred method of obscuring faces when they don’t know someone, nor have their permission to post a photo.
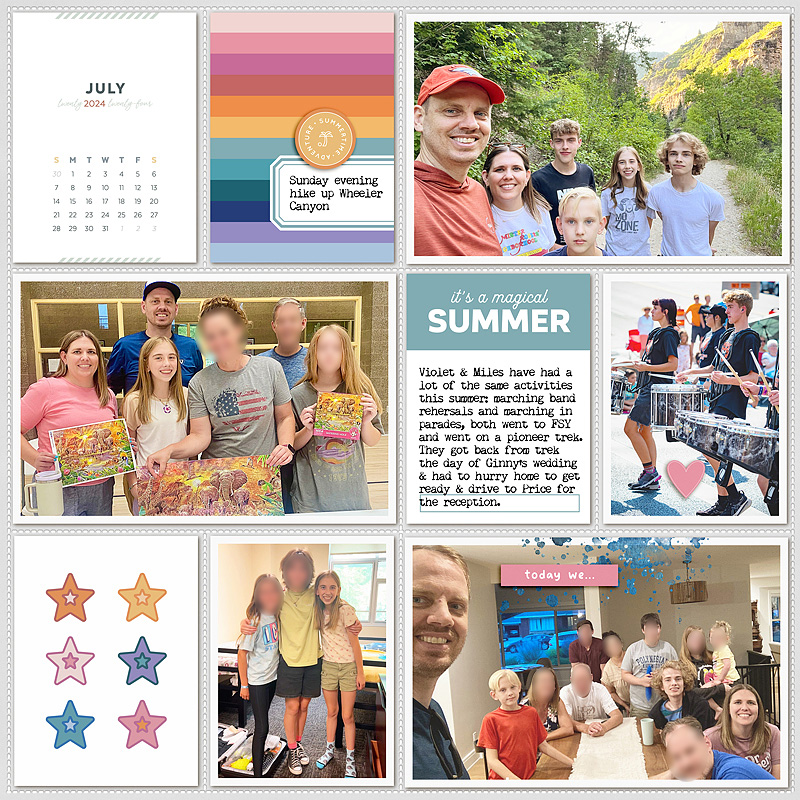
- Face Stickers –Most recently I’ve been using face, emoji-style, ‘stickers’ over faces in group photos that including my kids and my last blog process post where my husband was sick.

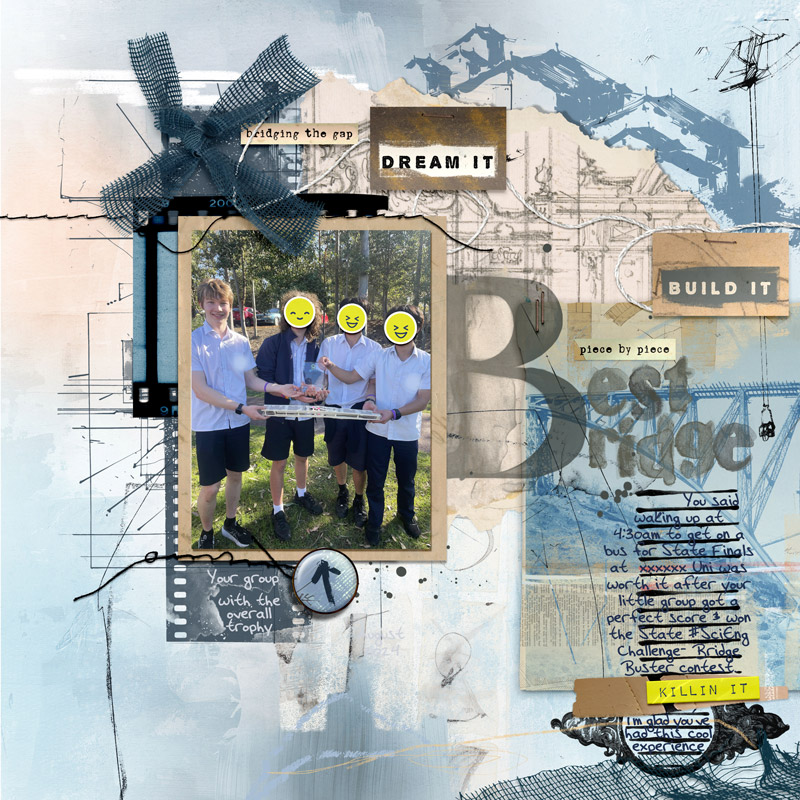
You can either create these (with a basic circle brush) like I did on the hospital page or use pre-made elements such as the ones in the bridge team page (from Mommyish’s Tweenage School Daze elements) or these examples below. I found these through searching the store for faces, smilies, emojis and flairs.


2. Other sticker or small element – I got the face sticker idea from paper scrappers who I’ve seen post pages that use any random appropriately sized element (eg. a star or heart sticker or a button) to hide faces. Just drag an extra element in on the layer above your photo, save your gallery sized copy with it and then delete it before saving your ‘print’ copy
3. Skin Coloured Oval Overlay – In the past, I’ve used the marquee tool or shape tool to create an oval shape (either including the face on the photo layer or just creating a new shape), copy and pasting that onto a new layer above the original photo and then using the Color Overlay Layer Style to give it a skin colour (chosen with the dropper from the photo itself), sometimes then reducing the opacity slightly. This obviously gives a fairly solid colour
I think the stickers are a better fit for me (plus the faces can be more reflective of the emotion (or be the actual desired emotion!) you captured just like on a certain yellow block brand’s internationally renowned mini-figures. But I was sure there were other ways and here’s a few more from the team.
4. Pixelation – Designer Anja of A Whimsical Adventure shared her pixelating technique that she used on this page.
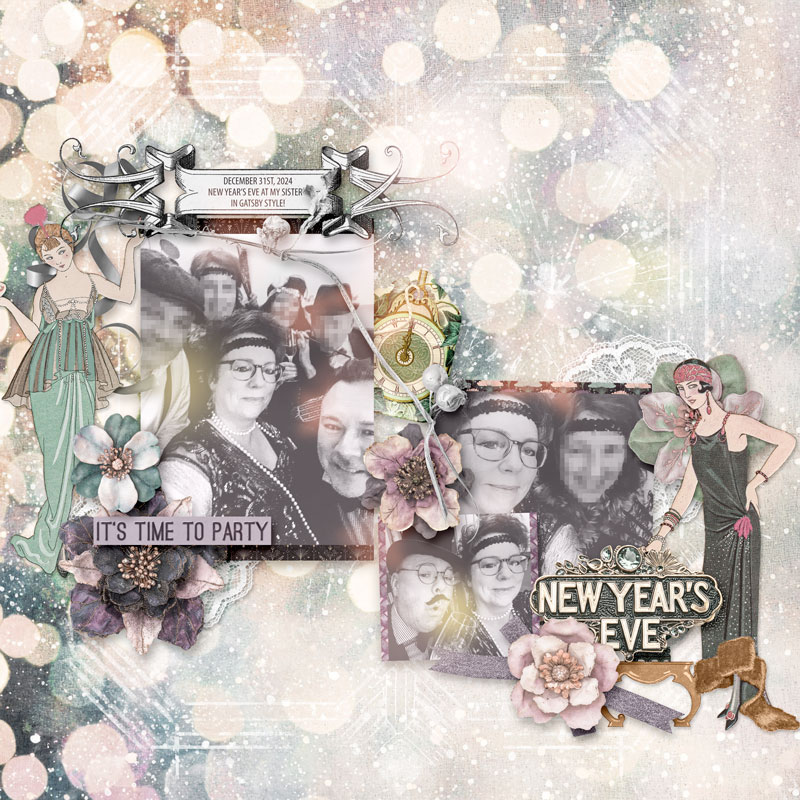
She says it’s actually simple. You make a selection of their faces, then copy & paste that selection on a layer above the real photo, and run the Pixelate > Mosaic filter (in Photoshop). Simple as that!
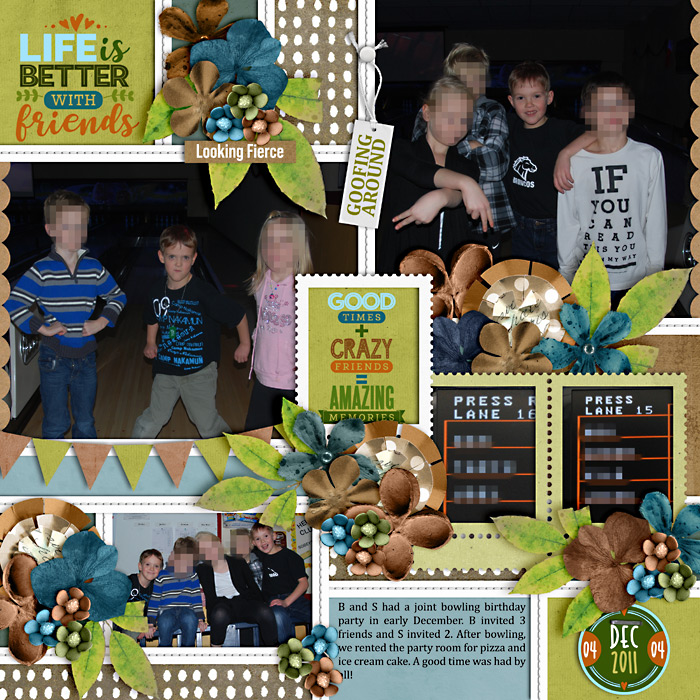
Polly HeatherB uses this method as well and this example shows how useful the same pixelation technique can be for obscuring data or text that you don’t want to share publicly either!
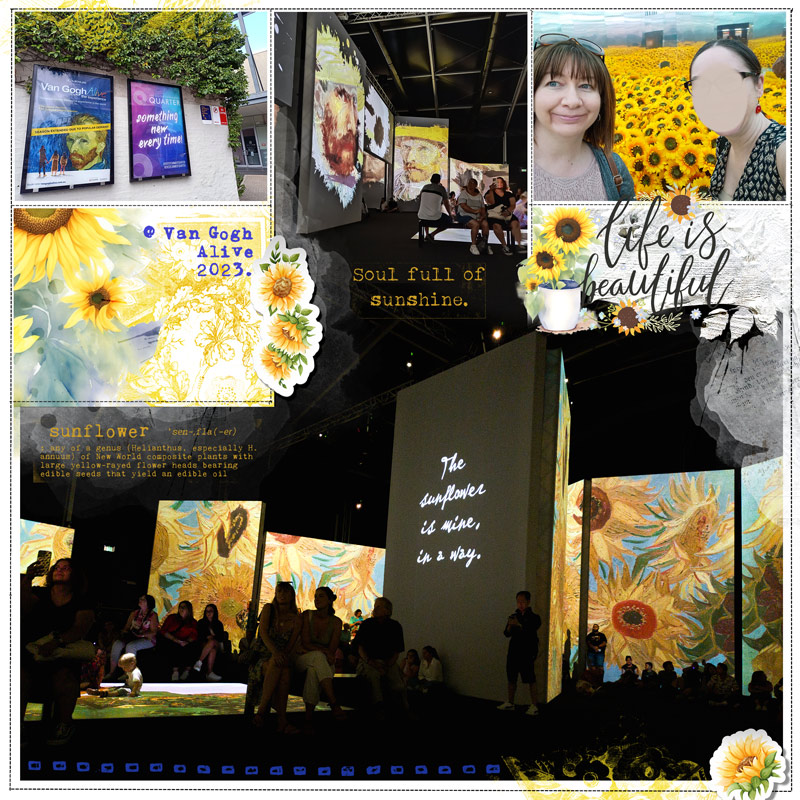
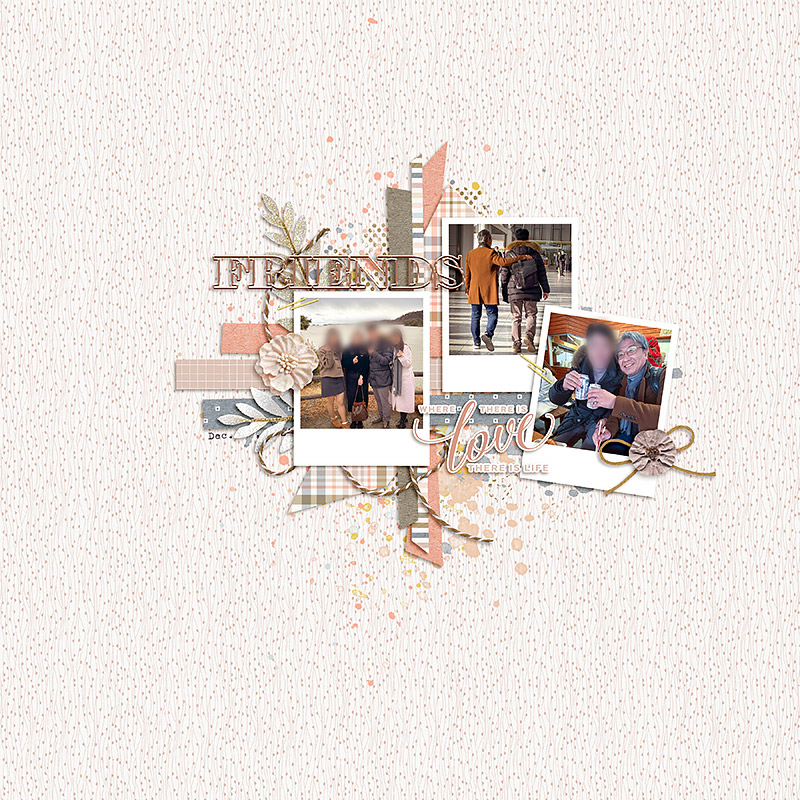
5. Gaussian Blur – Both Pollys Lynnette & Jan (IntenseMagic) use a Gaussian Blur filter for privacy with non-family members. It retains more of a ‘face look’ than my solid skin coloured ovals but is less blocky than pixelated images. Here’s an example from Lynnette.
In Photoshop Elements, after saving for web, she uses the selection tool to select the faces and then goes to Filter > Blur > Gaussian Blur. In the window that pops up, she can choose the level of blur needed to get rid of the facial details.
Designer Nini also uses Gaussian Blur and uses the Lasso tool to select a certain face, copying that part on a new layer, keeping the original photo intact, then running Gaussian Blur with set to approx. 10. She adds this handy tip: If you feel like it still shows the face too clearly, just run the filter again until you’re happy!
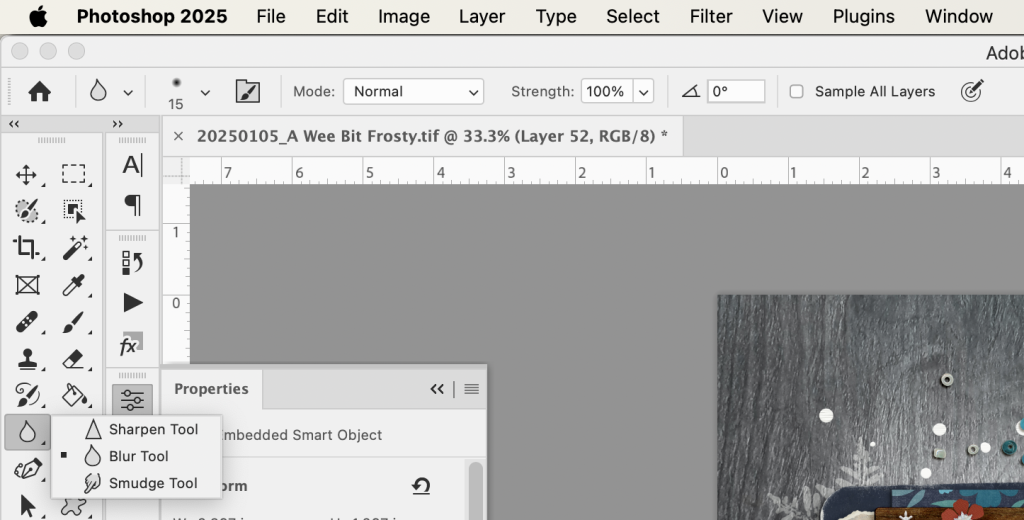
6. Blur or Smudge Tool – Polly Sheri recommended the Blur and Smudge tools as ways to distort faces so they are not recognisable.
These are all a combination of effective and fun.
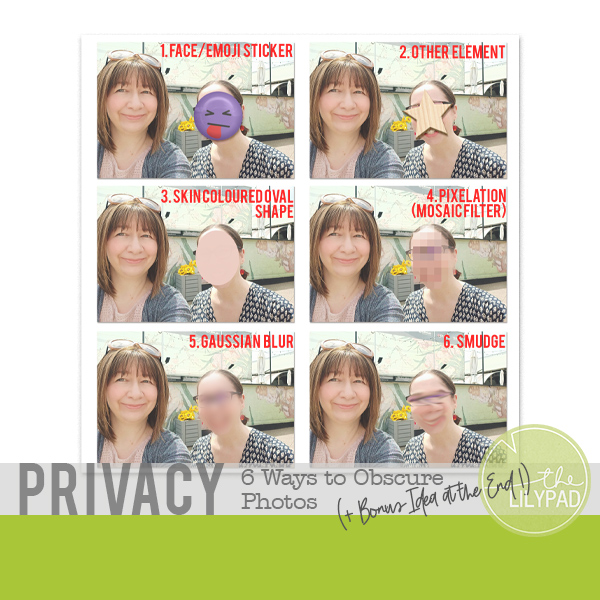
I tried all these so you can see them side by side and how they look on the same photo. 1 & 2 use elements from the TLP All the Feels Collabs, I followed Anja and Lynnette’s methods for Pixelation with the Mosaic filter and Gaussian Blur, respectively, in my version of Photoshop, and for the Smudge, I pushed with a soft brush horizontally using the default 50% Strength (going in a circle gave a very weird swirly pattern); the Blur tool I wasn’t sold on. Even after a few minutes it looked like I was just a bad photographer and didn’t really obscure the face enough for privacy, just gave it an ‘out of focus’ look next to me.
And if you made it to the end, here’s a bonus idea!
7. A.I. Generated Faces – Finally, Polly Sheri had a cool idea that might appeal to some. You could actually replace the whole face with an AI generated one! It could create some comic moments even! You could take this as far as replacing your extended family with famous people if you want! Now that’s futuristic digi-scrapping and also opens a whole other contentious topic which is why I’m not even attempting it!
See you next time.


Thank you for the ideas, I use pixelisation and Gaussian blur. My children no longer ant me to share photos with their faces in them.