Wooden Doll Tutorial
Greetings, Happy Scrappers!
Polly Liana (PolLiana?) here, with a tutorial on how to make fun wooden dollies for dramatic play with children. I’ve been teaching kindergarten for 20 years and anyone who knows me is aware of how much I dislike cartoon princesses and blond, leggy dolls with tiny waists and huge boobs. I’m not a fan of their general lack of diversity, skewed body image and inflexibility of character. As a mother of two awesome young girls…
(insert gratuitous photo of fabulous daughters here)
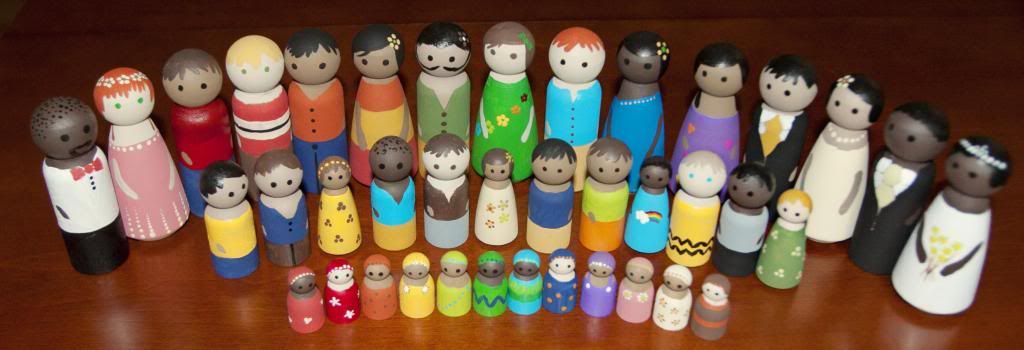
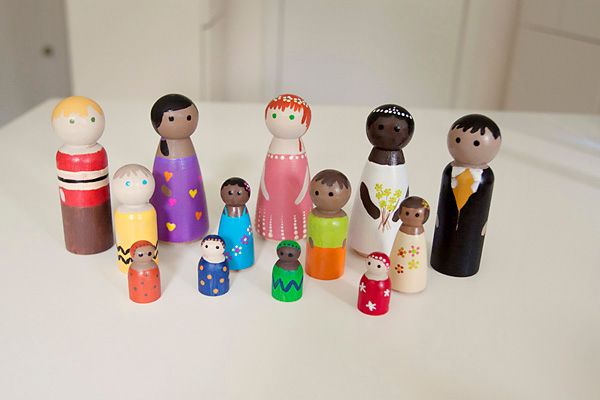
… I wanted dolls that are diverse with realistic body forms and are neutral enough to play a variety of roles– vs. a character from a movie, who is difficult to imagine as a surgeon when she’s wearing a huge, sparkly ballgown. I also didn’t want to spend a ton of money and I wanted something that would last (no tangled hair or limbs that pop off). Enter the peg dolls:
 |
I have been painting these dolls for a few months now and I love the way they’re turning out! Want to know how to make some of your own? Well, here’s a tutorial to show you how.
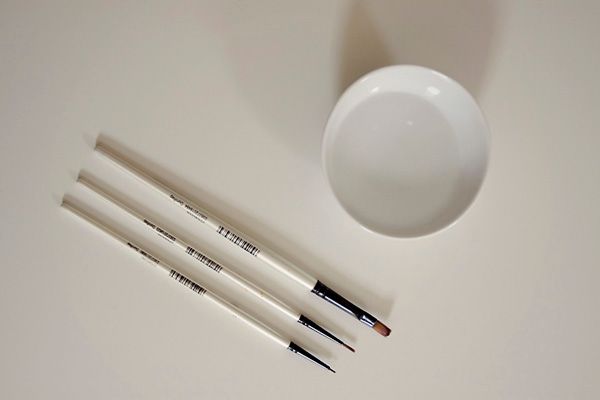
First, you need a bowl of water (for cleaning your tools) and a few different sizes of detail brushes. I like one that’s flat and two that are pointed but tiny.
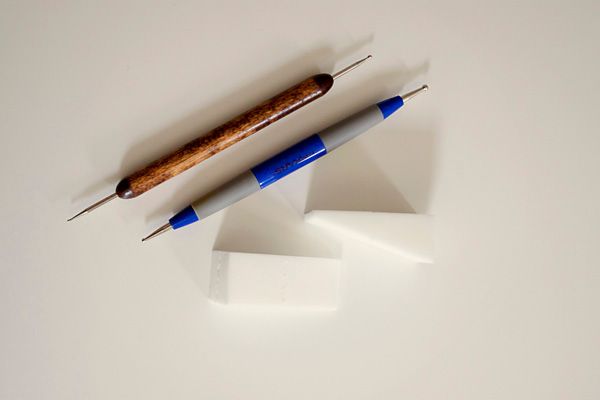
It’s very helpful to have a few sizes of stylus tools for detail work. Also, cosmetic sponges are cheap and cover a big area smoothly.
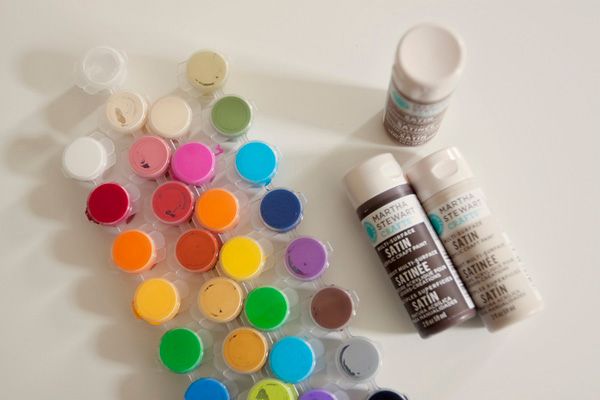
Next, collect a variety of shades of skin-colored acrylic paints and smaller collections of shades for the clothes. I’m realizing through trial and error that I prefer the matte or satin finishes vs. the glossy ones.
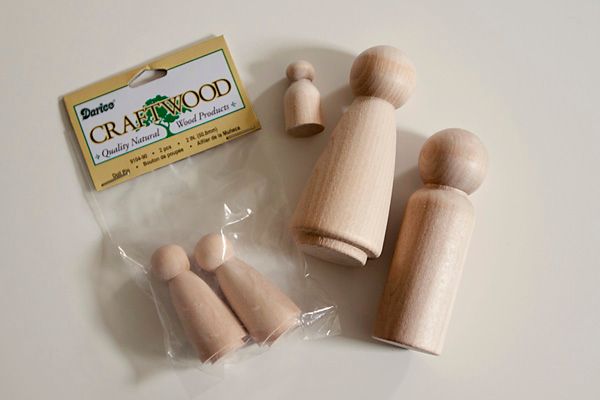
Of course, you need the dolls themselves! The packaged ones were from JoAnns Fabric but they only had the shape seen here. I purchased the others in bulk from this website. Total was $31 (including shipping) for 20 babies, 10 medium (2.5″) males, 10 large (3.5″) females and 10 large males.
That’s about the price of one commercially-made doll!
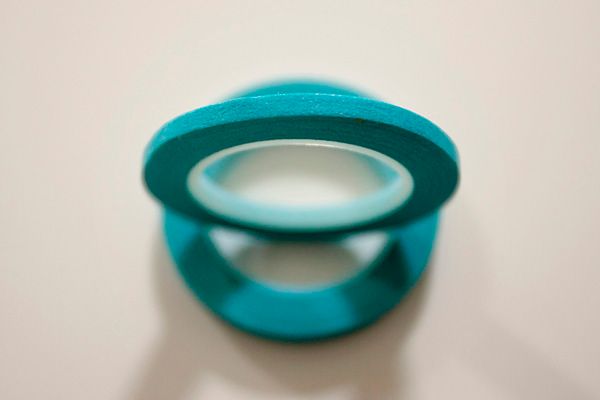
If you’re worried about steady hands when you’re painting, it might be helpful to pick up some thin masking tape.
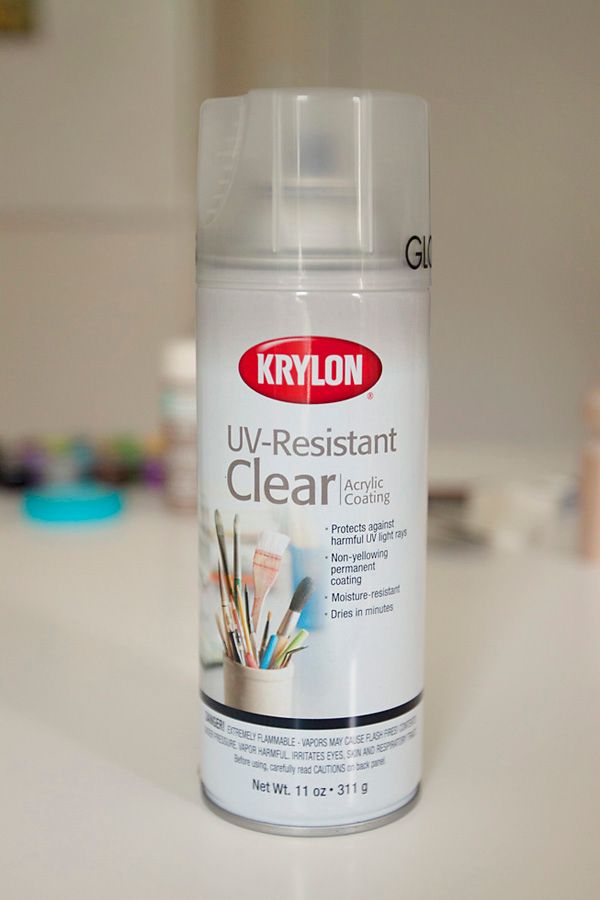
When you’re done, it’s a great idea to seal the paint so it doesn’t rub off or scuff the other dolls when they’re being stored. I use this product and it seals them well.
Now, to paint the dolls.
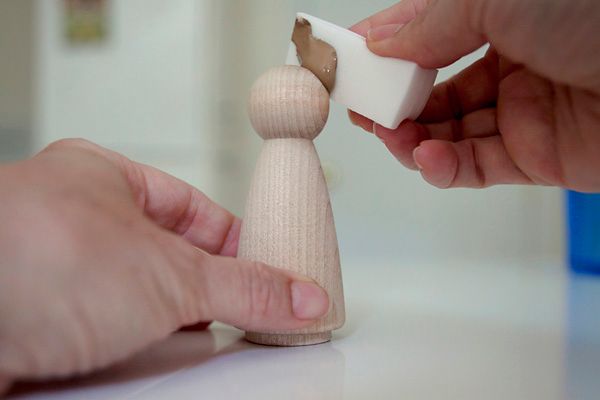
First, use the sponge to cover the head and neck areas of the doll with a skin color.
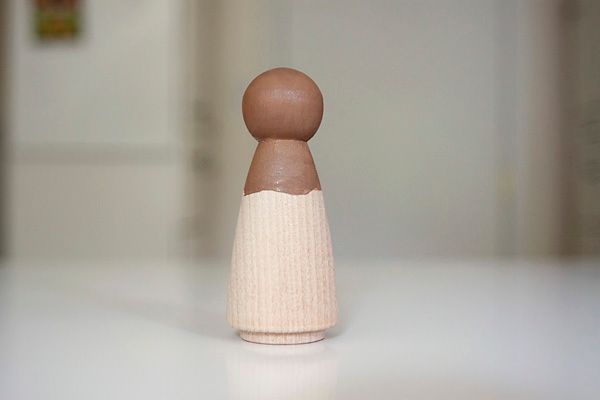
Here’s what it might look like when you’re done.
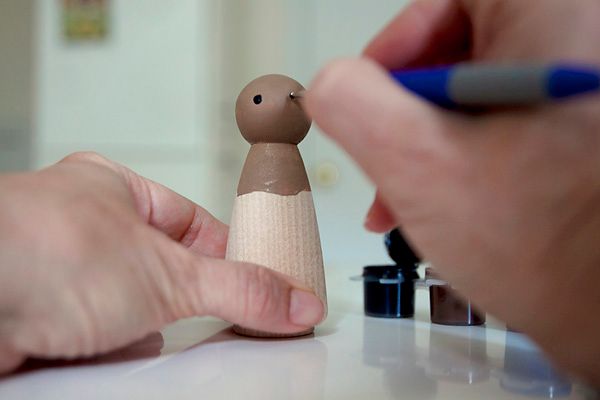
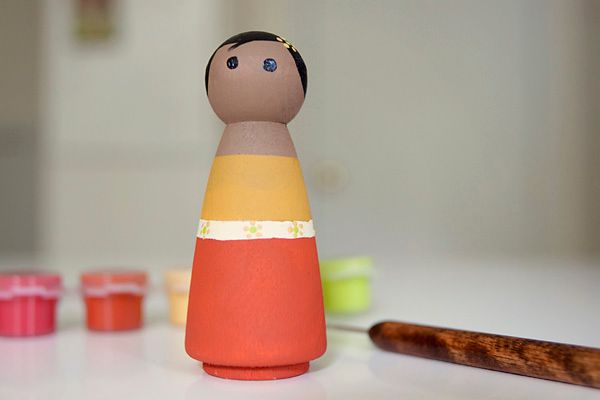
Next, use a stylus or detail brush to add eyes. I prefer not to add other facial features because I want to use these dolls for role play and it’s hard for a doll to play a sad or mad character if she has a smiling mouth. I’ve found that including just the eyes makes it easier for the child to imagine the doll having a variety of different feelings.
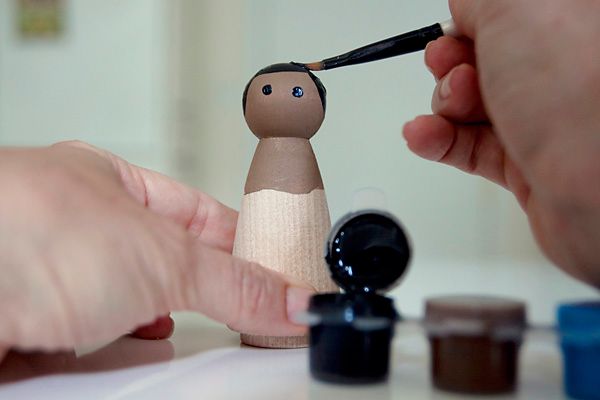
Next, add the hair. It sometimes helps me to trace the hairline lightly with a pencil, first.
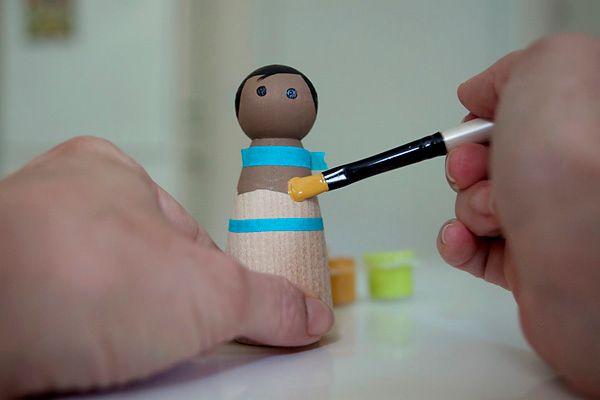
Here, I’ve wrapped the doll’s torso with thin masking tape so I can neatly paint different colors on her outfit.
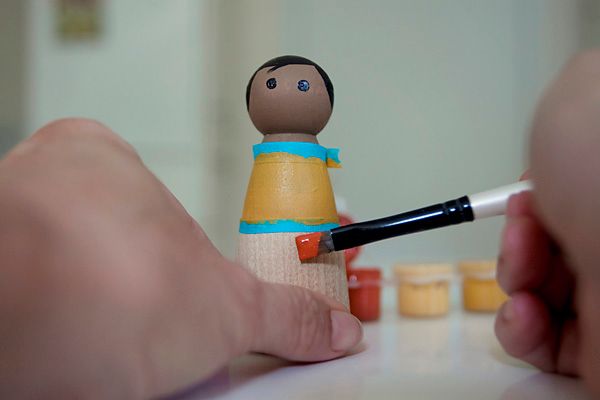
The more colorful, the better!
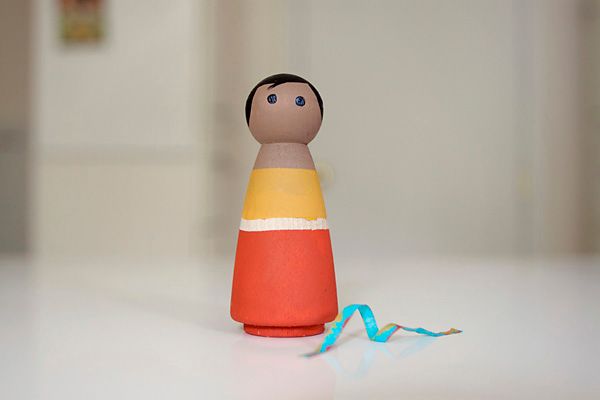
After I remove the tape, you can see the (fairly) neat lines of paint on her clothes.
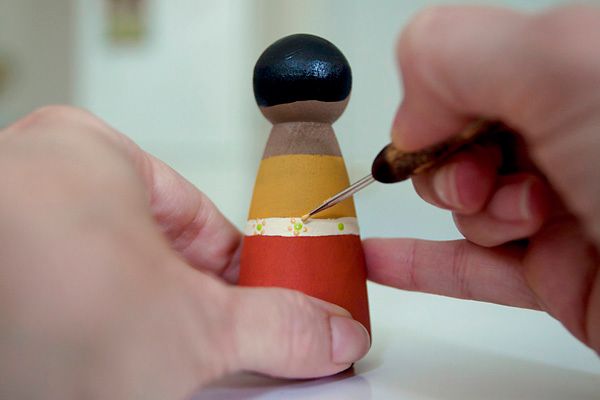
I painted the space between the yellow and orange and used a stylus to decorate that area with tiny flowers.
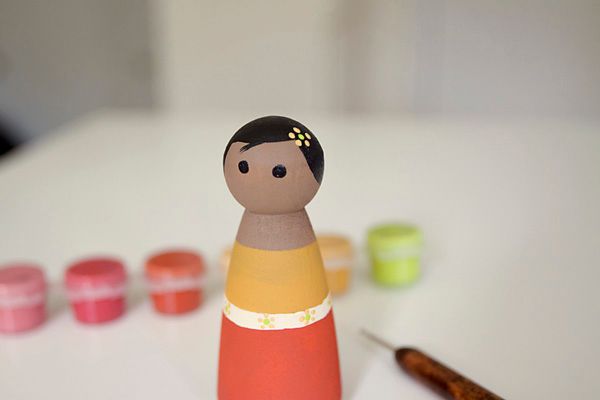
Because I’m from Hawaii, a lot of my dollies have flowers in their hair.
Done with her clothes!
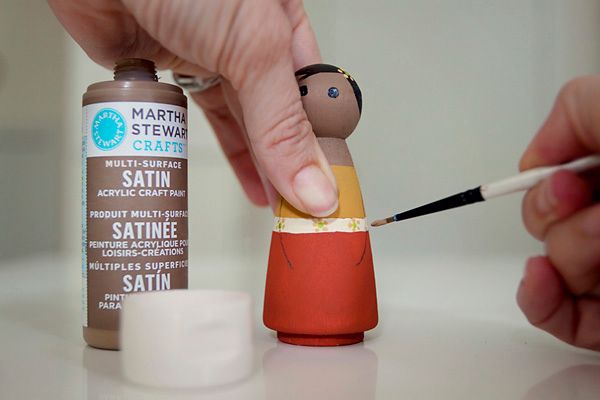
Lastly, paint the arms. It’s helpful to trace the arms first with pencil before painting. If you want the doll to appear as if s/he is wearing long sleeves, simply paint the hands instead of the whole arm.
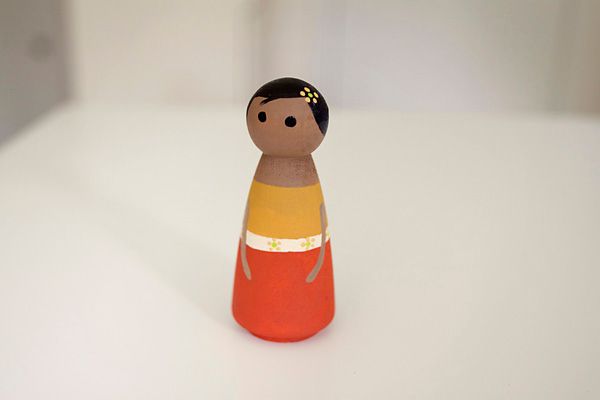
Finished!
It’s so fun to create a variety of dolls with different outfits and decorations. If they’re sealed well, they last for a long time and can be used for a variety of play opportunities.
My oldest daughter enjoys arranging them by size and color and of course enjoys using them to populate her block structures!
Thanks for checking out my tutorial! Have a great start to your week.