Planner Love: Page Process Using Digi Supplies
Hi everyone, Sarah here and I thought it would be fun to share with you all today my process for decorating my planner pages using digital scrapbooking supplies.
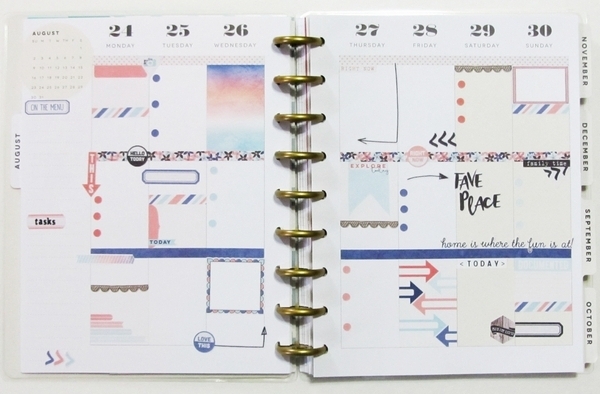
For this week’s planner pages I chose to use the Storyteller Dakota Collection by Just Jaimee. Jaimee’s Storyteller collections are such a great value and totally jam packed with wonderful goodies perfect for planner pages.
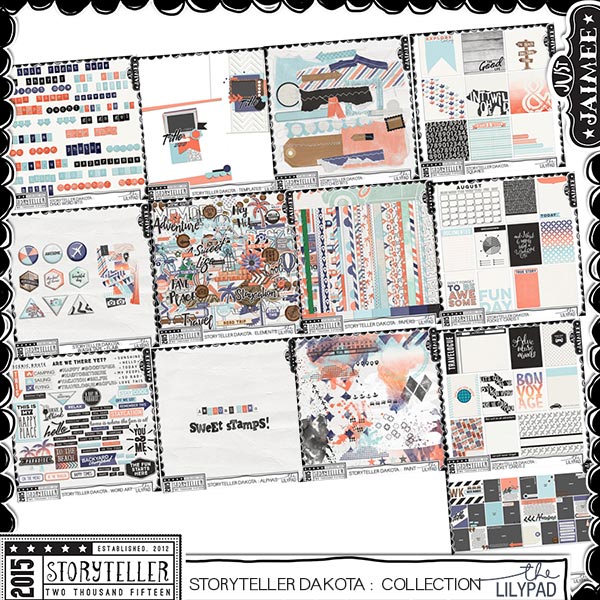
I began by creating a sticker sheet using different elements and papers from the kit. I then cut the stickers out using my Silhouette Portrait. You can hand cut many of these elements as well if you don’t have access to an electronic cutter.
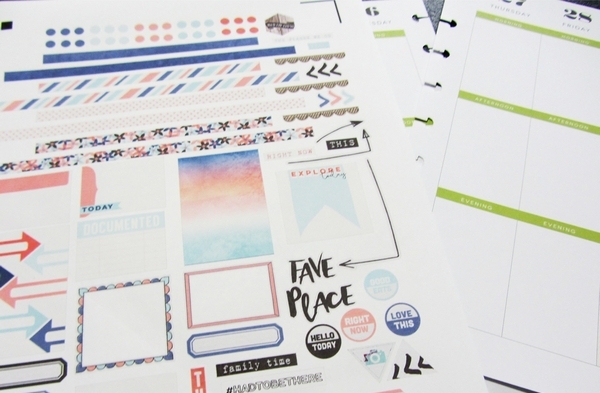
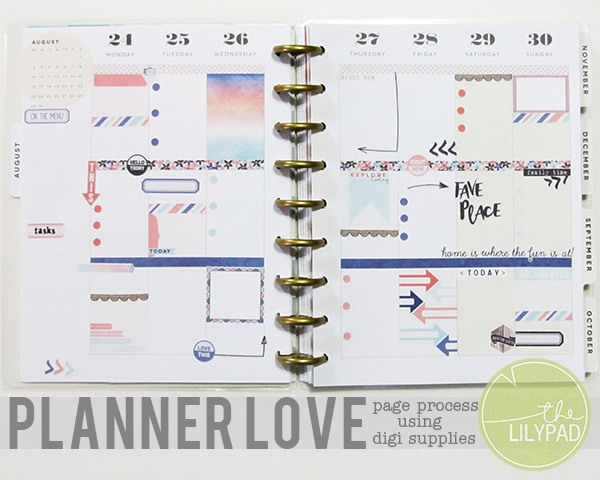
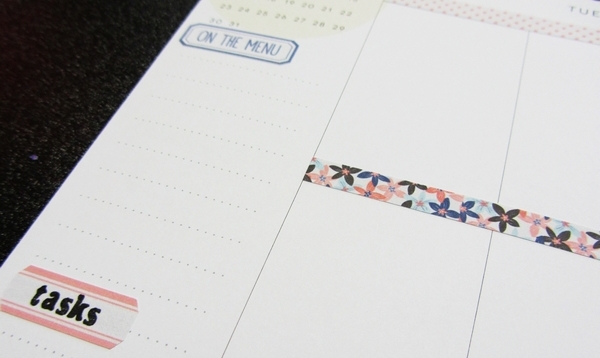
One thing that I always include on my sticker sheet are strips sized to fit over the morning/afternoon/evening headers in my planner, since I don’t divide out my day in that manner. To create these strips I created rectangles in Silhouette Studio to fit over the header strips on each side of my planner and then filled them with fun patterned papers from the kit. The first thing I do when starting to decorate is to place these strips over the headers.

Once these were down I placed my headers for my sidebar. I use this space for menu planning and daily tasks. The On the Menu label was taken directly from the kit and I created the Tasks header by using the stamped alpha and a label, both included with the collection.
Next I laid down some of the word art. Since next week is a call week for my husband I knew we wouldn’t be going anywhere so I decided to use these fun word arts about family and home for the weekend days.
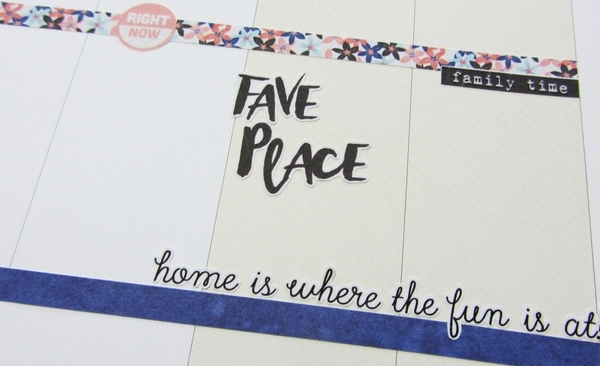
Next I placed some of the boxes I’d created using journal cards and frames from the kit. I resized each of these elements to fit the width of my boxes and I just love how they add so much color to the pages.
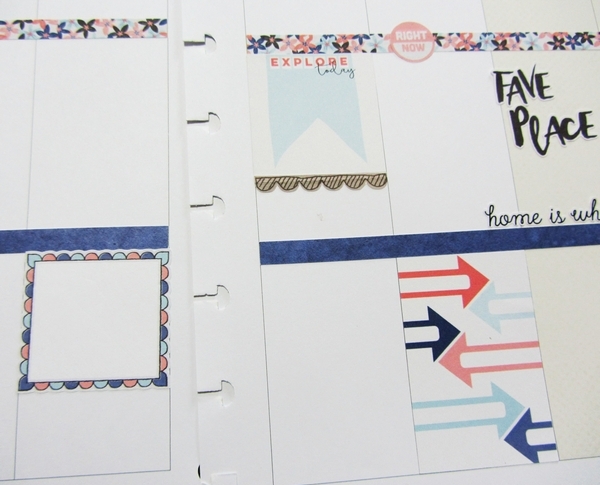
I also placed some half boxes down (also created using journal cards from the collection). I always print out an extra set of header strips and will often use the extra set to add visual separation from the half boxes or to simply divide a full box into two sections.

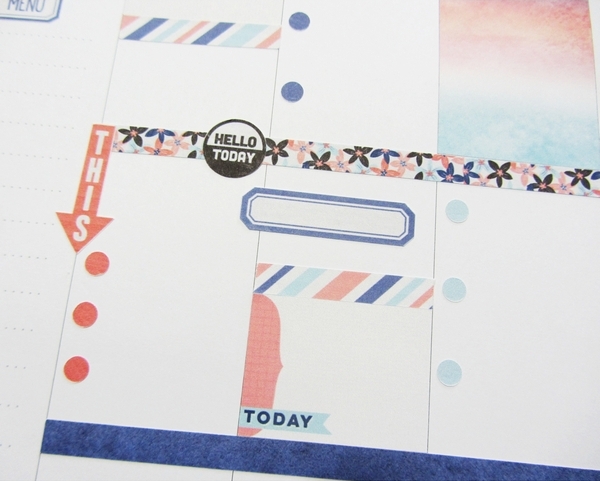
Another thing I add to my sticker sheet are 1/4″ circles that I fill in with the solid papers included in whatever kit I’m working with and use these for bullet points for my must do tasks of the day. I love how cohesive everything feels in the finished product.
Here are my finished planner pages ready for me to add in my tasks and appointments for the week.
I’m having so much fun decorating my planner pages each week using digital supplies. There are so many options with digital kits you can find pretty much any theme or colors you might be looking for. If you decorate your planner pages with digital supplies from The Lilypad make sure to upload them to the Hybrid Projects Gallery. I’d love to see them!