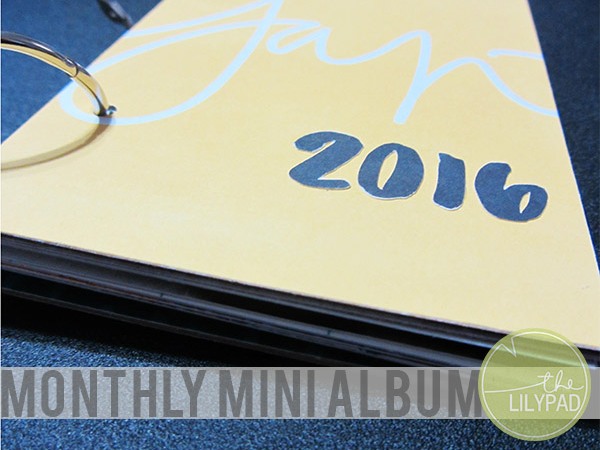
Monthly Mini Album
Hi everyone, Sarah here and I have a new project I would like to share with you all today. I’ve started a 12″x12″ Project Life album from 2012 – 2015 and have had varying degrees of success throughout those years, but in the end I have still yet to complete one of these albums. When planning for 2016 I knew I wanted to try something different. My first thought was to stay 12″x12″ but use the traditional approach of 2 pages per week (I’ve always documented monthly using as many pages as it took). Then I considered keeping pocket pages in my Happy Planner so that I have everything all together. The next thing I knew we were already a week into January and I still hadn’t begun my album in either of these fashions. I began to look for something that would be more manageable yet still fun. After doing a bit more research I finally happened upon an album that I think will be the perfect project for my 2016 memories.
In my research I came upon a series of videos by Stephanie Bryan. For 2015 she did something different. Instead of her traditional 12″x12″ album that she had been creating for years she decided instead to do a series of mini albums, changing out the format each month. Intrigued, I binge watched videos she had created for a years worth of mini albums. I loved the concept behind this approach. Smaller more manageable albums were the big draw for me. No longer needing to lug out a huge album, Two 12″x12″ page protectors, in addition to all the normal tools and supplies was the driving force into helping me decide to take a smaller approach to my own albums this year. Instead of changing it up each month however, I plan to keep the same album format each month. As I explored Stephanie’s albums one stood out to me in particular and in the end I’ve decided that I would follow the format of her June 2015 Project Life Album to create a mini albums of my own each month in 2016. Add a few supplies I already had at home and the Memory Pocket Monthly Collections from the TLP store and I was ready to go.
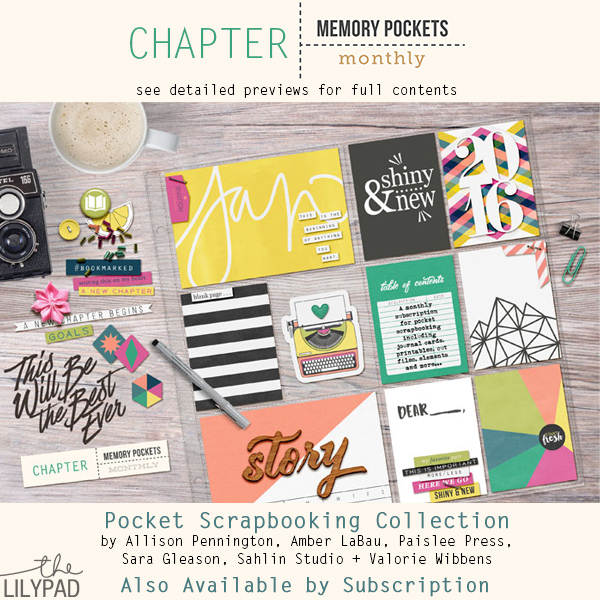
Once I had the January MPM Collection Chapter main kit and a few of the addons downloaded I set out and printed journal cards, embellishments, and photos to use in my January 2016 album. I’ve decided that I’m going to focus on just using printed elements from the collection to keep my choices limited and to cut down on bulk. Here is an overview of the items I’m using to create my January mini album (fyi the numbers in the photo are from I’ve Got a Plan Jan. 2016 by Mommyish).
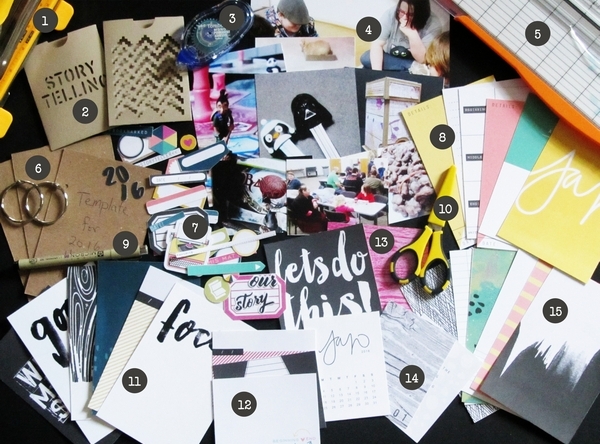
- Hole Punch – I’m using a Cropadile for ease of punching through chipboard and multiple layers
- Card Pockets created from cut files in one of the Chapter Add Ons
- Adhesive – I’m using a tape runner by Tombow
- Photos – My photos are printed in four main sizes, 4″x6″, 3″x4″, 4″x4″ and 6″x8″
- Paper Trimmer – I’m using a 12″ Fiskars, I love the wire guide they’ve added to show exactly where you are cutting
- Binder Rings, Chipboard cut to 4″x6″ and a template I created to make sure my pages always line up correctly
- Embellishments from the main kit and add ons printed and then cut on my Silhouette Portrait
- 4″x6″ vertical journal cards included in the main collection
- Journaling Pen – I plan on using a .05 Pigma Micron exclusively for this project
- Scissors – I love my Cutterbees micro tip scissors
- 3″x4″ vertical journal cards from the collection that I’ve enlarged to 6″ tall and cropped to 4″ wide
- 3″x4″ horizontal journal cards from the collection that I will use on pages with 3″x4″ horizontal photos
- 4″x4″ journal cards from the collection
- 3″x4″ vertical journal cards and patterned papers cropped to that size from the collection
- Patterned papers from the collection cropped to 4″x6″
I loved exploring all the different options in the collection and figuring out how I could make everything work for my project. Here are a few of the pages from the first couple of weeks of January.
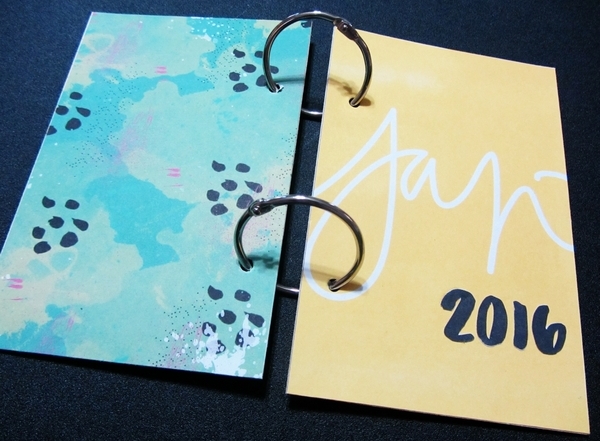
First here’s the chipboard, sandwiched between journal cards and patterned paper, and placed on the rings.
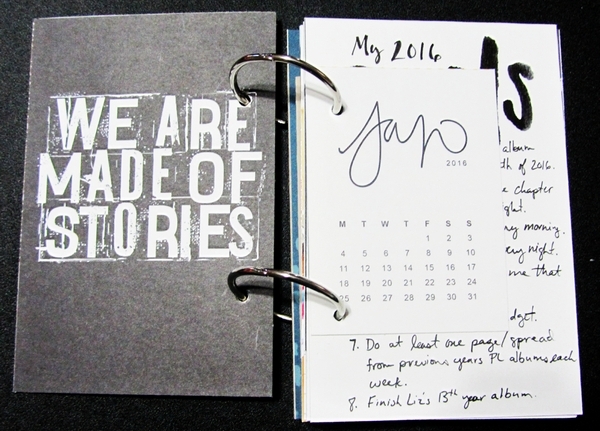
Next is the inside cover and a 3″x4″ calendar card I added so I can easily see what day of the week a date fell on. Peeking from behind the calendar card is a list of goals I’ve set for myself for 2016.
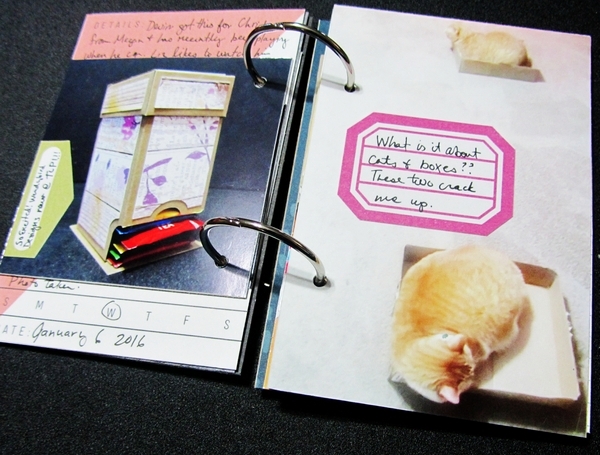
Here’s a peek at a 4″x4″ photo and 4″x6″ photo each serving as a separate page with only a label for embellishment.
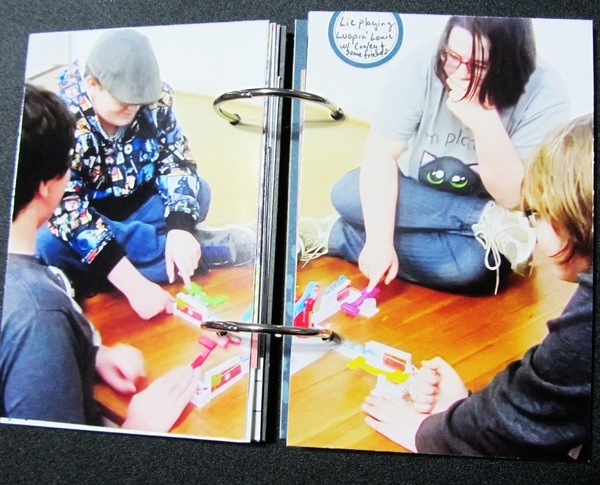
For my final picture I took a 6″x8″ photo and cut it in half to create two 4″x6″ pages in my album. Again, my only embellishment is a simple label with some journaling.
I really love how this is turning out so far and am looking forward to continuing these albums throughout the year. I’m really hopeful that the smaller footprint and limited supplies will help me keep up with this project this year.
As for the past few years of unfinished albums, if you look closely at my goals page you’ll see that I have made it a goal to work on a page or spread from one of these albums each week this year. But honestly, I’m not stressing about them. I’ll do what I can, be happy that whatever I get done is documented and keep on making memories to scrapbook later!