Hybrid Pocket Letter Tutorial
Hybrid Pocket Letter Tutorial
Hello everyone! Today I want to share with you how to create a hybrid letter in this hybrid pocket letter tutorial. For more details about these lovely letters visit here. We would love it if you would join in on the fun of the Lilypad Letter swap over in the forum.
I had some left over pieces that were print and cut from the June Joyful Planner, and I got this idea to use them in a pocket letter. I realize that when you see a planner collection you don’t immediately think pocket letter, but it really works! The images are small scale and fit perfectly in pockets.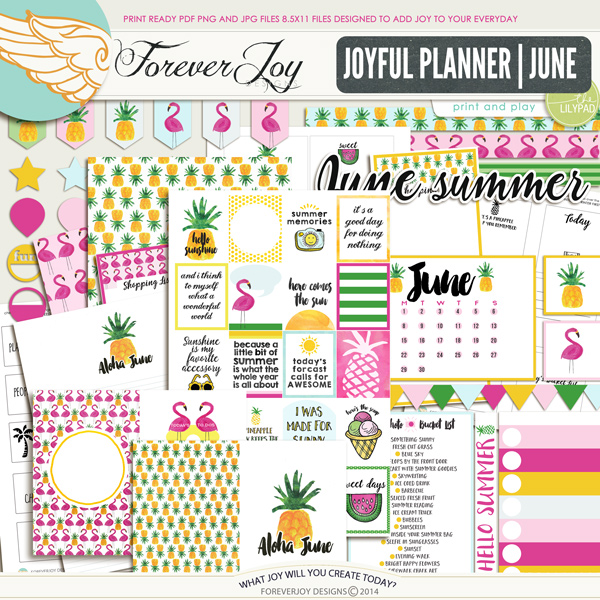
Supply List:
* Joyful Planner: June by ForeverJoy Designs
* Adhesive
* Cardstock
* Pocket Sleeve Protector
* Printer
* Silhouette (optional)
————————————————————————————————–
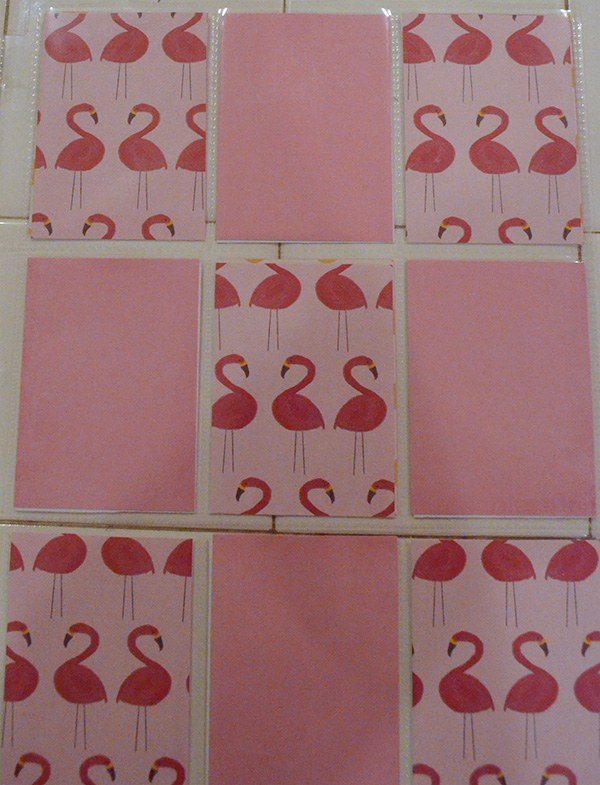
1. Print the pink flamingo patterned paper on a full sheet of letter sized paper.
2. Cut the paper into pocket sized cards (2.5 in x 3.5 in) and arrange the cards in the pockets.
3. Decorate each pocket with embellishments from the June Joyful Planner.

4. Fill the pockets with misc embellishments that fit the color or the theme of the letter.

5. Continue decorating or filling the pockets on the back if desired and don’t forget to include a letter for your friend.
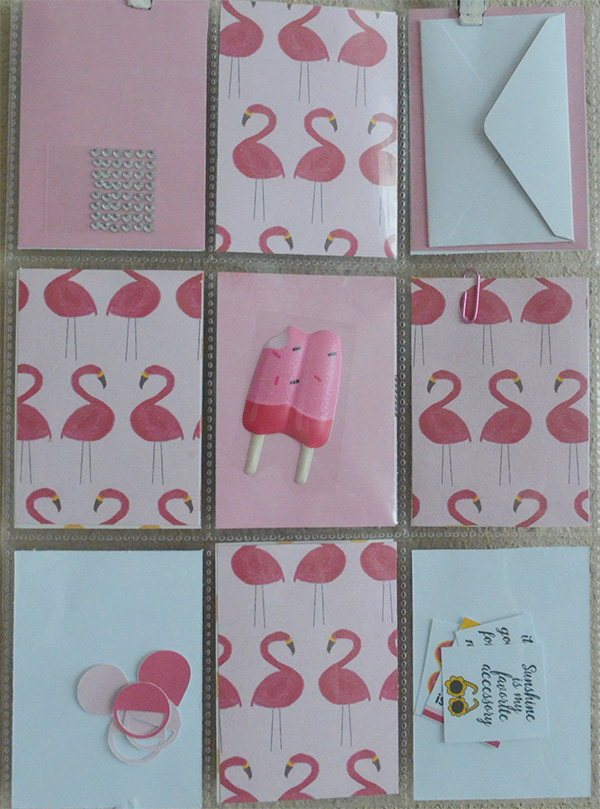
Shown above: Back of pocket letter
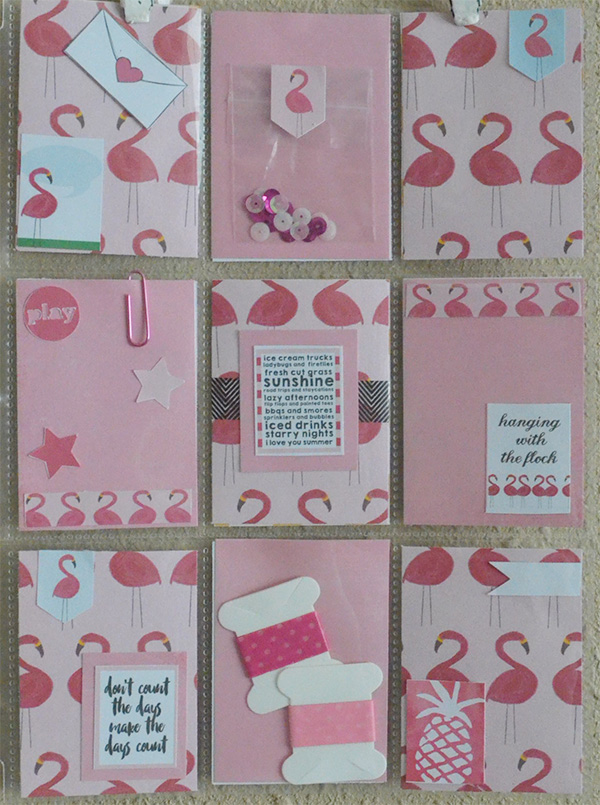
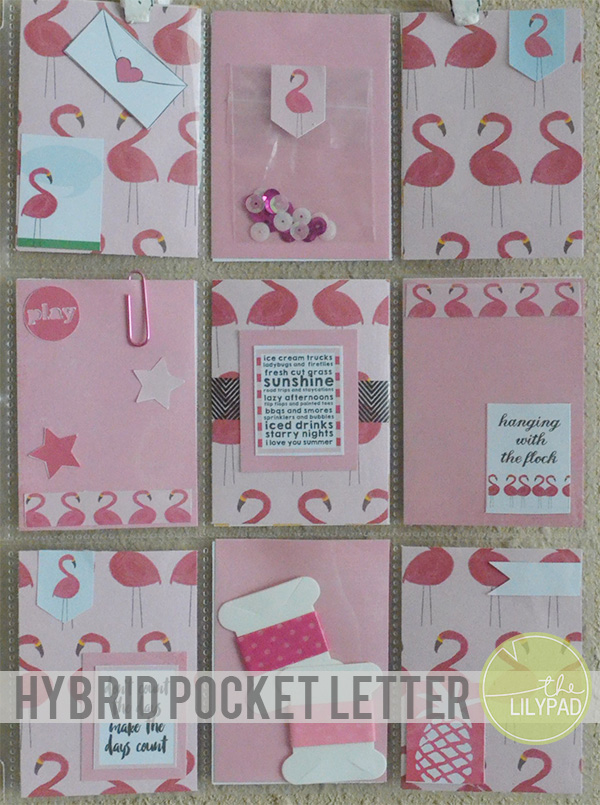
Shown above: Front of completed pocket letter.
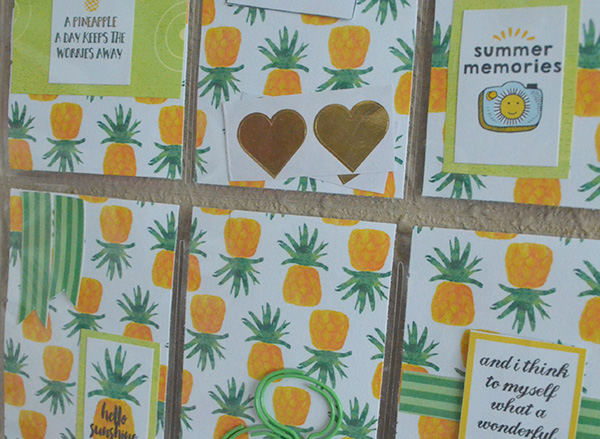
I also created this pineapple pocket letter using the June Joyful Planner. Isn’t it just the cutest?

I have discovered that this is a great way to stretch my digital stash. I am not wasting things that I have printed, plus I am sharing things that make me happy with friends.