How to Use PS to Recolor Photos to Match Your Layout
Howdy Pad Scrappers!
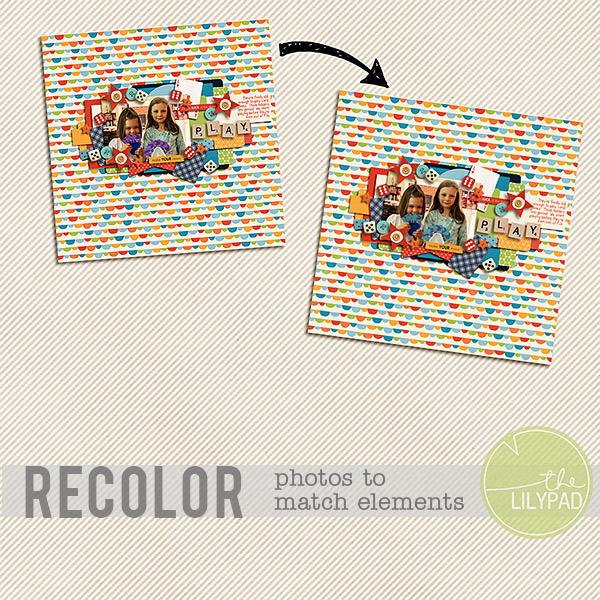
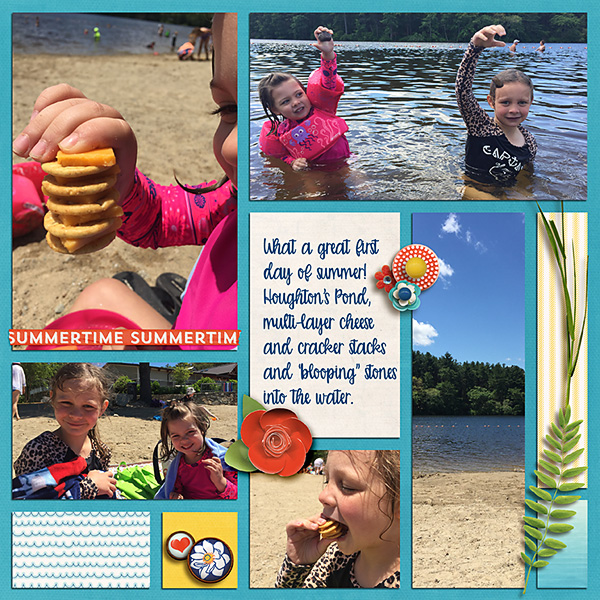
Polly Liana here with a tip about how to use Photoshop to recolor parts of your photos so they coordinate with the rest of your layout. I’m sure you can think of times that you’ve been working on a layout and you’ve got the perfect photo and the perfect kit but the colors don’t match well or even clash completely. Of course you can use them together but if there is a way to change a small part of the photo to make them coordinate better, why not? Here’s a recent example of a photo I wanted to change to make it match better with the layout:
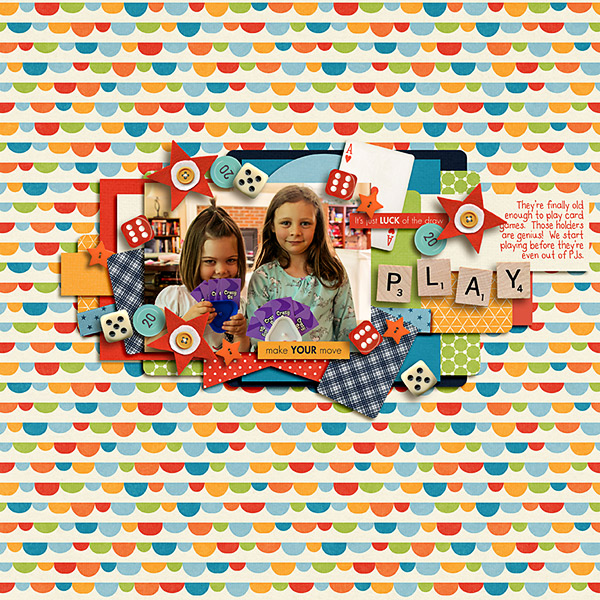
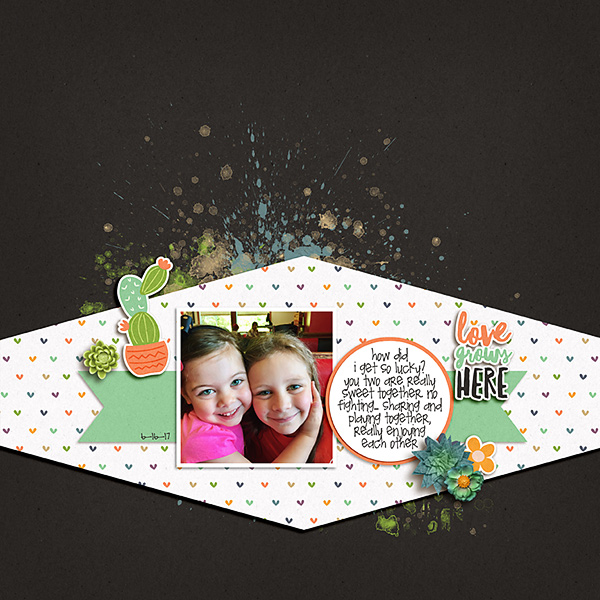
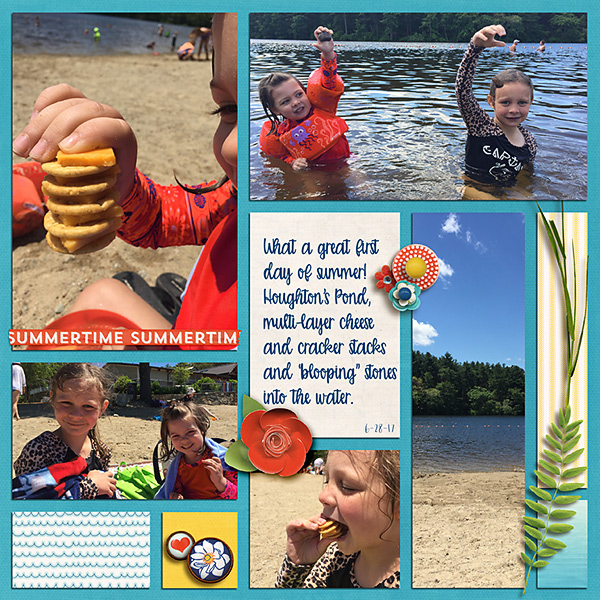
See how the purple in the cards jumps out in a not-so-good way? Do the cards have to be purple? Will it affect the meaning or memory of the photo if they’re a different color? No! So I changed them…
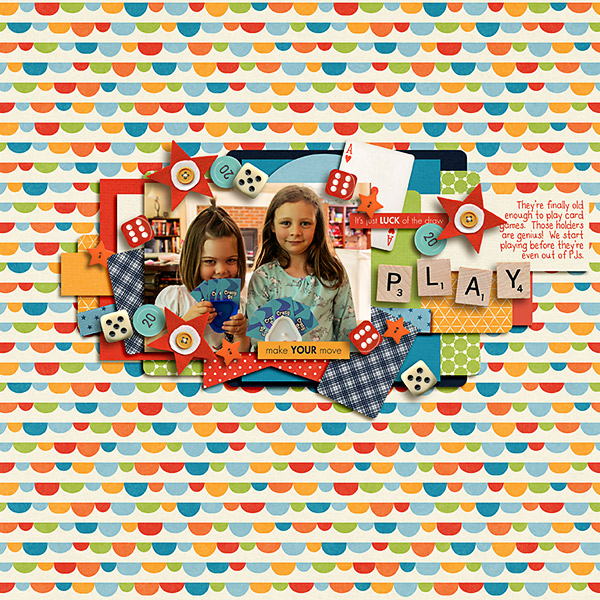
Better, right? Here’s how I did it:
First, make sure your photo layer is selected (or just work with the photo on its own before you plunk it into the layout). Then, select Image>Adjustments>Replace Color. You’ll come up with this screen:
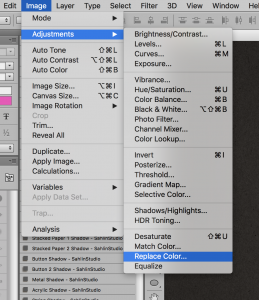
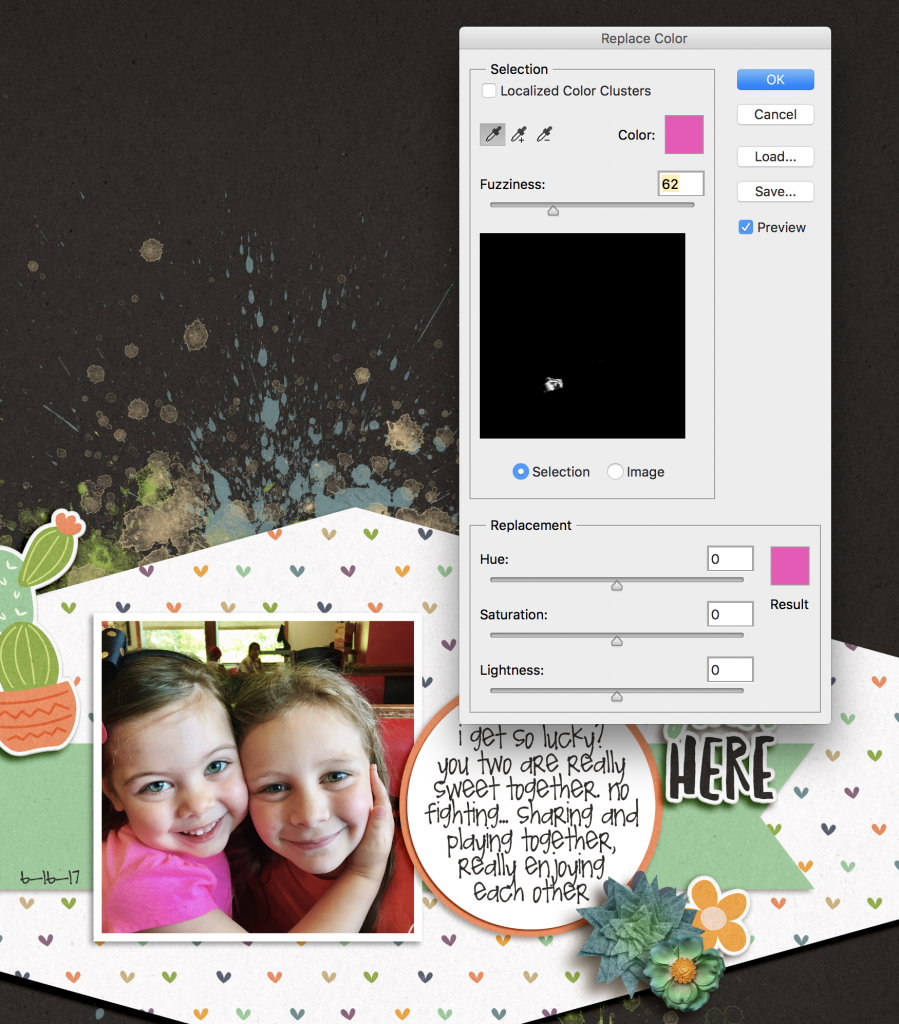
With the eyedropper on your photo, select the area of color you’d like to change. You can experiment with the “fuzziness” slider to select more or less of it. Then, slide the hue, saturation and lightness sliders to replace the old color with a new color that better matches your layout. Note: use the lasso tool to select just one part of the photo if changing the color of one part affects other parts of the photo that you don’t want to change.
That’s it! Here are some other layouts I changed to match better:
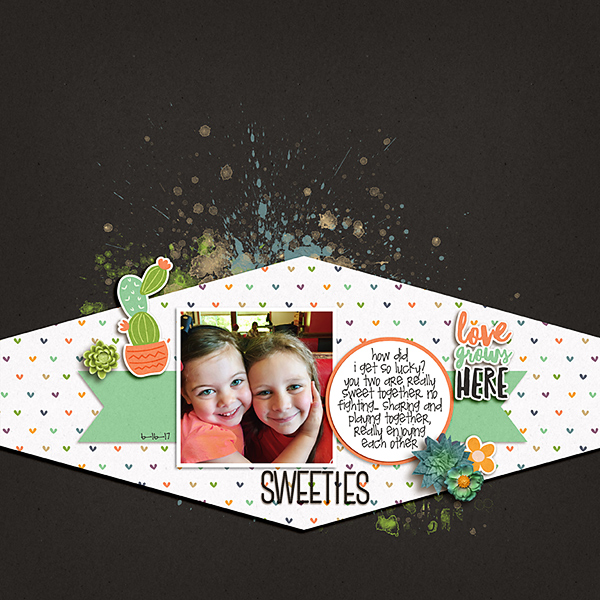
Aesthetically, I think it can make a big difference in a layout if the colors flow well throughout the piece. Give it a try and let us know how it goes!
Have a great end to your week!