How to Make Your Own Enamel Dots
How to Make Your Own Enamel Dots
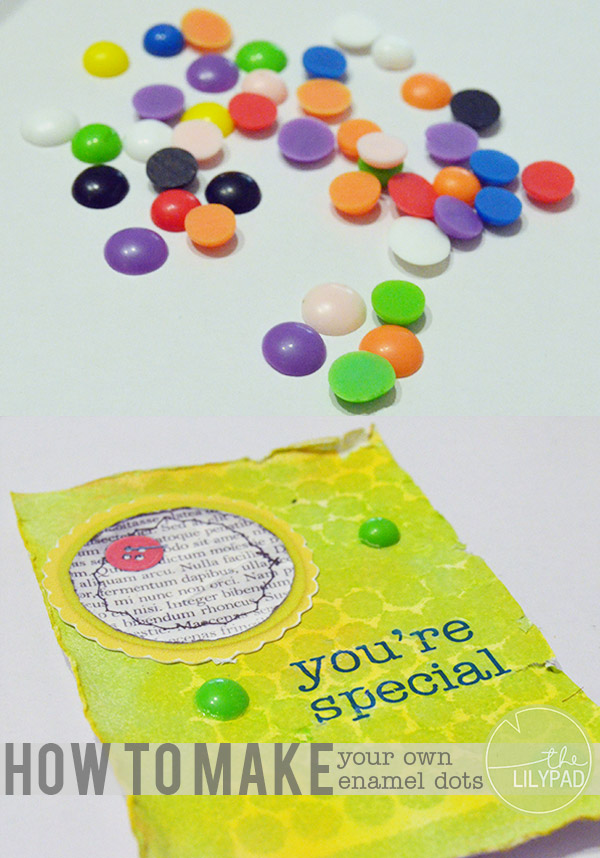
Today I am going to show you how to make your own enamel dots. I just love DIY crafts. There is something so satisfying about putting your own personal touch into crafting. These enamel dots are super easy to create and can be very addicting.
Supply List:
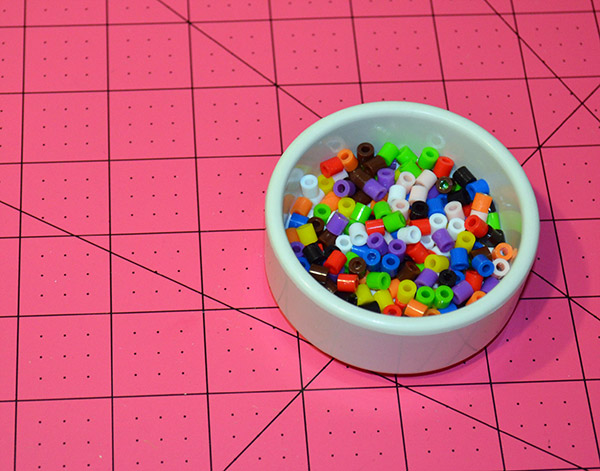
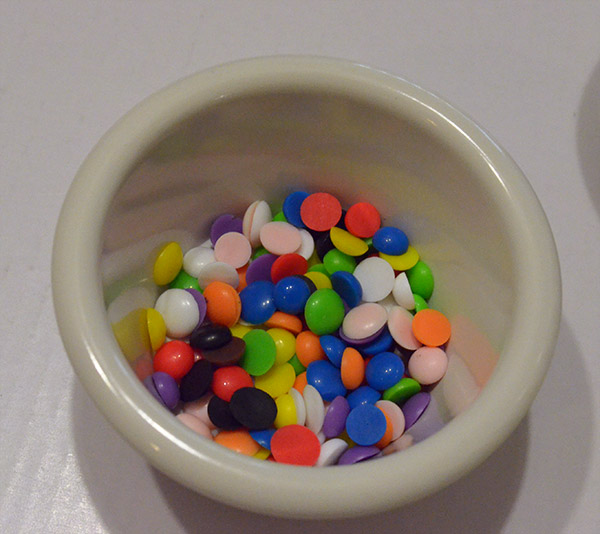
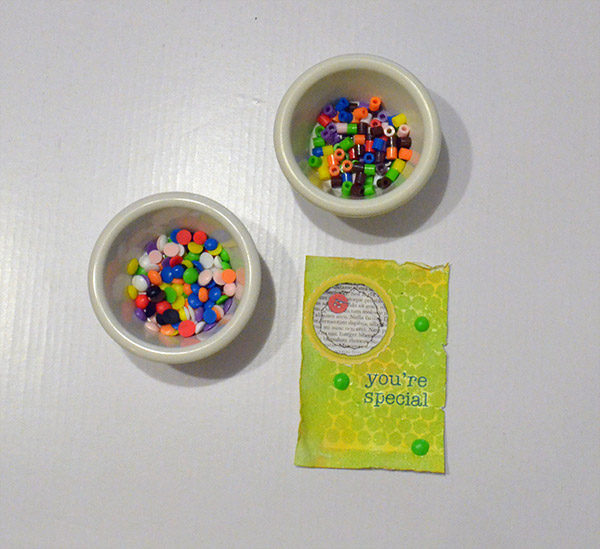
- Perler beads
- Scissors
- Metal Tray or cookie sheet
- Oven Mitt
- Parchment Paper
- Toaster Oven
1. Set toaster oven to 350° F and allow to preheat.
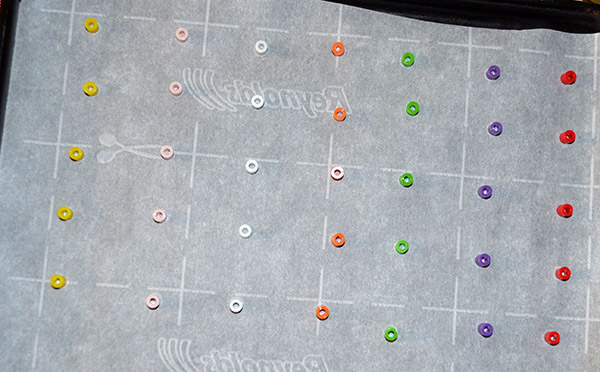
2. Use scissors to cut parchment paper to fit in metal tray.
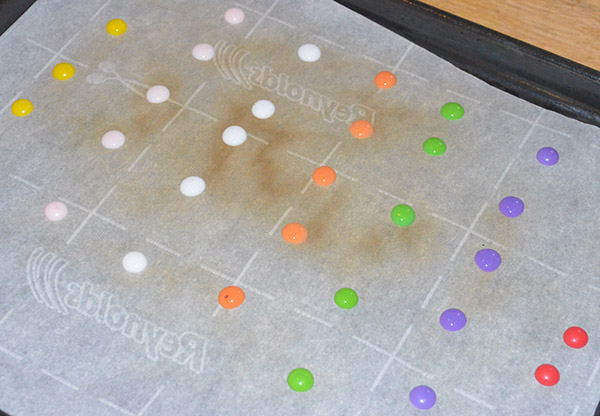
3. Place perler beads about 2 inches apart on a parchment lined metal tray.
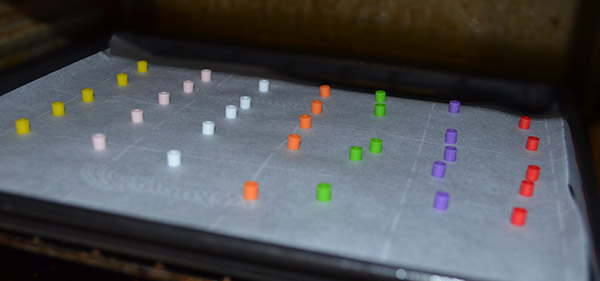
4. Carefully place metal tray in oven and set the timer for 6 minutes. Due to variations in ovens melting times will vary.
5. Use oven mitt to remove the metal from the oven.

6. Let cool for one minute. Dots will slide off of parchment paper.
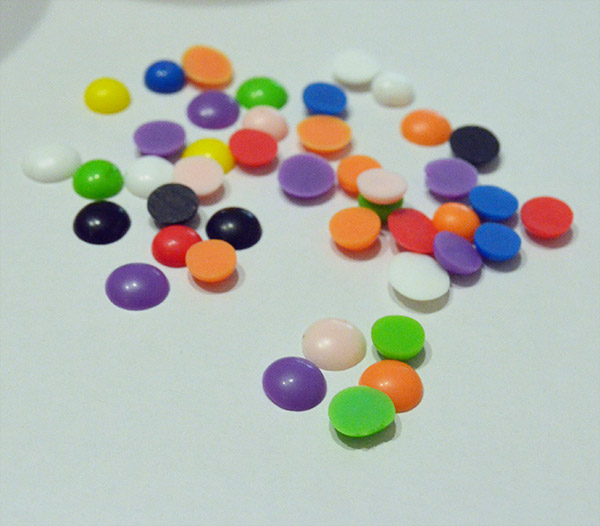
A few final tips.
* The parchment paper may brown in the oven, this is normal. It can still be used multiple times.
* Some of the beads may take longer to melt than others. The dark colors take longer to melt. I try to separate the dark colors and bake them separately.

I didn’t waste any time putting my new enamel dots to use on some artist trading cards.

Thanks for visiting the blog today. We hope that you are inspired to create something today!