Duplicating a Framed Photo
Hi pad scrappers! It’s Monica here with a quick tip for duplicating a framed photo on your layout.
I wanted to scrap this photo of my son and daughter in the little bit of snow we had last week.

They are together in this photo, but I wanted to place them in two separate frames on my layout.
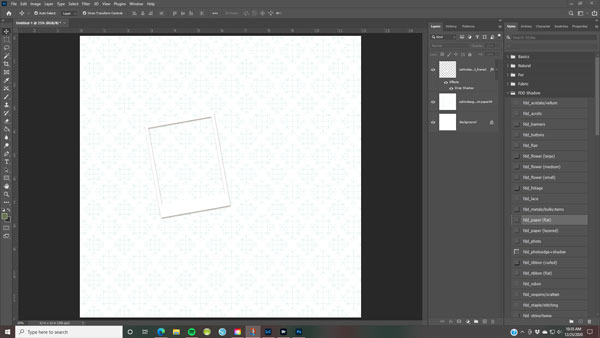
First I opened a 12×12 document and placed a background paper on it. I also placed a frame and made a duplicate frame, positioning them where I wanted them on the page.
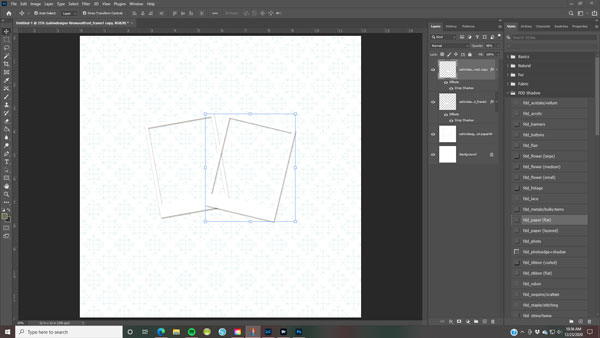
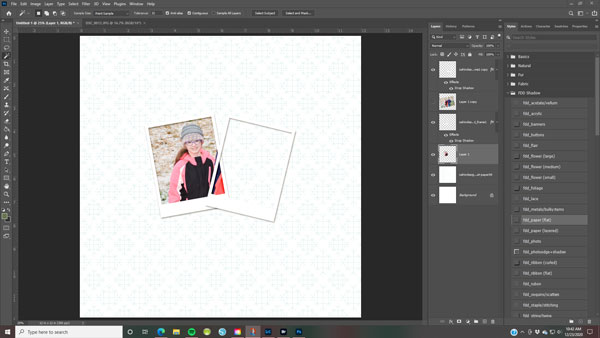
Next, I placed the photo on the layout under the frame on the left side, resized it and rotated it to position it where I wanted it on the frame.
Then I copied this photo and moved the duplicate photo up to be positioned directly underneath the right frame. I also hid this copied layer so I could work with the first frame and photo.
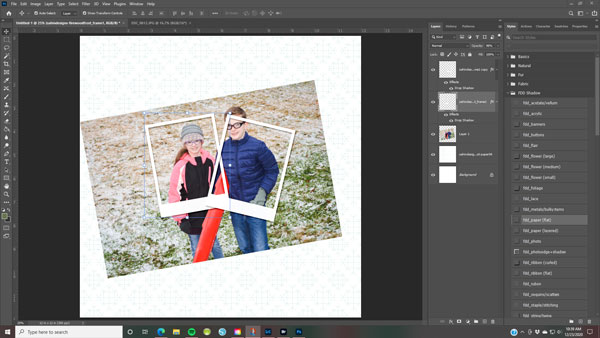
To place the photo in the frame I clicked inside the frame with the Magic Wand Tool, then clicked on Select>Modify>Expand and expanded the selection by 15 pixels. I then clicked on Select>Inverse to select everything outside the frame area. Next I clicked on the photo layer and clicked Delete. This deletes all of the photo that is outside the frame and leaves the photo inside the frame.
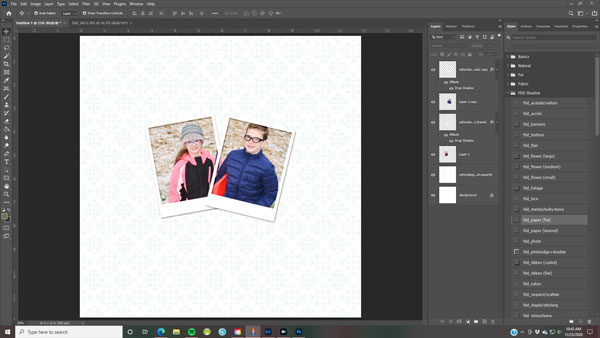
To work with the right frame, I first unhid the copied photo and rotated it to position it exactly how I wanted inside the frame.

I then repeated the above process for placing the photo of my son inside the right frame.
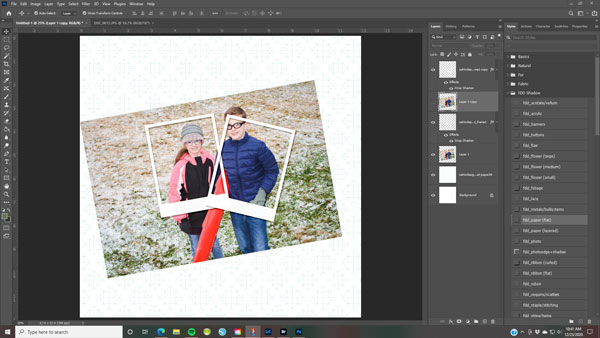
From here I completed the remainder of my layout using the Firewood and Frost bundle by Elif Sahin Designs, which is on sale for 50% off today! Here is my completed layout…

This is one of my favorite techniques for splitting a single photo into two framed photos on my layouts.
I hope you have fun trying out this technique yourself!!