Color Play in Photoshop
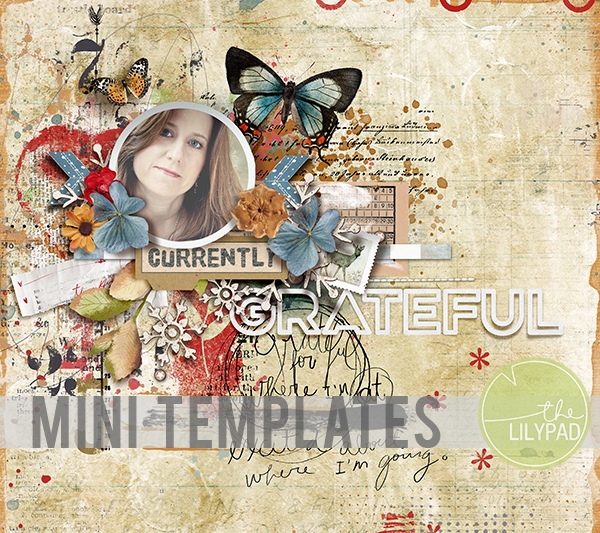
Hello everyone and happy Wednesday! I am dropping in today with a couple of quick tips for customizing colors on digital scrapbooking pages. For example, on this page I customized the color of the background stamps and stroke around the edge of the photo so that they matched the colors in the digital elements on the page.
I used a solid color adjustment layer for the paint stamps in the background and changed the color of the stroke around the photo. Solid color adjustment layers are super easy and quick to apply. Activate the layer you want to add the color to, then click on the adjustment menu (half filled circle) and choose Solid Color from the pop-up menu. From there, the color picker box and eyedropper tool will appear. All you need to do is click on the page with the color that you want to use and the adjustment layer will be filled with that color. To apply to adjustment only to the element below it, simply clip it to that layer (Ctrl>Alt>G). And that is all there is to it!

The color stroke around the photo is just as easy. I was using a template by Fiddle-Dee-Dee Designs that already had the stroke applied, so all I needed to do was double click on the stroke effect in the layers palette to bring up the Stroke settings box. In the settings box, click on the Color box to bring up the color selector and then click on a color from your layout that you want to use. It is just that easy!

I hope you have fun playing with color on your next layout!
Until next time ~
Judie (HeyJude)


