PHOTOGRAPHING YOUR TREE
Photographing your tree can be a bit tricky. Indoor lighting can be challenging at the best of times and trying to photograph your tree in a darkened room with sparkly bright Xmas lights can be even more trickly. You may have limited space, as we do, as our home is an older home with small rooms. Don’t dispair, I’m going to share some tips and ideas on how to get some great photos of your tree.
I wish we had a large airy space to position our Xmas tree in, but we don’t. We have it next to the big screen TV and the table and hutch are pushed back into the corner, to accommodate the space for our tree which is too large for the area, but my hubs insisted on the bigger tree. I’ve seen some of those tall skinny trees which I am coveting but I’m almost positive we’ll never have one in our home.
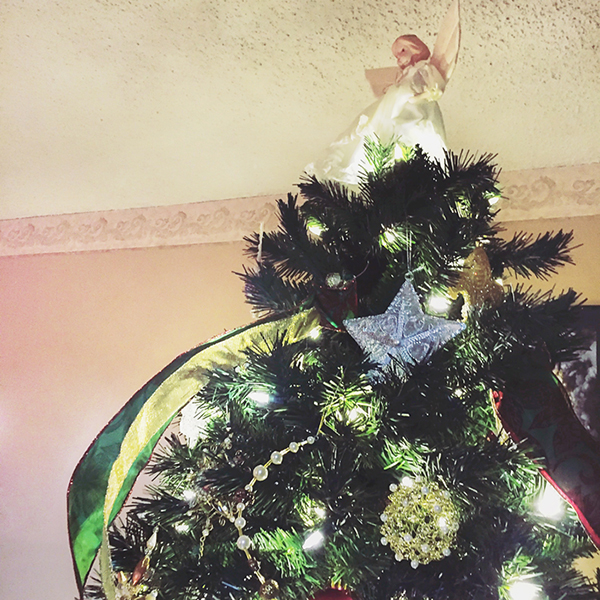
One thing I always do is take photos later in the day and have the tree lights on. I don’t want flat even light for my tree photos, I want to see some shadows, some depth. If needed, I can bounce a bit of light back off a wall back onto the tree using a speedlight or a flashlight (video lights work fairly well) or turn a light on in the next room so some light comes through the doorway. If you want to include the space around your tree in the framing of your photo, try a few different positions and move around the tree. What you capture in your framing can vary greatly just by moving up/down and sideways. If you have a lot of distracting items in your room, come in close and photograph part of the tree. This is what I did with my iPhone. In this photo, I shot upwards, toward the angel (please excuse the popcorn ceiling which we’re too lazy to replace so we just complain about it constantly LOL). I applied a filter with the Photoshop app and was done; easy peasy, and while iPhone photos have improved with each version that comes out, they are still not ideal for indoor photos, but what it lacks in quality, it makes up for in convenience. So in my world, my iPhone and my DSLR both are equally useful in my photography.
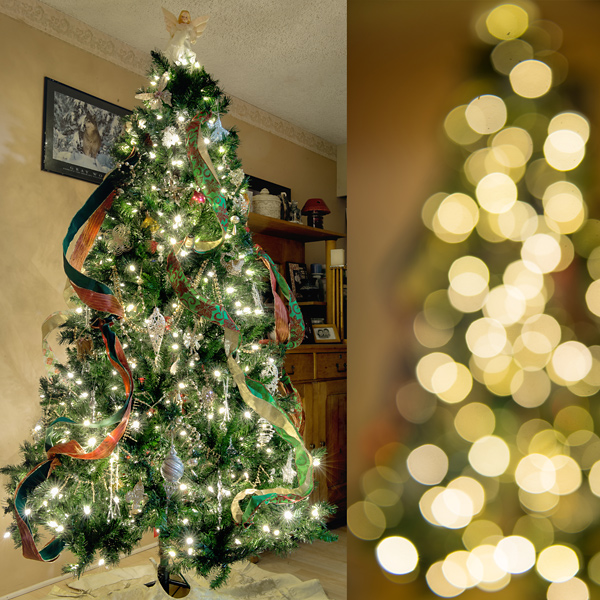
If you have a camera that allows you to adjust the aperture, you can really have some fun with your photos. I like to take a photo with the aperture set to about f/16 so that I will get a bit of starburst effect with the tree lights. Then I will take a photo in manual mode, adjusting the focus ring to get a tree shape blur of bokeh. Because I’m taking photos later in the day, the lighting is minimal, there are no lights on close to the tree, with only a bit of light coming through the doorway from the kitchen ceiling light and a bit of light from the other direction from a lamp. If your need to adjust your shutter speed to anything less than 1/60 I recommend using a tripod or positioning your camera on a solid surface using a timer or trigger, to eliminate any camera shake which will result in a blurry image. Here’s a photo of my tree this year.
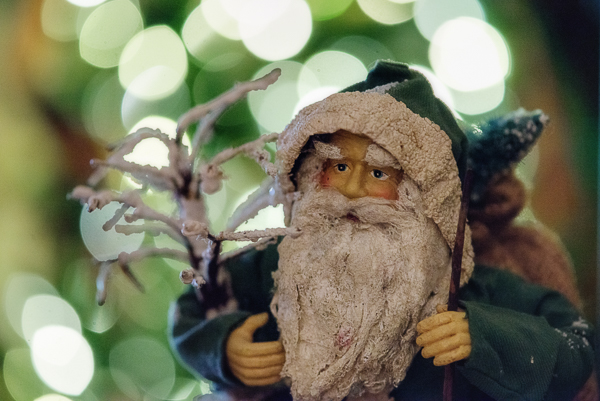
Another fun way to use the bokeh of the tree lights is to photograph something in the foreground with the bokeh behind it, as I did with this santa statue. I adjusted the aperture to f/1.8 for this photo.
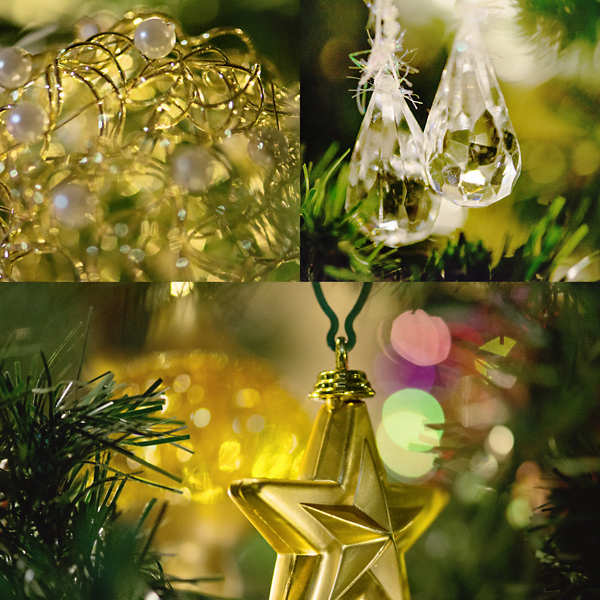
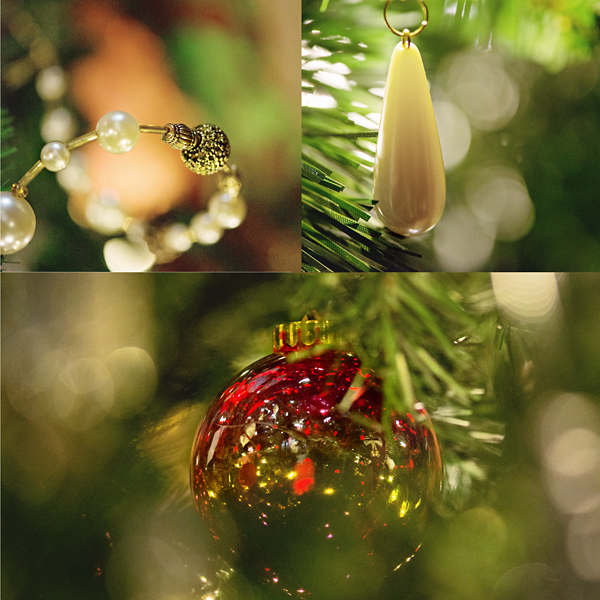
Then comes the fun part of photographing ornaments on the tree which is my favorite part. I can come in nice and close, keep my aperture at about 2.8 and take a variety of shots from above and below, focusing on the ornament so the background will be blurred. I also like to come very close to the tree, focusing through the tree on an ornament on the inner branches, creating some interesting rimming around the edges of the image. Here are a few images of my ornaments.
No matter what camera you use or what your lighting is, photographing your tree is possible, so be creative and have fun!