Creating a Recipe Binder: Part 2
Welcome back LilyPad readers! Today I have the second part of my series about creating a recipe binder. In my first post of this series I discussed how to prep for this massive project. Today I’m going to go into a bit of detail how I put my recipe binder together. I hope you will follow along and be inspired to tackle your own growing pile of recipes.

To put the binder together I broke it down into five steps again. I found breaking each task into smaller task made this project easier to accomplish.
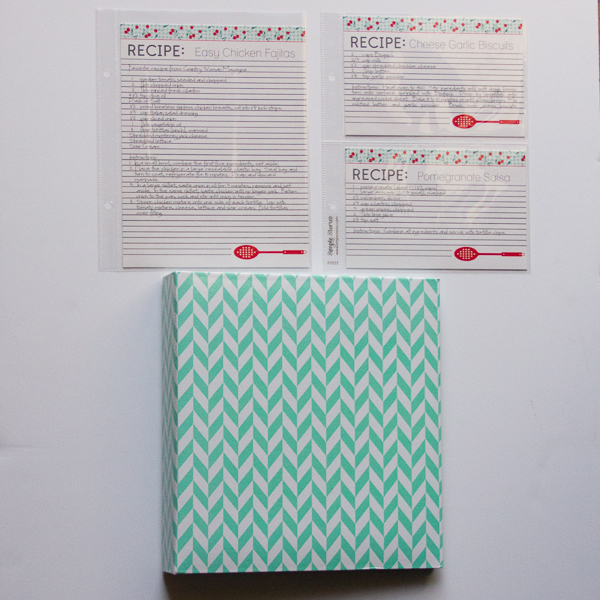
- Choose a binder – I knew that I would need a binder that was sturdy, not too big, and was easy to clean. I selected a 6×8 teal binder by Becky Higgins. This binder has a nice slick cover that I’ll be able to wipe down and the integrity of the binder seems good. Also I thought the 6×8 size would work nicely as it is comparable in size to a normal recipe book.
- Choose page protectors – My recipes were getting dirty from all the splatters I made while cooking. To keep them clean I chose to get page protectors for them to be stored in the binder. I chose page protectors were by Simple Stories in two different configurations (4×6 and 6×8).
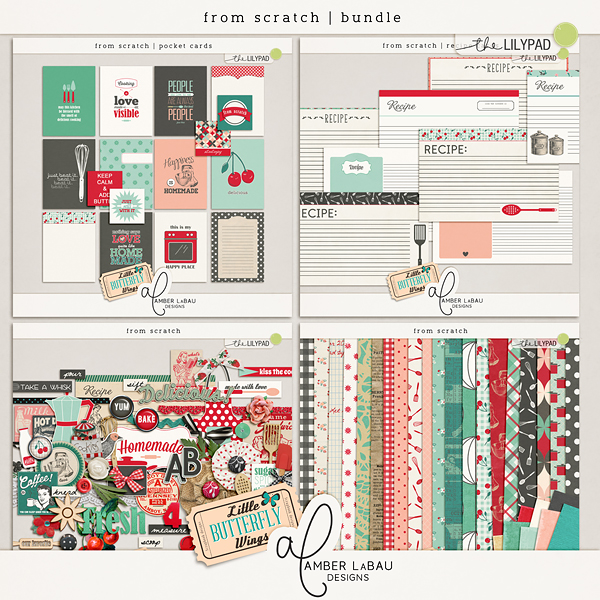
- Create your dividers – This was the fun part! I selected the From Scratch Bundle by Little Butterfly Wings and Amber LaBau Designs. This bundle matched the colors I had in mind for my project perfectly.
To create my dividers I used a Simple Stories divider that I already as a template. I measured the size of it and then created a square layout in Photoshop, that was about 1/2″ bigger than the dimensions of the divider. After creating the divider and printed it out using the borderless feature of my printer.
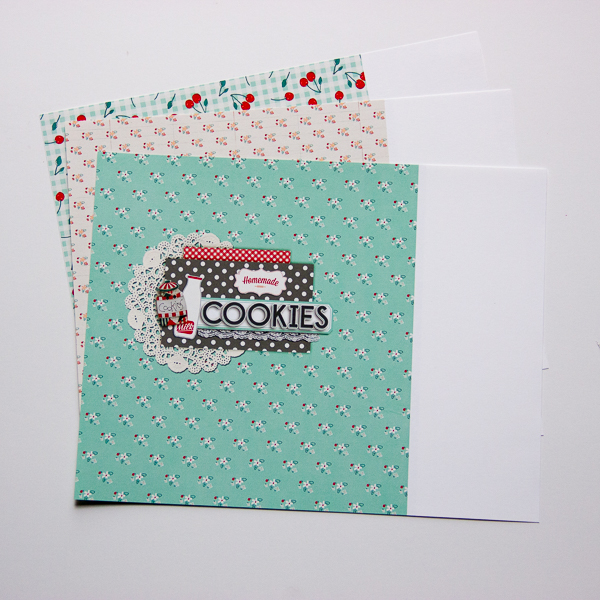
I then traced around the design using the divider as a guide.
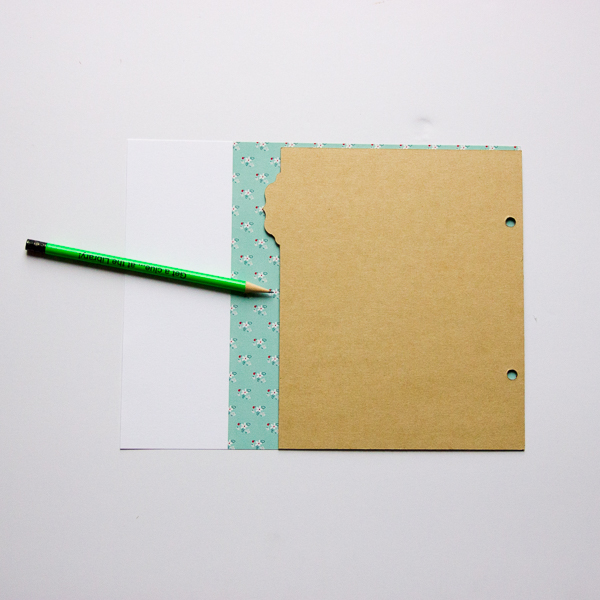
All that was left was to cut along the lines, punch holes for the binder, and laminate them. Below is a sample of what my first three dividers look like.

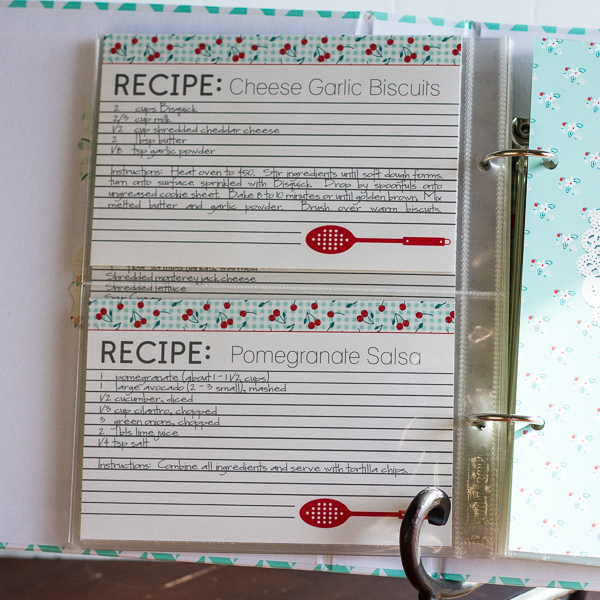
- Create recipe cards – This step takes a lot of work. Taking all those recipes and retyping them so they match and are pretty takes quite some time. I’ll admit I am still working on this step. For my shorter recipes I used the cards in the From Scratch Bundle by Little Butterfly Wings and Amber LaBau Designs. But some of my recipes were longer and didn’t fit on a 4 x 6 card. Using a bit of Photoshop magic I took the same recipe cards and lengthened them to 8 x 6 so that my recipes fit. My 4 x 6 cards I’m sending off to printed at a photo lab. The 8 x 6 recipes are being printed at home. Here’s a peak at what they look like in my binder.

- Assemble your binder – It was so fun to see my binder come together!
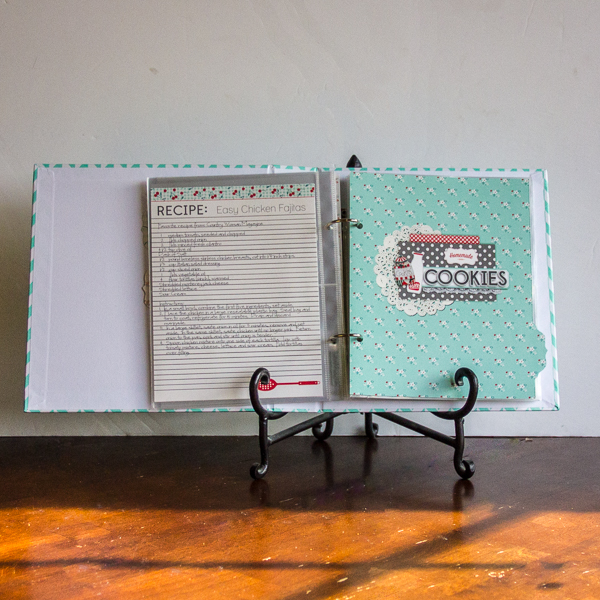
While this binder was a huge undertaking and took a lot of my time I am so grateful I did it. Instead of recipes scattered here and there, most everything can easily be found in one place. I hope you found this informational and motivating to start your own recipe binder.