Planner Love: DIY Accessories Using Memory Pockets Monthly Almanac
Hey, everyone, Sarah here. I have a really fun post for you today. I’m so excited to share my new planner with you and show you how I made some cute planner accessories for it.

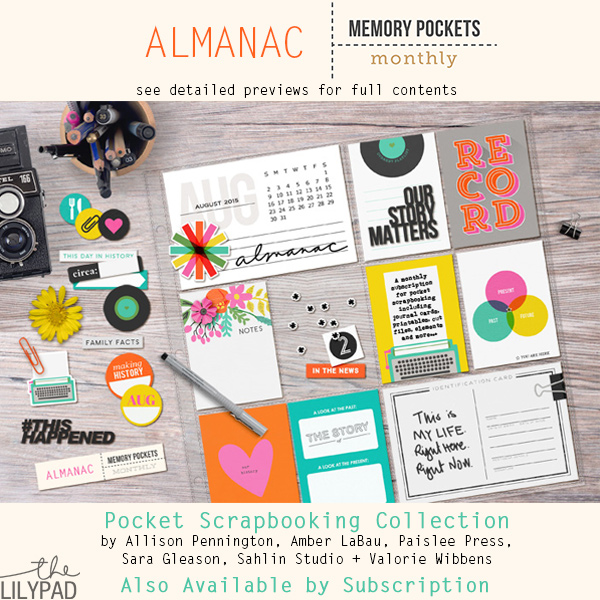
A couple of weeks ago I bought a Me and My Big Ideas Happy Planner. I love using this planner so much and I’ve had an awesome time decorating the past month’s pages. I decided to use the Memory Pockets Monthly: Almanac Main Kit for next week’s planner pages.
For my first accessory I decided to make some page flags. I love the little arrow labels included in the kit. I printed ten of each color onto 24lb. copy paper and cut them using my Silhouette Portrait. I lined each color up and clipped them using binder clips to hold them together and lift them off the table. I applied a layer of padding compound (the same stuff used to bind notepads) to the end of each stack of labels. If you aren’t able to find padding compound I’ve read that you can use rubber cement to bind your flags in the same manner.

I resized the journal card with the orange dots to just slightly wider than the width of my page flags. I then printed this out on cardstock and folded it to create a little holder for my page flags. I also resized the super cute typewriter journal card to 1.5″x2″ so it would fit inside the boxes of my planner. I printed out a page of these onto copy paper and trimmed them down to size. I applied a thin layer of a repositionable glue stick to the back of each paper and let them sit for about 30 minutes. I then stacked the pages on top of each other. I use the inside front cover of my planner as a dashboard and I think my sticky notes look super cute sitting there.

Next I decorated some binder clips using a couple of the fun designs from the MPM kit. I printed these out on sticker paper and then cut each design to the width of the binder clip. Once I placed the sticker I trimmed to the correct length using a craft knife. For the paper clips I printed two of the circle icons included in the kit to just over 1″ in diameter. I used my Epiphany Crafts punch and bubble caps to create a piece of flair, then hot glued a paper clip to the back of each flair.

I used one of the binder clips to create a pen holder for my planner. It’s so important to always have a pen easily available when you use a planner.

I decorated next week’s spread using my new fun accessories along with other fun items from the MPM Almanac Main Kit.

If your a planner person and make any of these accessories I’d love to see them. I’m really loving discovering all the ways to make this planner more fun.
