Make It Monday Graduation Cards
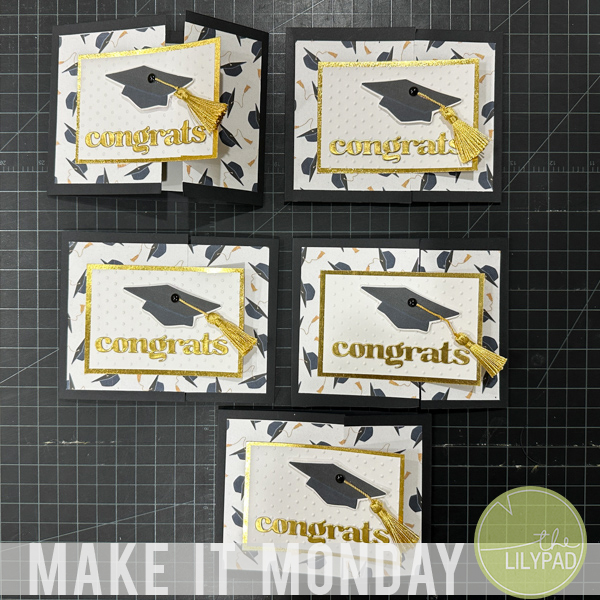
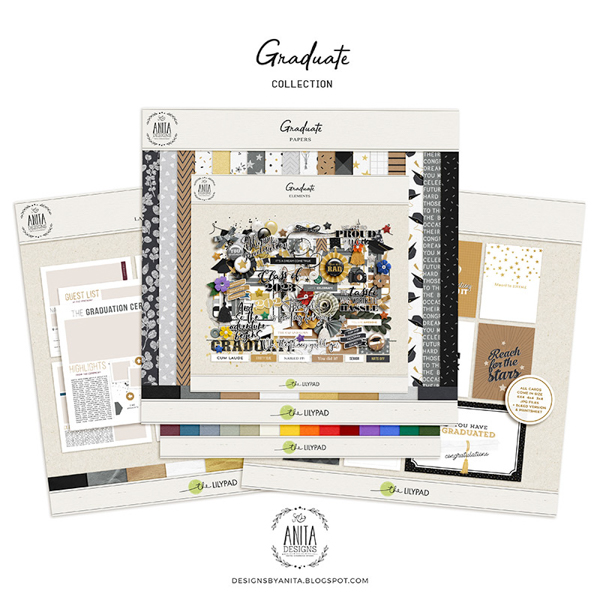
Polly Robin here to share with you some graduation cards I’m making for Make It Monday. Where I live, this time of year means it’s hot so I’m inside making cards today. Let me show you what I’m doing! I’m using Graduate by Anita Designs for my cards because I love the cap element as well as the cap filled background paper.
The first thing I did was cut out all my papers. For each card I did the following:
- From black cardstock, I cut an 11 x 4.25-inch rectangle and scored it 3.25 inches from the left side and 2.25 inches from the right side.
- From gold glitter cardstock, I cut a 4 x 2.75-inch rectangle.
- From my cap filled paper, I cut one 5 by 3.75-inch rectangle and then cut that into two pieces, one measuring 3 x 3.75 inches and the other measuring 2 x 3.75 inches.
- From a piece of white embossed cardstock, I cut a rectangle 3.75 by 2.5 inches

Next, I adhered the decorative panels to the card base and layered the white embossed paper on top of the gold paper. I also cut out all the graduation hats and glued tassels onto them and used a black enamel dot on top. These graduation caps and “congrats” sentiments were placed on the white embossed cardstock.
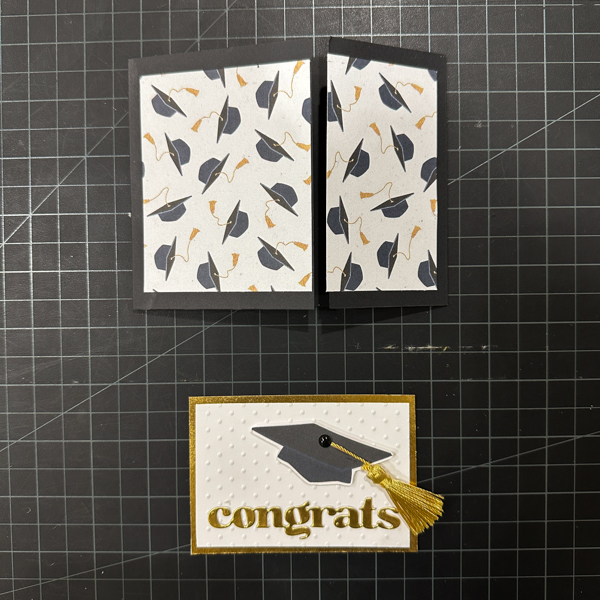
All that was left was to put glue on the left side of the center piece and adhere it to the larger card base flap while making sure NOT to put glue on the portion that would overhang the small section (otherwise I’d glue my card shut!).

That’s it, I had five cards ready in no time. Honestly the hardest part was fussy cutting the graduation caps and waiting for the glue on the tassels to dry (have I mentioned I have no patience when crafting!).
I’m hoping all the recipients like it and that you find my process easy to follow and maybe try it some day yourself! Thank you for reading this post and looking at my card. See y’all next month with another Make It Monday card.