Halloween Project Parade Series: Part 1 of 3

Today we are introducing a new series on the blog, The Project Parade. Everyone loves a parade! We are behind the scenes strolling the virtual aisles of the Lilypad to showcase some products that will work perfectly for your next themed layout or project! We aren’t just showing off what we create, we intend to give you tips and tricks along the way. This month it’s all about Halloween! As you know, The Lilypad is filled to the brim with so many amazing products that it is impossible to put it all in one place. The parade will travel through each Wednesday and we hope to continue to inspire you to create. Now let’s get this parade in motion.
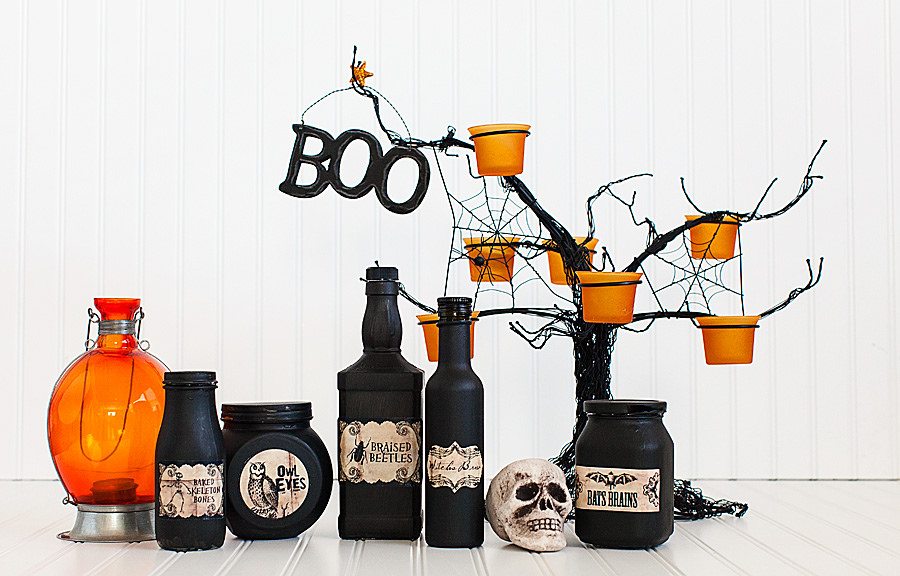
To start off the parade Farrah used Midnight Magick Labels by Amy Wolff to create some fun Halloween decor using items that you probably have lying around the house.

Farrah’s tip: Add potions to your decorations or party. Paint jars black, then add Midnight Magick Labels printed on sticker paper.
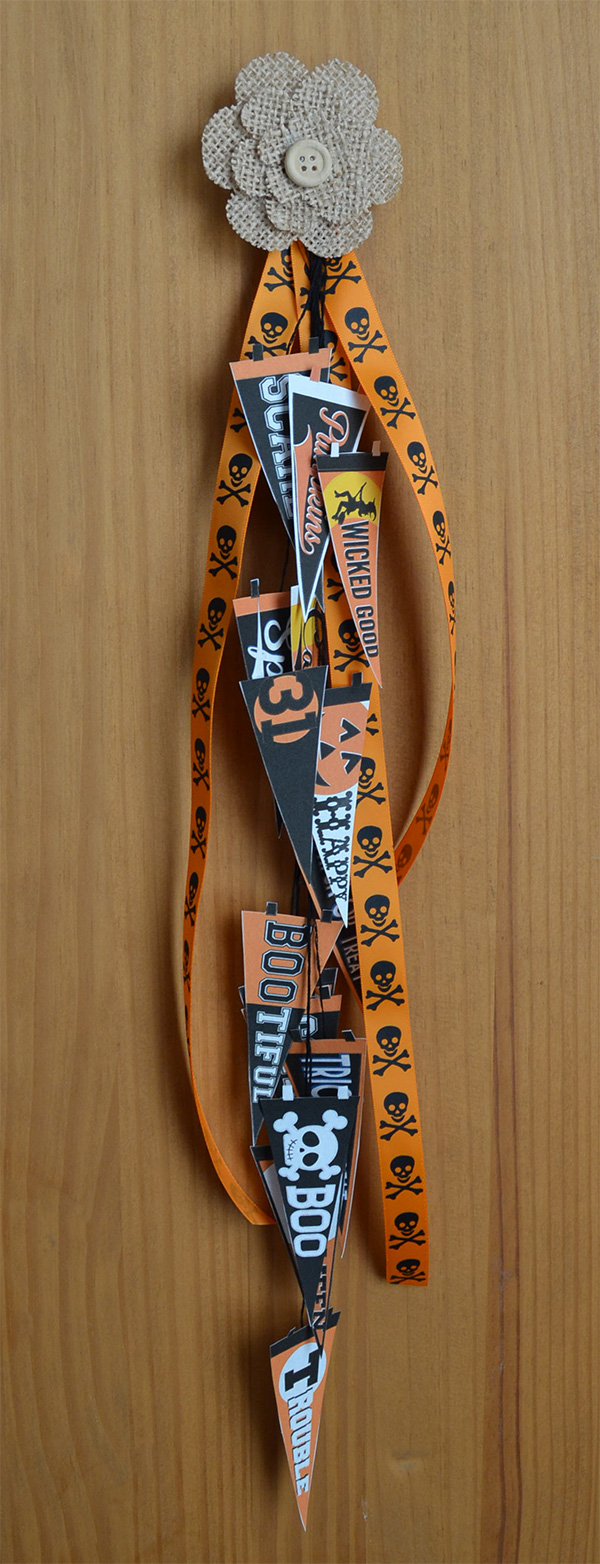
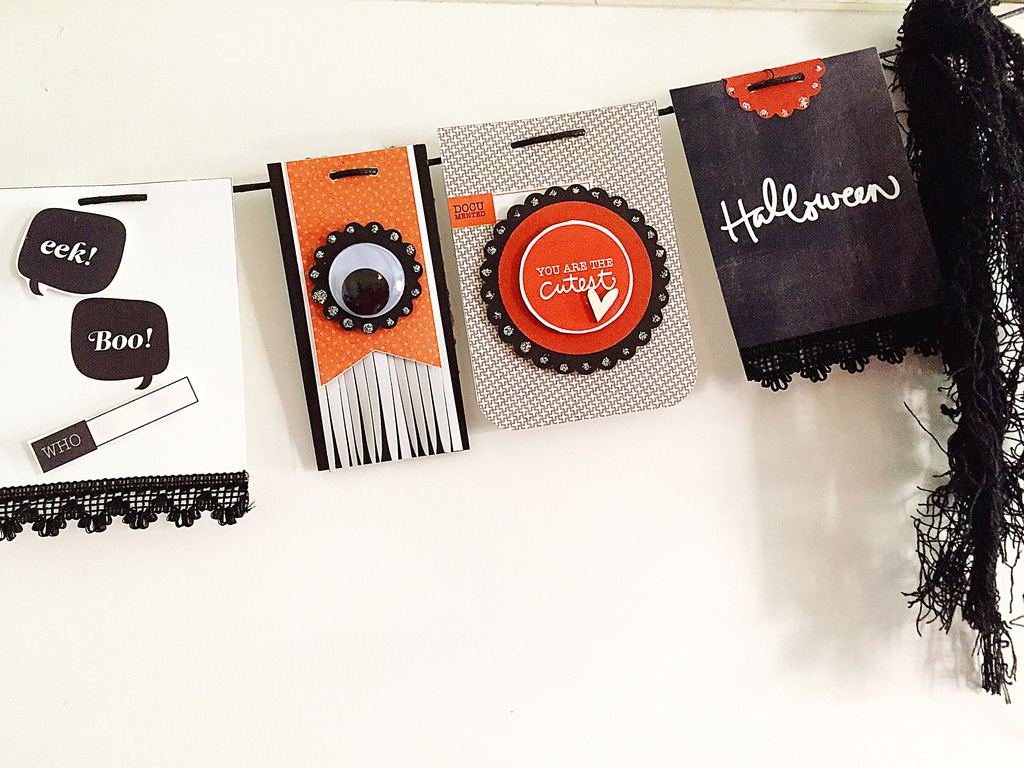
Trista created a wall hanging using Tricky Pennants by Forever Joy Designs.

Trista’s tip: Cut string in various lengths so the pennant will not lay right over the top of each other. This creates lots of layers and depth in a project.
Brynn Marie created a stunning Halloween wreath with the Halloween Banner from Jacque Larsen.
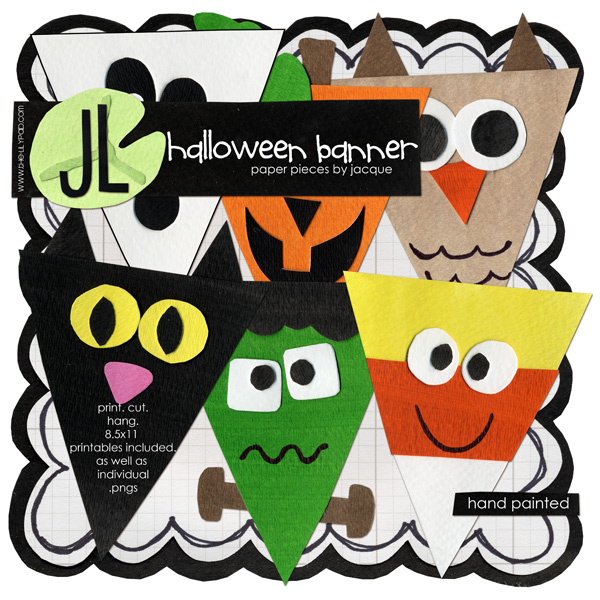
Brynn Marie’s tip: Resize images from a kit to fit your project.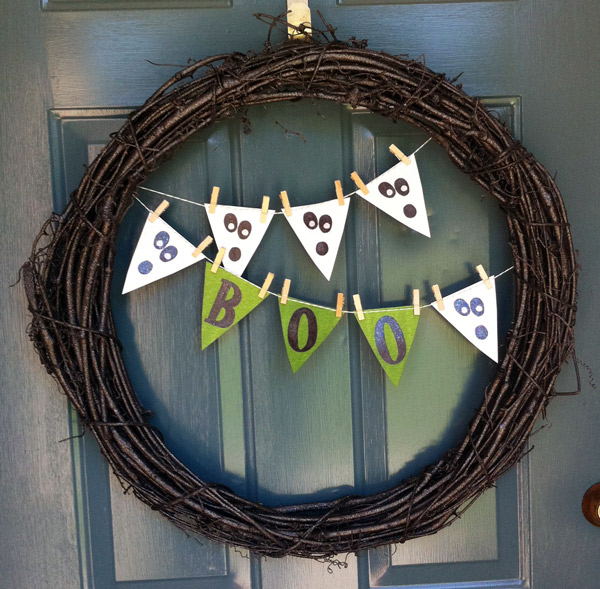
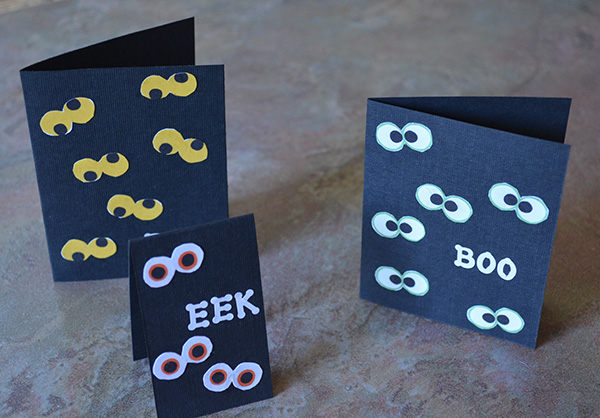
Trista created a series of spooky Halloween cards using Boogly Eyes by Jacque Larsen.
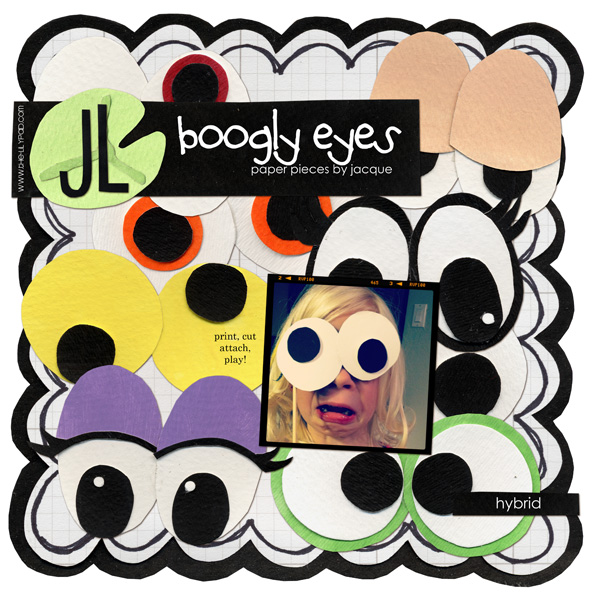
Trista’s tip: Prints lots of eyes from Boogly Eyes on a sheet of white cardstock. Give the kids the opportunity to participate by letting them cut out the eyes.
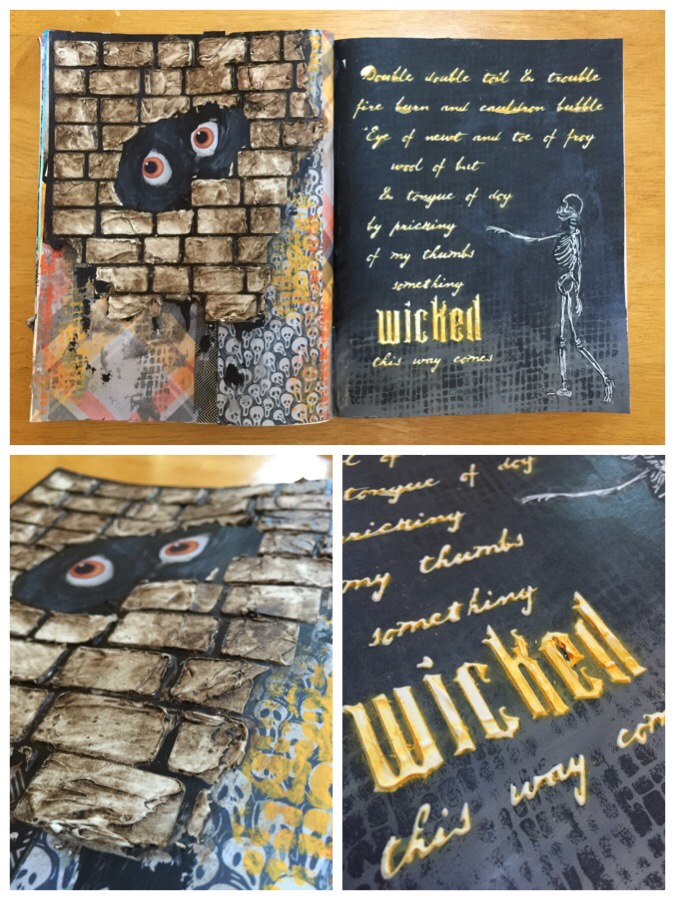
Karen shows how making a mess can be fun by using Creepy from Pink Reptile Designs for her Halloween inspired art journal page.
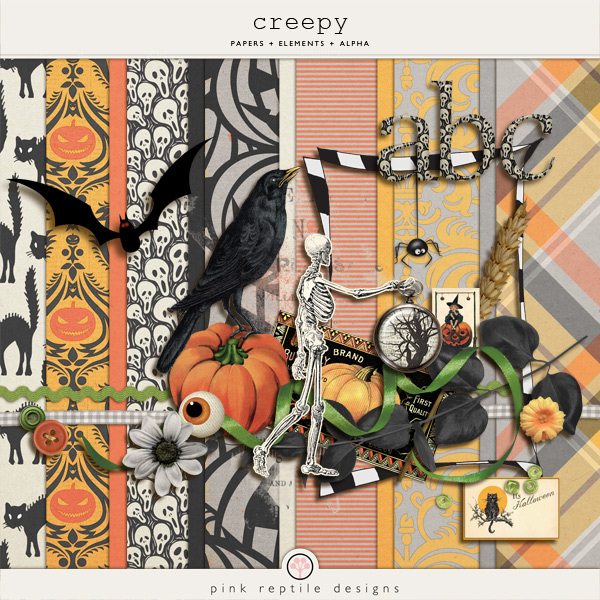
Karen says: “I played this weekend and at first it wasn’t turning out how I wanted, but I just kept playing and ended up loving this so much! I did an image transfer with the skeleton on black then I sketched on top with a white gel pen.”
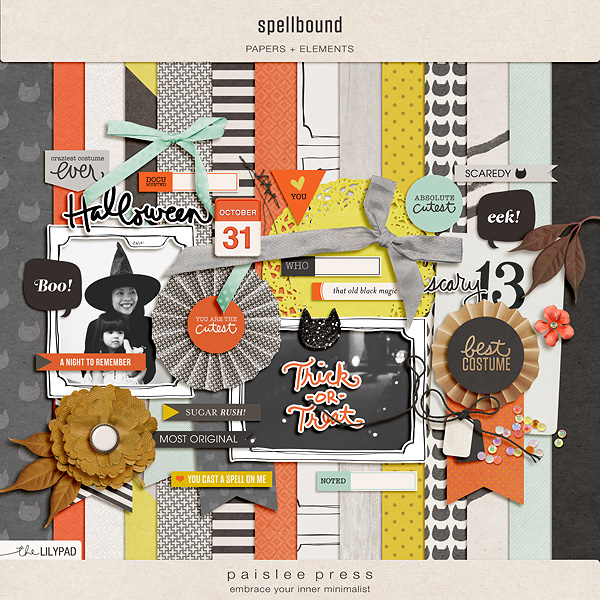
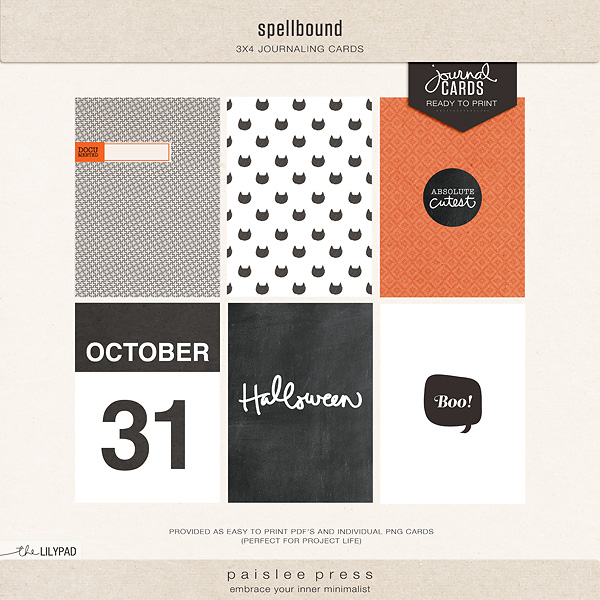
Anna and Kerrianne both did an amazing job with both the Spellbound Kit and Spellbound Journal Cards from Paislee Press.
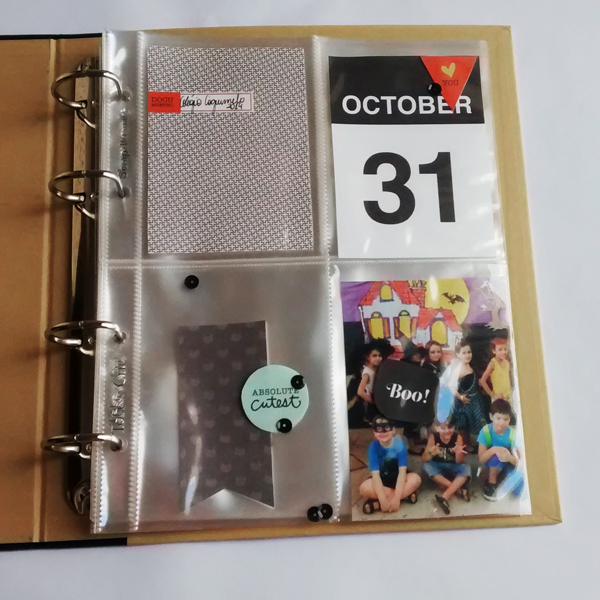
Ana Paula created a great pocket page. Notice how she added additional embellishments to the journal cards to give them a more personalized touch.
Kerrianne did a fantastic job on this banner. Look at all of the details she added to make this banner rock!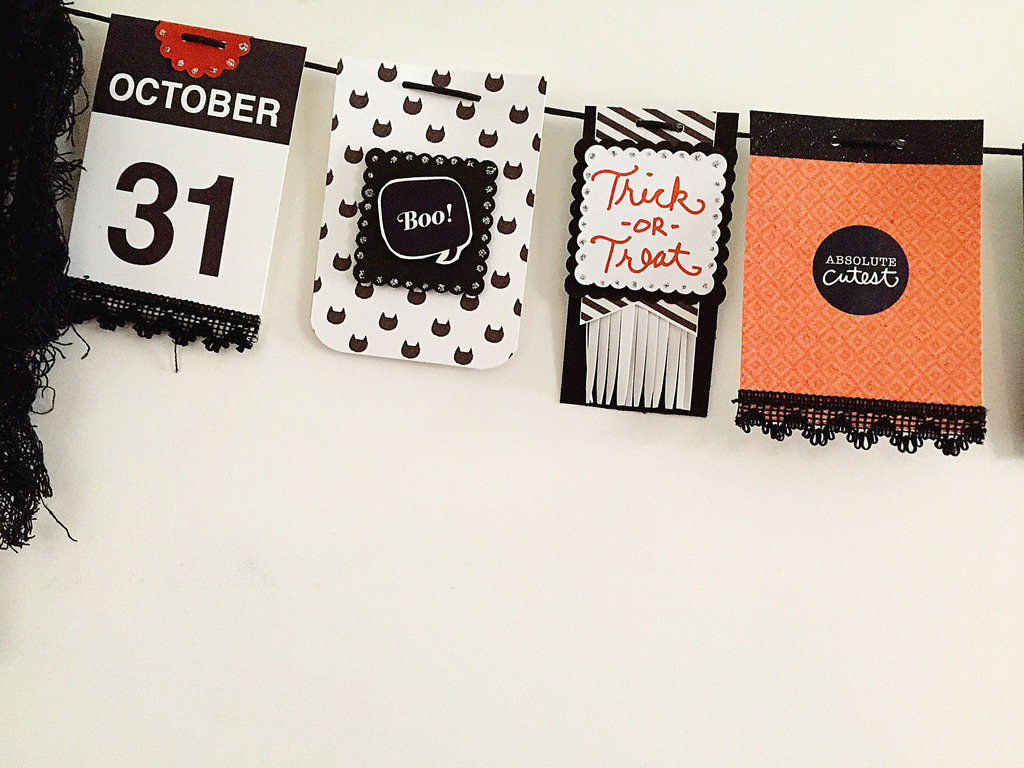
Trista created these not so spooky Halloween themed lunchbox jokes using Halloweenies: Primitives by Kate Hadfield.
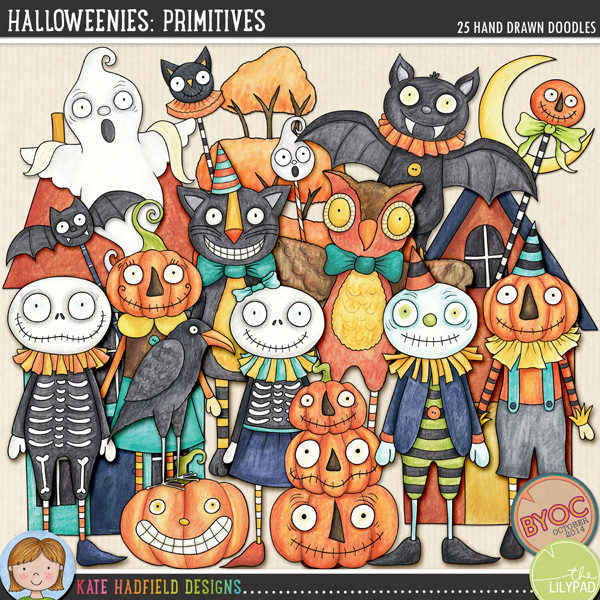
Trista’s tip: Use images from Halloweenies: Primitives to create note sized joke cards. Print cards and write in the answer to the riddle on the back, along with a personal note for your child. 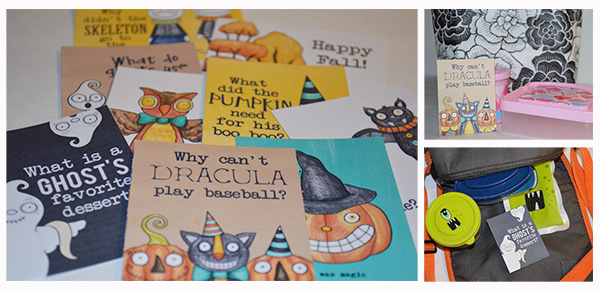
Thanks for being a part of our first project parade! Stay tuned next week for part 2 of this 3 part series!