Pattern-Palooza
Happy Wednesday everyone! It is time for another awesome SOSN (Something Old, Something New) 50% off sale – and I am dropping in to share with you some of my favorite ways to work with those amazing patterned papers you find in digital scrapbooking kits. (BTW – all of my sample LO’s were made with kits available in today’s SOSN sale. Click on layouts for full credits and links to the store.)
Do you love those gorgeous digital pattern papers, but find it difficult to work them into your pages? I admit, I am a huge fan of working with white (or almost white) backgrounds. I love how the elements and words just pop right off a white background, but sometimes I also find pattern papers that are simply too awesome to resist.
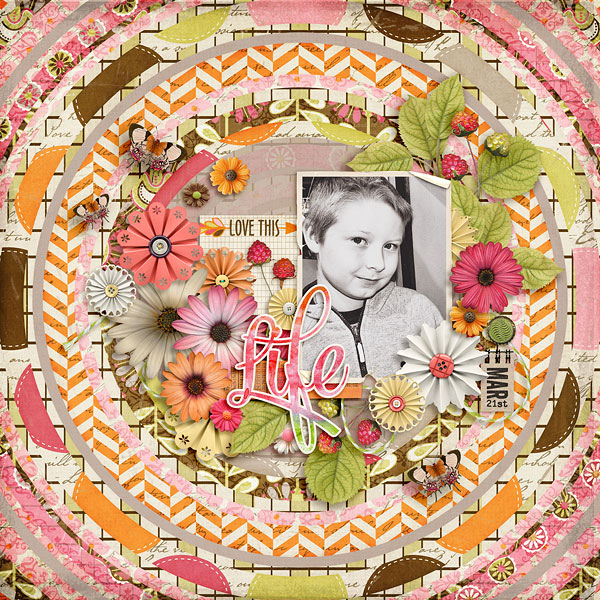
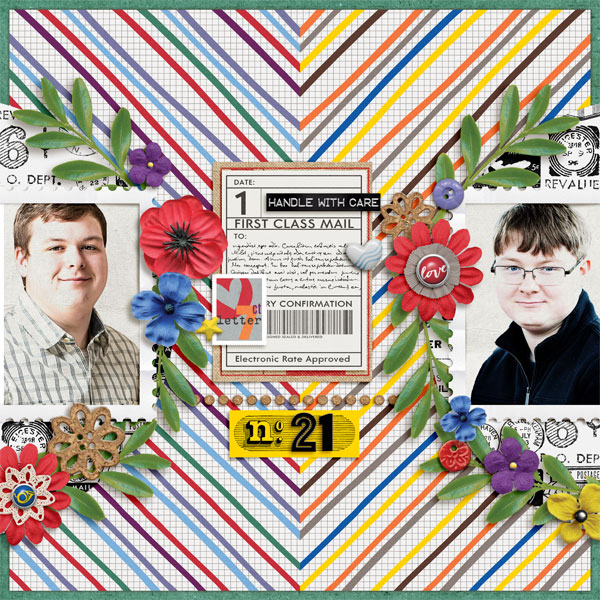
The trick when using pattern papers as your background is to carve out some “clear” space around your design so that it pops off the page, instead of blending in with the pattern background. I carved out clear space on this layout by creating a vellum-like mat in the center for my elements to rest on.
I created the vellum mat with the following steps:
1. Create a new blank layer just above the background paper in the layers palette in Photoshop/PSE.
2. Draw a circle with the elliptical marquee tool (located in the same menu with the rectangular marquee tool). I drew mine to fit in with the background paper. If you want a perfectly proportioned circle, hold down the Shift key while dragging the circle shape with the elliptical marquee tool.
3. Fill the circle with your color of choice (this will act as a clipping mask, so you can choose any color).
4. Now clip a solid paper to the mask you created in Step 3, and adjust the opacity of the mask layer to your liking. The opacity of my mask layer is set to 80%. (If you don’t have a solid paper that works with your design, you can fill the mask with the color you want to use, and then adjust the opacity to your liking.)
Here is the comparison with the vellum mat and without it:
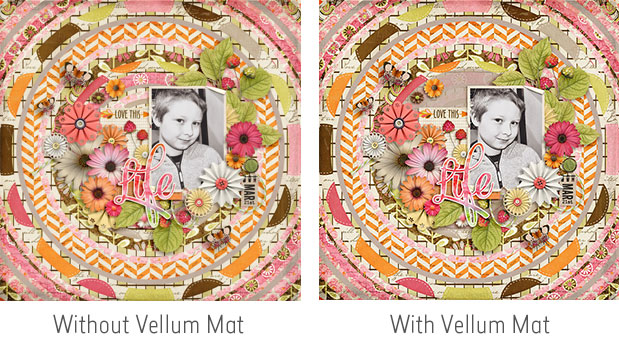
Notice how the design just pops a little better with the Vellum mat, than without it?
Another favorite trick for working with pattern papers as a background is to create a solid border for the page to rest on. This border provides grounding for a busy pattern and is easier on the eyes. This page is a good example of this technique:
I actually used the mat technique I discussed above on this page, in addition to the solid green background mat. I have a really quick trick for for perfectly centering the patterned background too.
1. Activate the background layer in the layers palette and click Ctrl-T to activate the Transform mode.
2. Now simultaneously click on Shift and Alt while you drag one of the corners to make the pattern paper smaller. Shift keeps the transformation proportional (a perfect square) and Alt causes the transformation to affect both sides equally. With this trick, you can easily achieve even borders on all sides of the page.
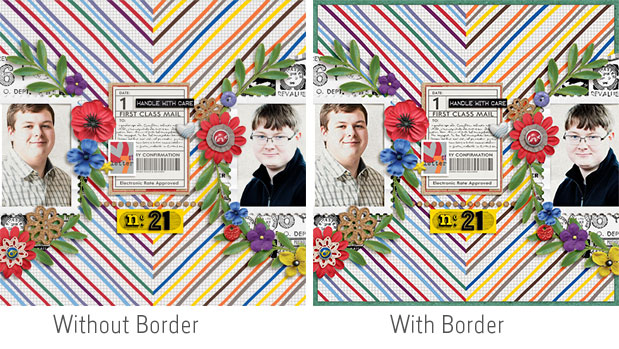
Here is the comparison with and without the border:
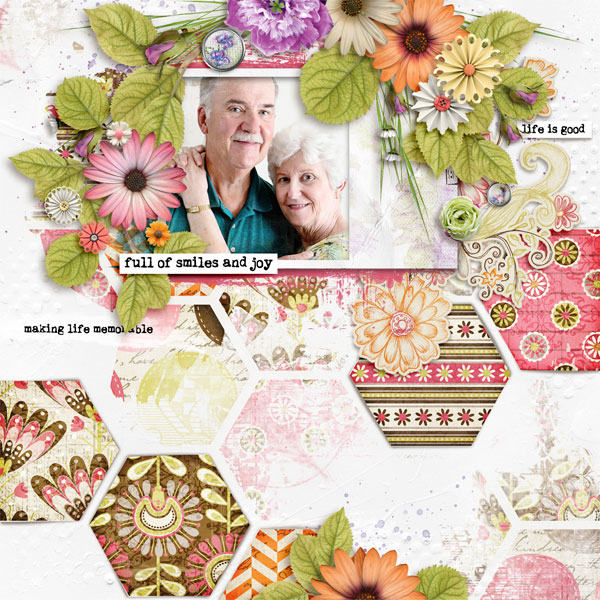
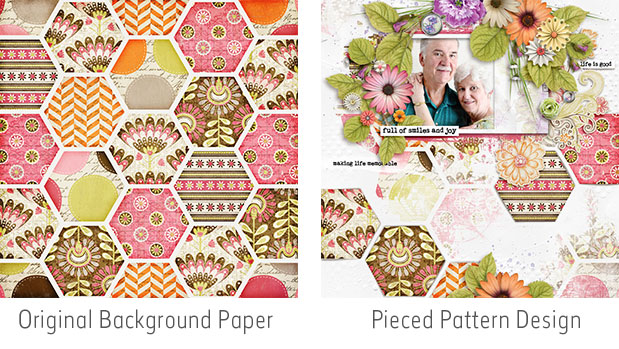
The final technique I am going to share with you might just be my favorite. You shouldn’t feel that you need to include a pattern paper in its entirety to get the effect of the design. Instead, be creative with brushes and digital cutting tools to get enough of the pattern to show its effect. Take a look at what I did with the background pattern on this page:
This is a more complicated technique than the first two, but “oh so worth it” in the end. These are the steps I used to make this layout.
1. I started with a clean white background paper from Just Jaimee’s Textured Gesso Papers set. You can also start with just a plain white fill, or a lighter color solid paper from the kit(s) you are using.
2. I started by “painting” on some of the pattern with watercolor brushes. To do this, add your pattern paper of choice on top of the white background. Then add a mask and fill it with black to “erase” the pattern paper. Strategically paint the pattern back on with a watercolor brush set to white (white reveals parts hidden by the black mask). Watercolor brushes give it an artsy transparent feel that doesn’t overwhelm the page. Just Jaimee has a fabulous set of Barely Watercolor Brushes in the shop that you should definitely check out.
3. Finally, I added in several layered hexagons by cutting them out of the pattern paper with the Polygonal Lasso Tool. To do this, add a new copy of the pattern paper activate the polygonal lasso tool. Click on one of the corners and drag the line to the next corner and click again, then to the next corner and click again until you get back to the starting point. A little circle should appear next to the tool indicating that you are about to close up the shape. Once you complete the shape, you should see the “marching ants” appear. At this point, click Ctrl-J to cut this piece and move it to a new layer. Once you have cut all the shapes you want included in your design, delete the original pattern paper and you should just see the new cut shapes. You can leave them as is if you want it to appear as a flattened paper. I chose to add slight drop shadows to the cut pieces and then warped them a bit to make it look like I actually cut pieces of paper and used pop dots to glue them to the page.
NOTE: I usually create my pattern AFTER I have placed all my elements so that I can strategically place the brushes and paper pieces around the elements. However, feel free to create the pattern background first, then place your elements around it if that works better with your creative flow.
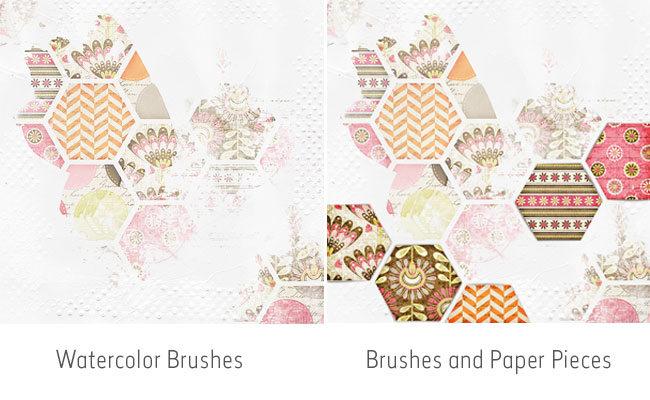
Here is what the page looks like with just the white background and brushed on patterns and paper pieces:
And here is a comparison of the original pattern paper and the finished layout:
That’s all for this week, but I will be back next week with some more artsy inspiration to share!
Until next time ~
Judie (HeyJude)