Make It Monday | Confetti Card
Hey there!
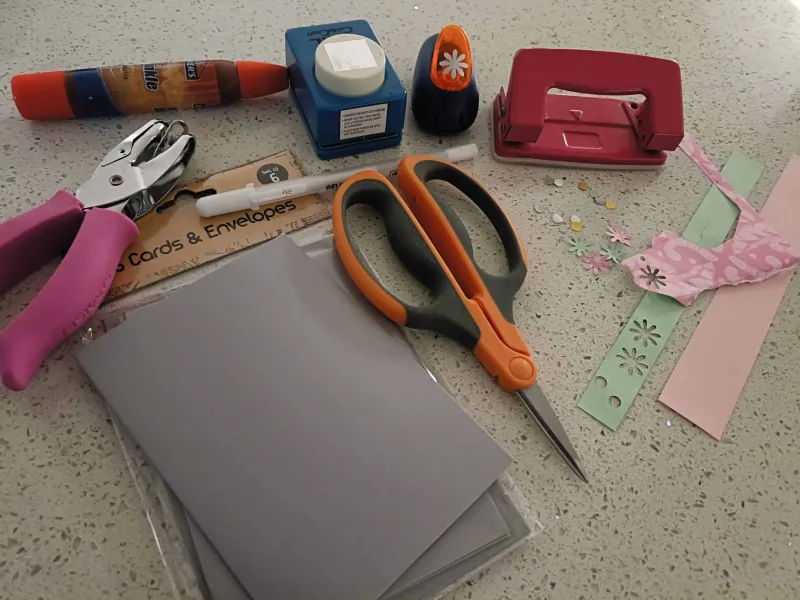
I’ve documented some of my hybrid Silhouette Cameo and cardmaking adventures on the blog before and I feel like sometimes we overcomplicate things. Hybrid and card making doesn’t have to be daunting and use all the things. I still find my Silhouette (or lack of practical knowledge of it) frustrating, so today’s card you can make literally from scraps and basic supplies like scissors and glue, and if you have one tucked away, a hole punch.
Nothing says fun, celebration or ‘hooray!’ like confetti to me and you can make that with anything from a Silhouette through to an old school hole punch (you know the ones you’d punch holes in paper with to fit those D-ring binders in school?). Those thin rectangle sprinkles that usually decorate donuts work here too if you left your hole punch in the ’90’s, and are super simple to make even if you just have some scissors.
I started with a pre-made silver card base. I printed a banner shape with ‘Happy Birthday’ typed in a basic italic font and cut it out. (You could make an easier banner shape just by printing or cutting a long rectangle then cutting a triangle into each end but I’ll add the digi steps for making the faux-folded banner I used tomorrow).
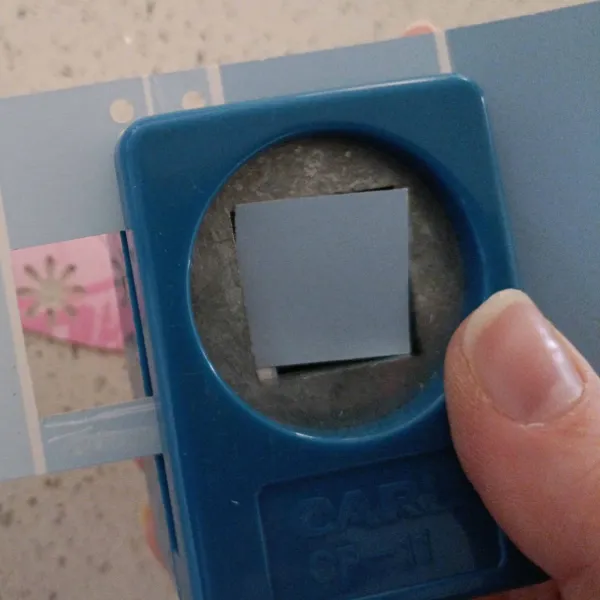
Then I used a square punch and white paint pen to make a very basic gift box that I topped with some punched paper flower shapes just layered on top of each other for some dimension, in place of a traditional curly bow. The binder punch confetti has some tiny sprinkle rectangle off-cuts of coloured paper among it and that’s pretty much it. I just snipped and punched some various coloured pieces from my ‘I can’t just throw that away’ paper pieces stash.
Handy tip: Using punches upside down is the way to go. You can see what you are actually punching then, more important when using patterned papers but also if you are using scraps and don’t want to accidently turn your square into a weird shape because you didn’t line up an edge properly. (Yeah, I know, almost sounds like I figured that out from experience…)
The gift box could be cut with scissors and you could add string or a heart or button in place of punched flowers, or add a printed digi-element for flair and to change it up, but I feel like this is a fairly flexible recipe for a card that suits any age or gender or occasion really.
Extra loose confetti (or glitter) could also be added inside the card and envelope but of course, that depends on how much you actually like the person and if you’d have to help clean up the joyful mess…
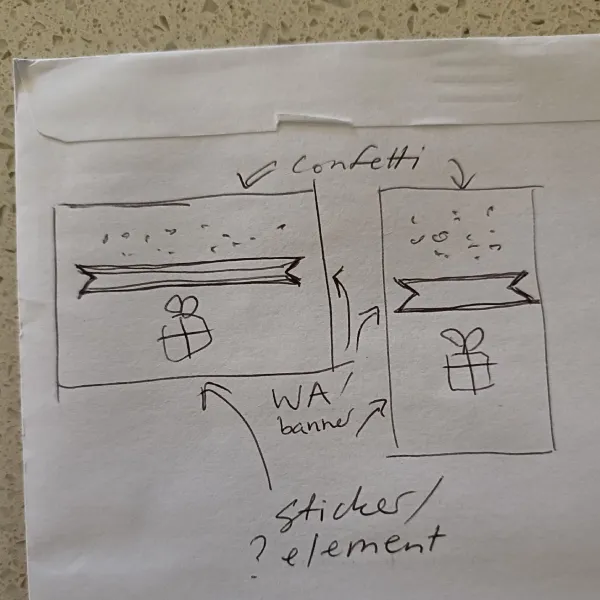
So here’s my recipe & sketch for this card:
- Scatter (confetti, glitter, beads, sequins etc)
- Horizontal piece (Word art / banner / ribbon, paper strip)
- Extra element depending on your theme or occasion (eg. giftbox, balloons, cake, other themed sticker, maybe alternate wordart or journal card)
And ta-da!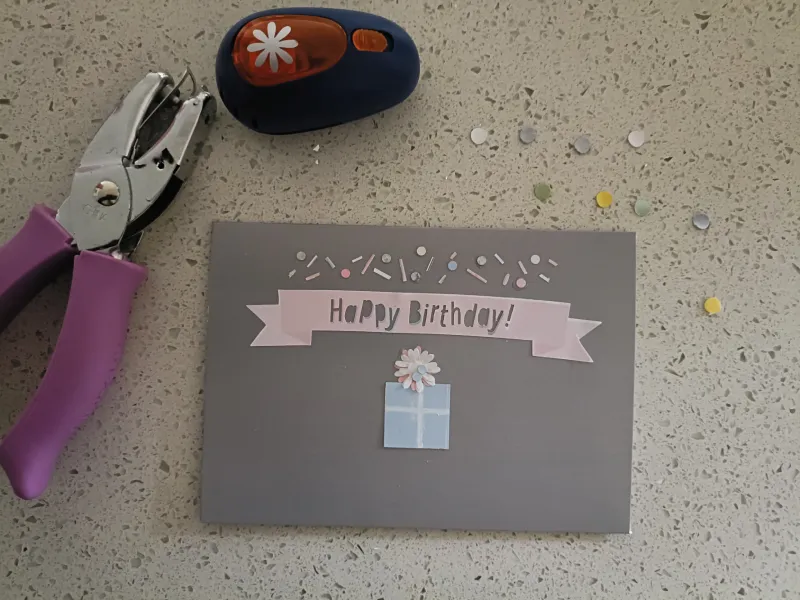
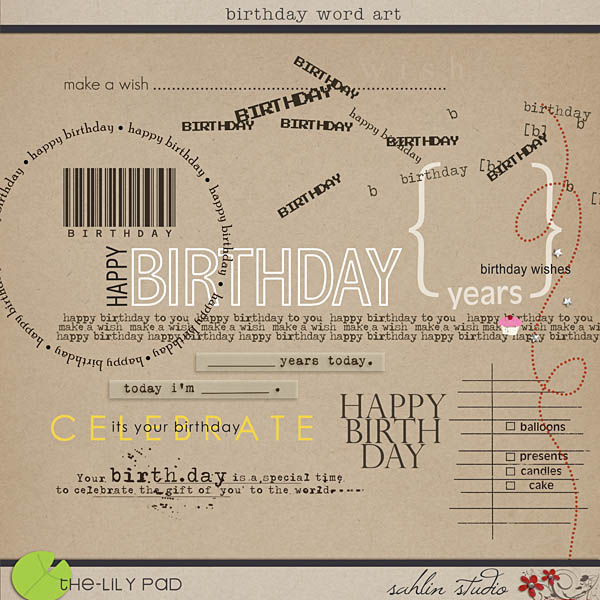
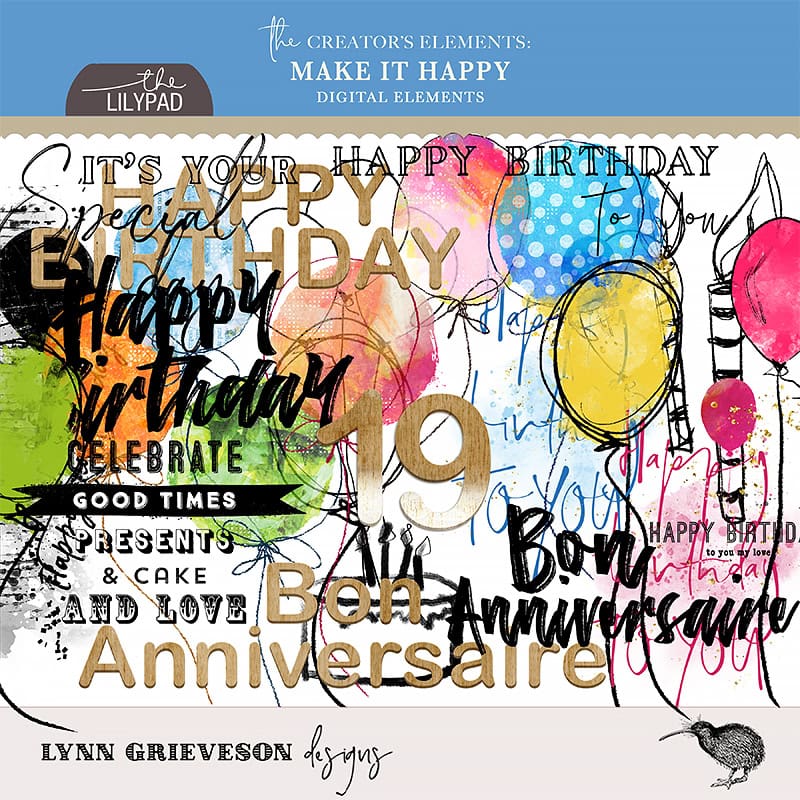
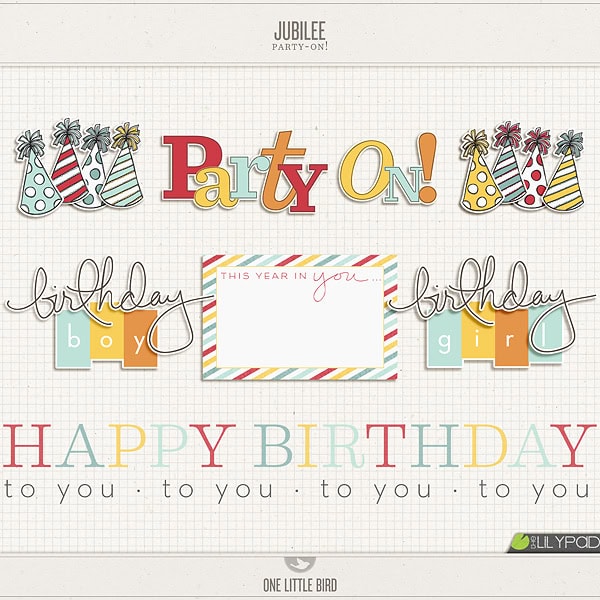
I’ll be back with another card following this recipe soon and a ‘how-to’ for the banner above, but if you’re all motivated to make a card or scrap some birthday pics now, here’s a few wordart packs for extra inspo from the store!


What a fun card Justine and I love that you can make it without any fancy cutting machines! Sometimes it’s great to just get tactile with a punch and some scissors!
Love this idea! With great digital designs, you only need a small number of other tools to make cards and other hybrid projects!