- Joined
- Sep 28, 2011
- Messages
- 6,271
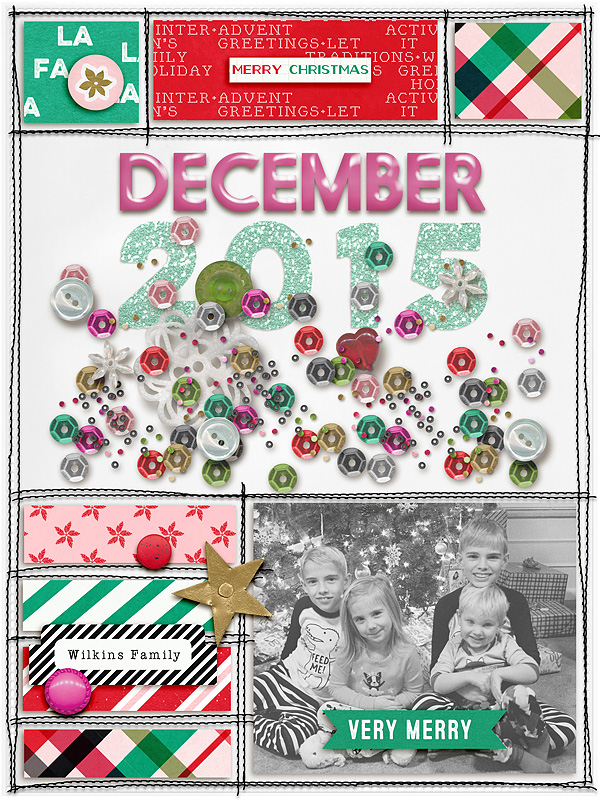
fun challenge! I used an epoxy style and a glitter style for my title:
Follow along with the video below to see how to install our site as a web app on your home screen.
Note: This feature may not be available in some browsers.
be careful Karen, this could be dangerous and addictive!Little nervous. Never used styles before!!
Question: Is there a way to organize them so it's not just one super long list I have to scroll through?