- Joined
- Jan 12, 2017
- Messages
- 3,179
Hello!
Guest Polly Ann-Sofie here! Have you ever thought of testing hybrid scrapbooking? You might have seen any of the hybrid projects in the gallery and wanted to try it, but felt overwhelmed by how you should put it together and print it?
We (the hybrid Polly team) would love to help you overcome the fear of hybrid and try it out and therefore we have a new monthly challenge coming up, where we dare you to take the step into the hybrid world. We promise, we will be taking baby steps, but we really want you to feel confident enough to make a hybrid gift tag, a birthday card and maybe bigger projects when this year is over.
Let’s start with a small project; a tag! It’s easy to print, easy to decorate and it doesn’t take an amount of time or effort to make. I love to have a small stock with tags and cards at home for special occasions. The tags are great to put on a gifted bottle of wine or in a bouquet of your garden flowers. You won’t need more supplies than a sturdy paper (if you print at home), a pair of scissors and some glue or double sided tape.
I decided to make some birthday tags and found the colorful Sprinkles Kit by Becca Bonneville that worked perfectly for this project. This is the document I put together for printing. I put everything on an A4 sized document, but if you just want to make one single sided tag, you could make it on a 6x4 sized document and print it in a print shop.

I always start with the background of my project, in this case the rectangles that will become the tags and places the elements on it to see what size the elements should be. I then rearrange the elements on the document background for the printing. This way I know the elements will fit perfectly on the tag.
I have a paper cutter but these tags are easily cut by scissors or with a knife and ruler, if you don’t have a cutter. I used the scissors for cutting the embellishments and word arts. The last step was to assemble and decorate. I made one single sided tag and one double sided tag. I like to use foam tape for creating dimension on the tags, but that is not necessary, it can be just as pretty without the dimension.
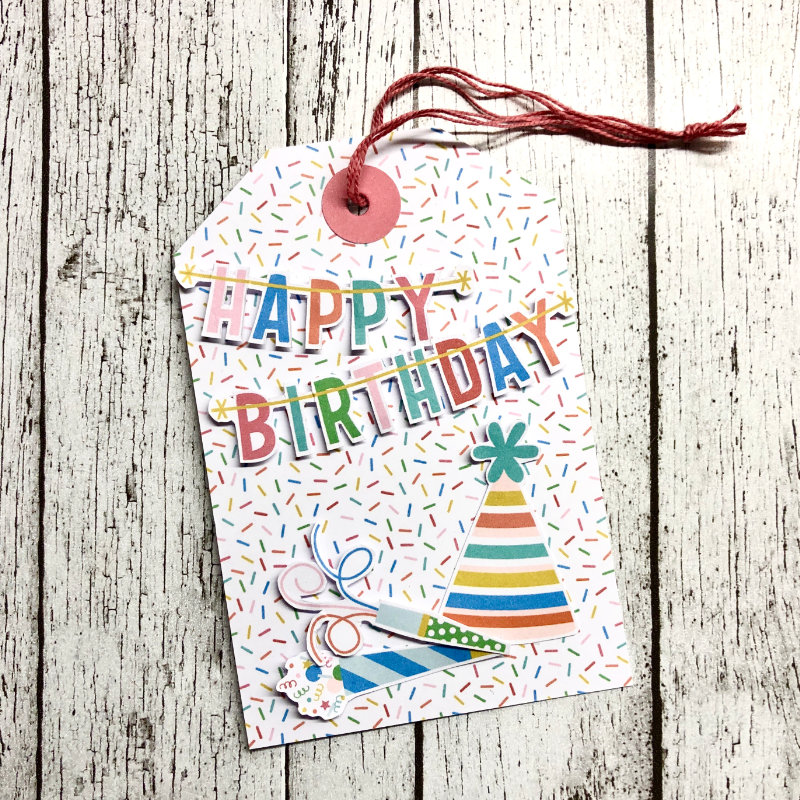
Tag 1 - single sided
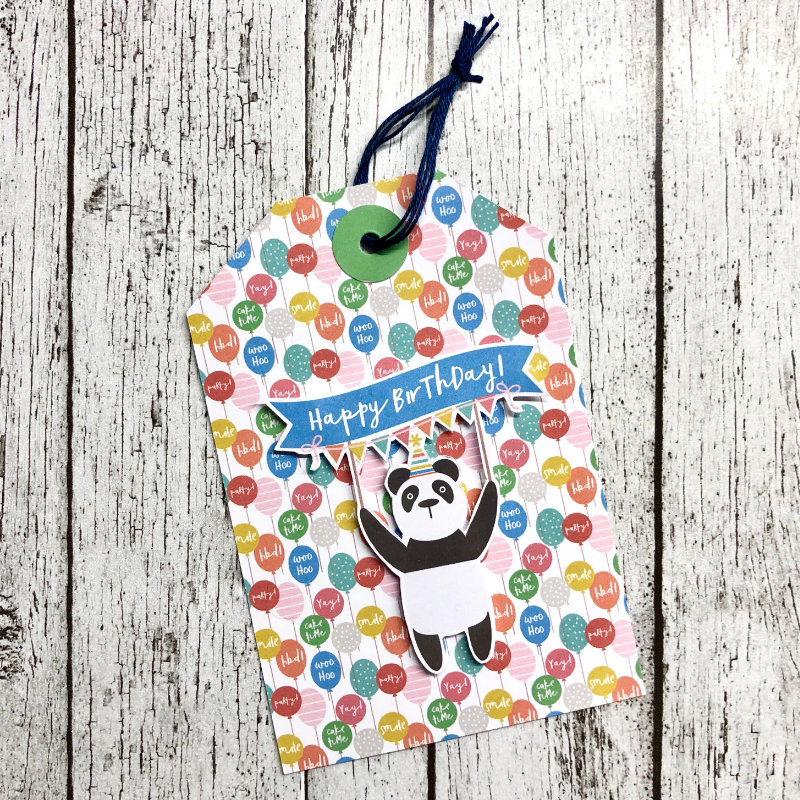
Tag 2 - side 1
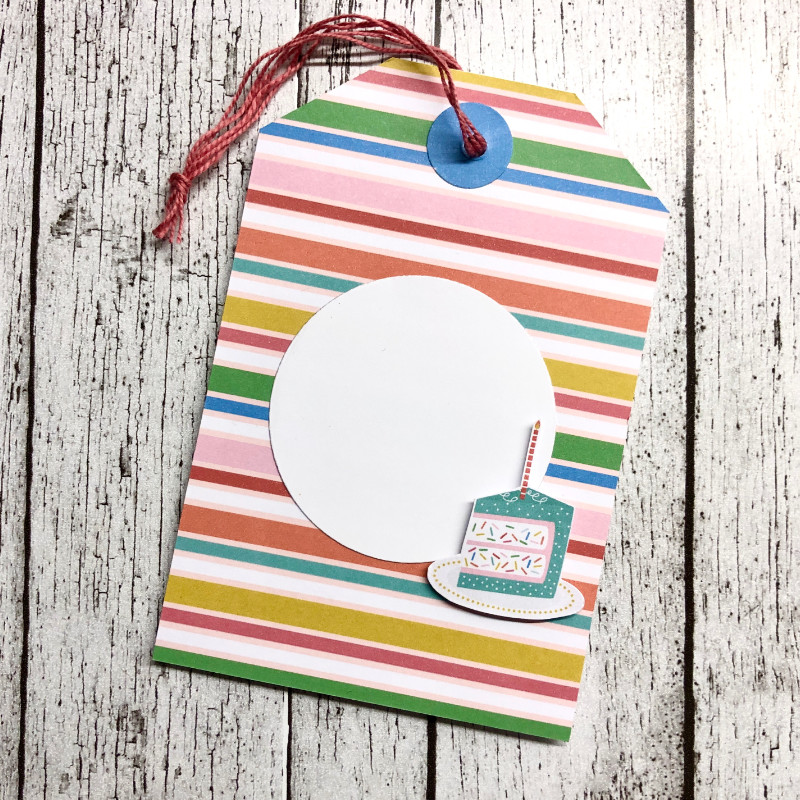
Side 2
Now to the challenge! I want you to make a hybrid tag with a patterned or solid colored paper (not white or black) and at least one fastened element, you’re welcome to add more if you want!
I hope you’ll like this new challenge and give it a try! Just tag me if you have any question! I can’t wait to see what type of tags you’ll make
 ")
Guest Polly Ann-Sofie here! Have you ever thought of testing hybrid scrapbooking? You might have seen any of the hybrid projects in the gallery and wanted to try it, but felt overwhelmed by how you should put it together and print it?
We (the hybrid Polly team) would love to help you overcome the fear of hybrid and try it out and therefore we have a new monthly challenge coming up, where we dare you to take the step into the hybrid world. We promise, we will be taking baby steps, but we really want you to feel confident enough to make a hybrid gift tag, a birthday card and maybe bigger projects when this year is over.
Let’s start with a small project; a tag! It’s easy to print, easy to decorate and it doesn’t take an amount of time or effort to make. I love to have a small stock with tags and cards at home for special occasions. The tags are great to put on a gifted bottle of wine or in a bouquet of your garden flowers. You won’t need more supplies than a sturdy paper (if you print at home), a pair of scissors and some glue or double sided tape.
I decided to make some birthday tags and found the colorful Sprinkles Kit by Becca Bonneville that worked perfectly for this project. This is the document I put together for printing. I put everything on an A4 sized document, but if you just want to make one single sided tag, you could make it on a 6x4 sized document and print it in a print shop.
I always start with the background of my project, in this case the rectangles that will become the tags and places the elements on it to see what size the elements should be. I then rearrange the elements on the document background for the printing. This way I know the elements will fit perfectly on the tag.
I have a paper cutter but these tags are easily cut by scissors or with a knife and ruler, if you don’t have a cutter. I used the scissors for cutting the embellishments and word arts. The last step was to assemble and decorate. I made one single sided tag and one double sided tag. I like to use foam tape for creating dimension on the tags, but that is not necessary, it can be just as pretty without the dimension.
Tag 1 - single sided
Tag 2 - side 1
Side 2
Now to the challenge! I want you to make a hybrid tag with a patterned or solid colored paper (not white or black) and at least one fastened element, you’re welcome to add more if you want!
- You can create any type (clean & simple, artsy), size (mine is 3x4,5 inches) or theme (for example Christmas, birthday, thank you). Your tag must be hybrid, you have to print it out.
- Please post your layout to the Hybrid gallery prior to Midnight EST July 31, 2023 and then post it in this thread by copying the code (at the right of your gallery image) from the box under "Share BB Code".
- We will draw a random winner at the beginning of next month for a $5 coupon!!
- You can use any products in The Lilypad store or retired products from current Lilypad designers, you just have to make sure you follow our gallery guidelines.
I hope you’ll like this new challenge and give it a try! Just tag me
if you have any question! I can’t wait to see what type of tags you’ll make
Last edited:


 The fishing net and that golden crab adds the perfect feeling to it. Beautiful Marijke!