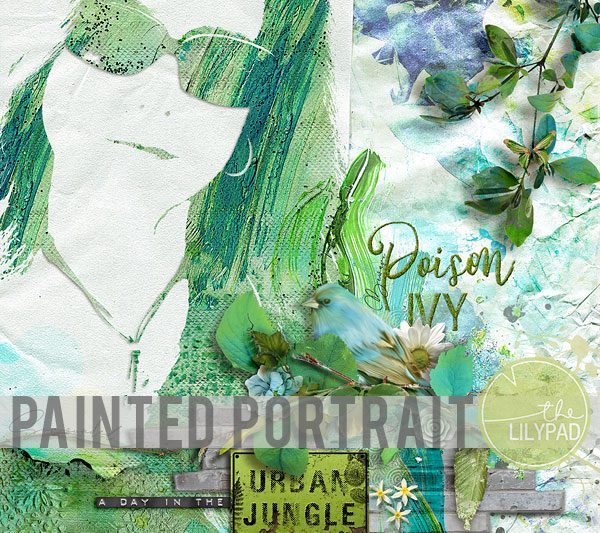
Hello all my artsy friends! I have a fun painted portrait technique for you today that is easy to accomplish in either Photoshop or PSE. Here is a look at the technique in action with some of the amazing kits available in today's SOSN sale (click on layout for full credits): Ready to dive in with your own portrait? Let's get this portrait party started! Step 1. The first step is to convert your photo to a solid silhouette to which you can apply a digital style or clip papers, paint or other dimensional elements. I applied a Threshold adjustment to my photo. You can find Threshold in Photoshop under Image > Adjustments > Threshold. When the setting box appears, just play with the slider until you get the look you want. Here is the comparison of my original photo and the Threshold version I used on my … [Read more...]
Creating a Curved Text Path in Photoshop
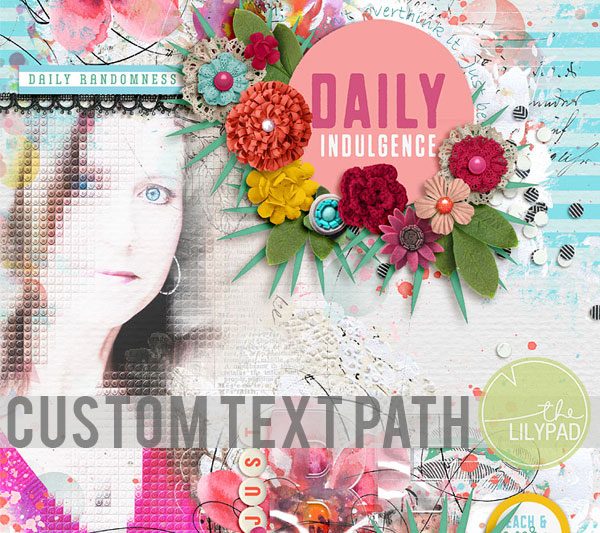
Hello TLP scrappers! I am dropping in today with a quick tip for creating a curved text path in Photoshop. There may be times when you want to creatively insert some journaling on your page that works with different shaped elements. For example, take a look at this page: I wanted to add a journaled message on the page, but was not sure where to put it design-wise. I ended up wanting to place it around the outer curve of the Daily Indulgence circle element. Instead of typing and placing each word separately and trying to loosely curve the text around the circle element, or arching the text (which would have distorted it a bit), I decided to create a curved text path. There are (as usual) several different ways to create a curved text path in Photoshop, but since I only needed an arc, I decided to use the ellipse shape tool to create my text … [Read more...]
Centered Stroke Borders in Photoshop
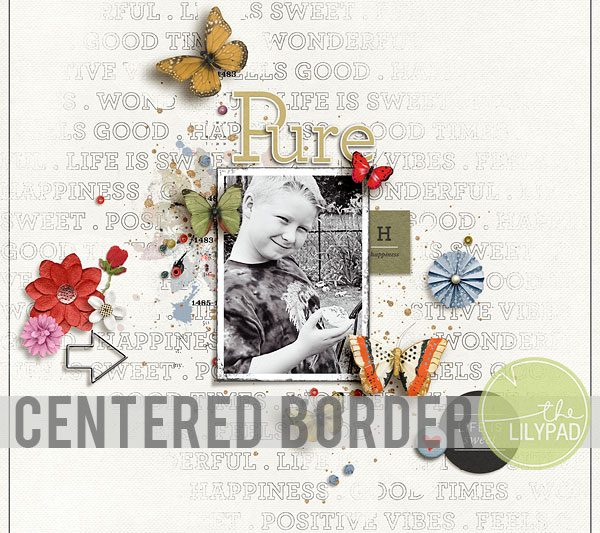
Hello everyone! I'm dropping in today with a quick tip for quickly creating centered stroke borders on your square-shaped digital scrapbooking pages. Sometimes your page just needs a little extra pop to make it look complete. One way to do that is to add a slightly indented stroke border around the outer edge of the page. For example, take a look at this page (made with goodies that are in today's 50% off SOSN sale): The stroke border around the edge really helped to ground the page. Stroke borders are very easy to create in Photoshop, but not as easy to center exactly on the page. But I have a shortcut that will get you a perfectly centered stroke in just a couple of steps. Step 1. Select the outer edges of your page by holding down the Ctrl button while clicking on the background page thumbnail in the layers palette. You should now see … [Read more...]
Making White Digital Backgrounds Pop
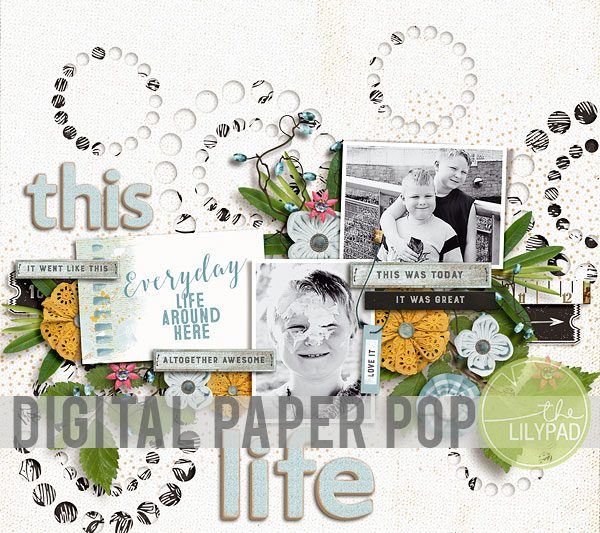
Hello all my artsy friends - I hope everyone has recovered from January's fabulous and inspiring Month of Challenges! To keep the inspiration flowing, I am dropping in today with a quick tip for spicing up those wonderful white digital backgrounds. If you are like me, you love the pop a white background gives to the digital elements on your page. However, sometimes I want to add something to pump up the white background bit and make it more interesting. One of my favorite ways to do this is to brush on a subtle pattern to ground the elements. Here is an example of this technique: Notice the subtle orange polka dot pattern under the main clusters on the page? I created that by adding the pattern paper on with a watercolor brush. This look is really easy to accomplish with just a couple of simple steps. Step 1. Bring the pattern … [Read more...]
Creating Digital Frames in Photoshop

Hello all my artsy friends! We are moving into the last week of MOC 8 and I hope everyone is ready to finish strong. :) I am just dropping in today with a quick tip for making digital frames in Photoshop when you cannot find what you need in a digital scrapbooking kit. For those of you who are still trying to complete the Day 3 - Crazy Number of Frames Challenge, this tip might come in handy - but it is also helpful for everyday digital scrapping too. This is my page for the Crazy Number of Frames Challenge: I used lots of frames from different kits and papers in the January 2020 BYOC collection, but I still needed a couple more to fulfill the challenge. Instead of searching through other kits to find frames, I decided to make some of my own. Step 1. To make your own digital frame, you first need a base shape. You can make a … [Read more...]
Photo Frame Borders in Photoshop
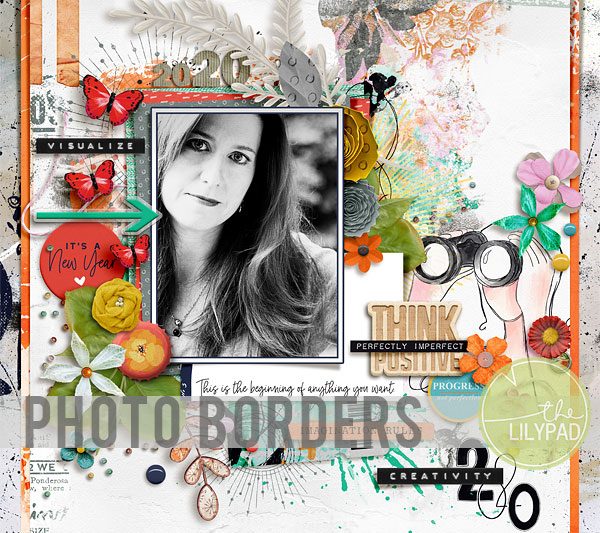
Happy Sunday, everyone! I hope you are having fun with this year's Month of Challenges. I am hosting today's challenge, which involves using a template from the "oh so fabulous" Cheryl of Fiddle-Dee-Dee Designs. You can find the challenge HERE. If you haven't heard about the Month of Challenges, you definitely need to check that out in the Lilypad Forum. It is not too late to join in - you have the entire month (plus a couple of days) to get all your layouts done. As I mentioned in the challenge, today's blog post is a quick tip to show you how I made the colored outline around the photo frame. Here is my challenge layout: My technique uses the "Photo's Inner Stroke" layer in the template to create the border. Step 1. Select the "Photo's Inner Stroke" layer (which is just above the photo layer in the layers palette) and … [Read more...]
Creating Texture on White Digital Backgrounds

Happy Tuesday! I hope everyone is surviving the craziness that is the week before Christmas and is finding time for digital scrapbooking here and there. I am dropping in with a quick tip today for adding some interest and texture to a white digital background. This technique is so fast and easy, but really makes a big difference in the overall appearance of your page. I really love working on white digital backgrounds, but sometimes I want to give it a little texture bump for some added interest. There are many ways to jazz up a white background including adding a splash of digital paint, brushing in a lightly patterned paper or adding borders along the edges. But one of my favorite ways to pump up a white background is to add paper shapes that are the same color as the background. Just adding a slight drop shadow will make these shapes visible, without taking too … [Read more...]
Digital Paper Blending
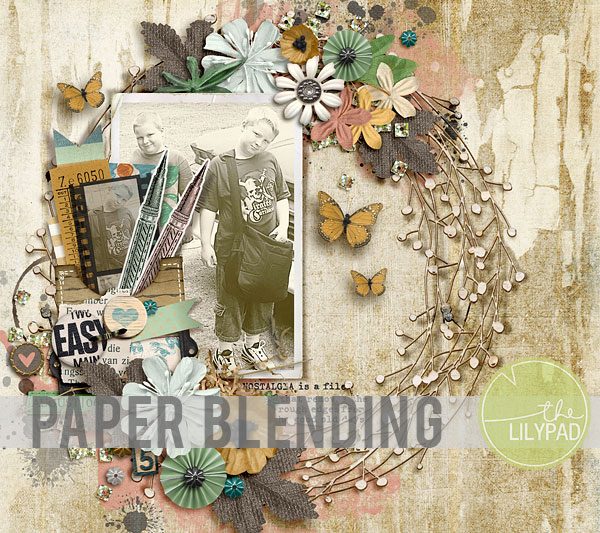
Hello everyone - and happy December! I am dropping in today with a quick and awesome tip for extending your digital stash by blending papers to make new ones. Have you ever dropped in just about every paper in a digital kit, but just cannot find the perfect one for your page? Or maybe you have a favorite digital paper that you go to time and time again, but want to give it a fresh new look? Blending digital papers together is a quick and fun way to address both of these issues. Take a look at the background paper on this layout (click on layout for full credits): I created the background by blending three copies of the same digital paper together. The bottom layer is the digital paper at full 100% Normal opacity (just as it comes in the kit), the next layer is a copy of the same digital paper set to Color Burn mode (100% opacity) and the last … [Read more...]
Digital Stamping Tips

Hello, Hello! I hope everyone is ready for the December project season because TLP's Document your December sale starts tonight! I'm dropping in with a quick tip for integrating realistic stamped elements onto a textured background in Photoshop. And my sample page is made from some of the amazing goodness that is hitting the TLP Store tonight (click on layout for full credits): Notice the partridge stamp in the upper right corner of the page, and how it integrates with the layered papers in the background paper? If you used an actual rubber stamp on layered papers, there would be a small break in the impression at the point where the top paper ends. The trick is to make the digital stamp look like it has the same type of break in impression. Just one quick step can help you achieve this effect, and you can achieve it in either Photoshop or … [Read more...]
Using Split Photos in Pocket Scrapbooking
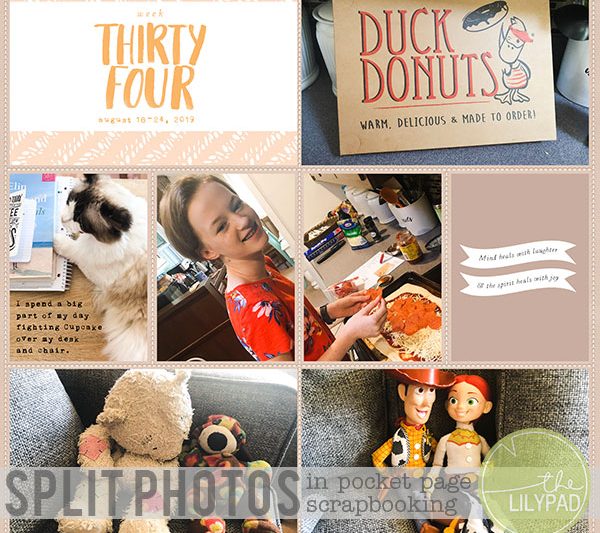
Hello scrappy friends!!I was looking through the November challenges and noticed that the Style challenge this month is focused on using a split photo. I am in awe of all the incredible layouts that have already been completed for this challenge!! I was reminded that I often use split photos in my pocket page layouts.Today I'm going to share my process of using split photos in pocket scrapbooking.Here is an example of a pocket page layout of mine where I used a split photo. The photo of my daughter making pizza is split between two journal card spots.I see hybrid and traditional pocket page scrapbookers use this technique all the time and I love the look of it. It's a great way to use a larger photo on a page. It's also a great way to use a 4x6 sized photo across two 3x4 spaces, especially when you have a horizontally composed photo that doesn't fit well in a … [Read more...]