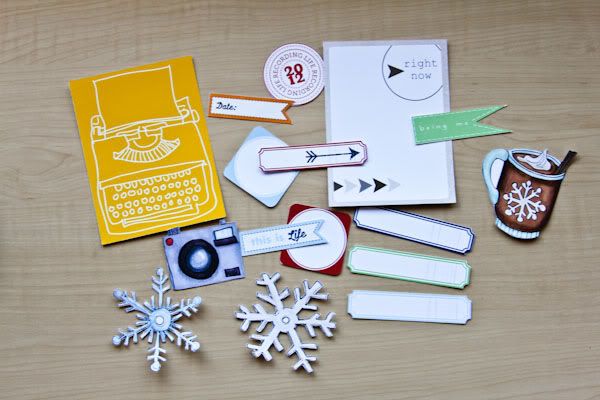
Remember my blog post last month about my Elf Party and how I printed and cut out some elves from Kate Hadfield’s “Santa’s Little Helpers” digital doodles, using my Silhouette digital cutting machine? Today I’ve recorded a video tutorial on exactly how to use the print & cut function with any of your digital elements!
I’ve had my Silhouette SD machine since October 2009, and I love using it to cut out my digital elements for hybrid projects! Who needs scissors when the machine will cut it out for you? :D
This tutorial will work with any of the Silhouette machines (the original, the SD, and now the new Cameo). You just need to use the free Silhouette Studio software that comes with the machine.
Are you ready for some cutting magic?
After the Silhouette has done its cutting magic, I just carefully remove the cut-out pieces from the cutting mat.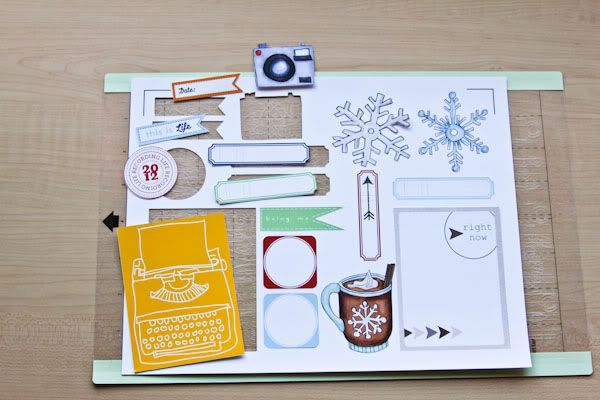
Designs by Lili | Customizable Journaling Cards No.2
Valorie Wibbens | Today Journal Cards
Amy Wolff | Mega Label Pack
Sara Gleason | Violet Seeds
Kate Hadfield | Going Places
Kate Hadfield | COLLAB: Bundle Up (with SMJ)
Christine (listgirl)
Wow! I did not know you could do this with the Silhoutte machine. Now I may have to look into buying one! Thank you for recording these detailed instructions. I am saving them for sure.
Thank you! This helps me so much. I have an original Silhouette and I’m going to give it a go so I can cut some PL stuff.
Are you able to show how you got those files into the Silhouette software? This is so exciting!
Molly – there are two ways to get the files into the Silhouette software. You can do it right inside the software by going to File –> Open and browse for your files. If you don’t see jpeg or png files, make sure to use the drop down menu and choose “all files” or any option that has jpeg or png files included. The easiest way to get the files into the software is to just have Windows Explorer (PC) open on your computer and drag the elements you want to cut into the Silhouette software. It’s that easy! :)
Wow, that’s so neat! This tutorial makes me want one of these now though, which maybe not be a good thing, haha. Thanks so much for sharing!
Love this tutorial! Thanks so much, Christine!!!
Thank you so much for these instructions. I can’t wait to try this.
Thanks! You’re videos are always very helpful!
Thanks for the great tutorial. I just found your blog and will definitely come back for more! I’ve got a question, can you tell me what paper to you use to print and then cut with the Silhouette? I mostly use presentation paper to print out and cut (by hand) my digi elements. So I was curious to know what you use especially when cutting with the Silhouette. Thanks!
Hi Leilani – I usually print on Canon Matte Photo Paper or Red River Polar Matte Paper. Both are around 50-60 lb weight and the Silhouette cuts it well. Hope that helps!
Thanks for the great video. If I may make one suggestion….could you speak louder, or whatever you need to do to adjust the recording volume. I could barely hear you? However, it could be my computer! LOL! :)
Donna – thanks for the feedback. This was my first attempt at a screencast video. It was not my speaking volume that was the problem. It was either my USB mic or the mic input equalizer. I will need to figure that out for future videos. When I turn the speakers up on my PC I can hear the video fine, but then everything else was very loud, LOL. Thanks again for the feedback.
Perfect. I actually have some Canon Matte Photo Paper and cant’ wait to try this out! Thanks so much for the response.
WEEEEEE!!! I just got a Portrait today and this video was so helpful, Christine… thank you!!! You’ve made Project Life 1,000x easier for me… I’m a tad bit overwhelmed, lol