Snowflakes! Tutorial and Inspiration
Can you believe it is already December 13th?? We haven’t even got our Christmas tree up yet!!! What I /have/ done though, is make snowflakes and decorate my window. One of my absolute favorite things to do come December is make snowflakes! So I wanted to show you my process as well as some inspiration.
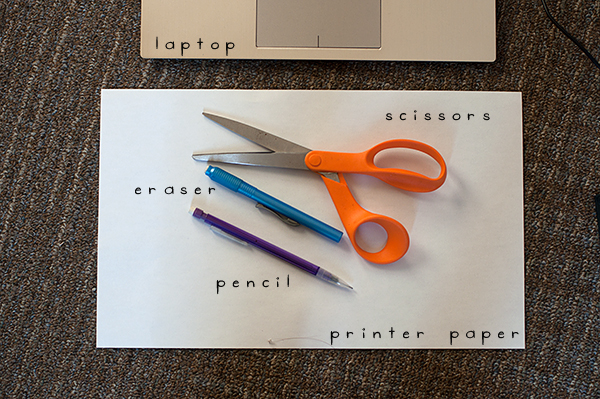
Here are the things you’ll need. Some sharp scissors, printer paper, a pencil and eraser (optional), and a laptop (also optional, but I always put on a favorite show while cutting snowflakes!).
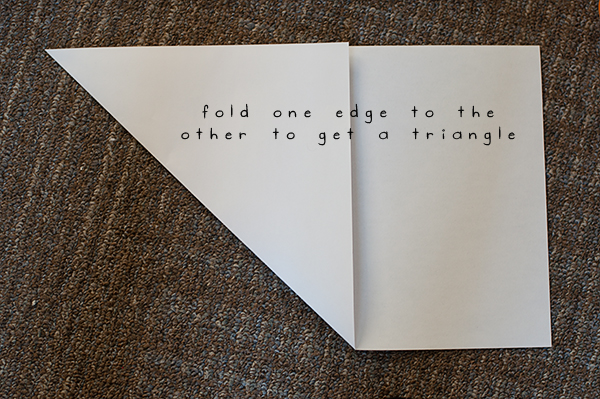
So you start out by folding one edge of the paper towards the other, to make a triangle.
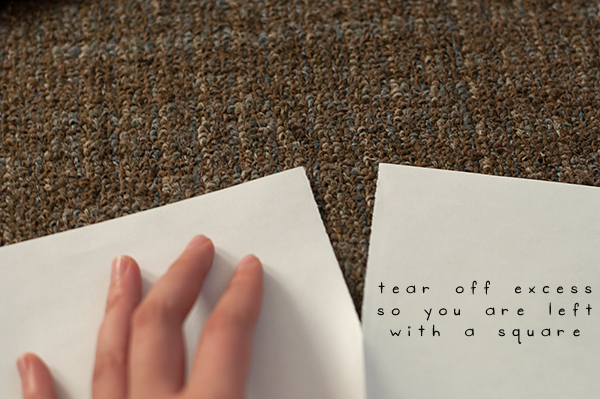
Next you want to fold the part on the bottom back, so that you can tear or cut it off to leave yourself with a square
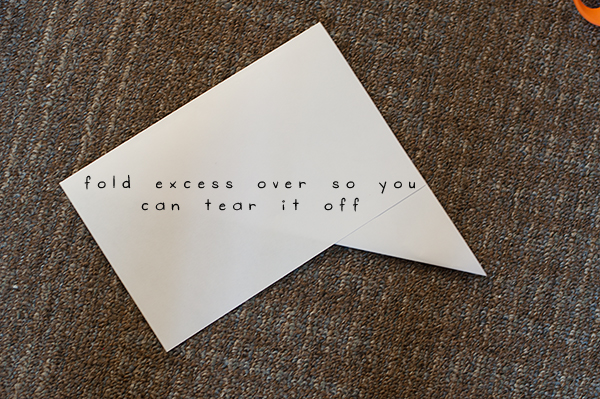
Make sure you crease it well before tearing it.
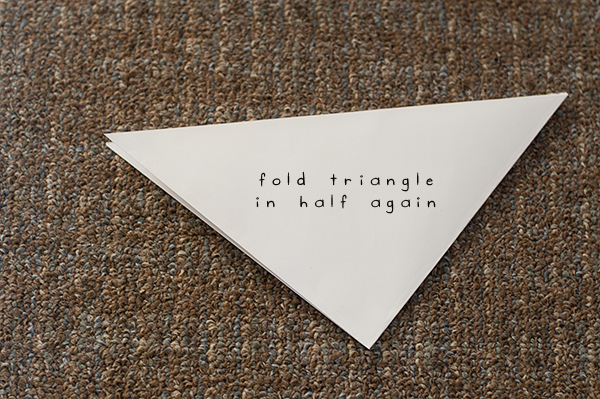
You’ll be left with a square that is folded in half diagonally. Fold it in half diagonally one more time.
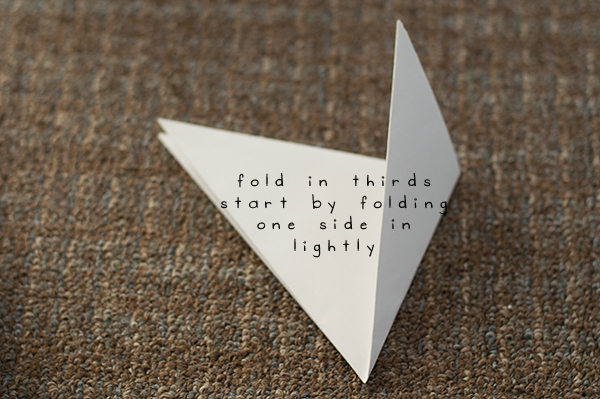
Now what you want to do is fold this into thirds. The way I do this is by folding one side in lightly first to approximately where I think it is right.
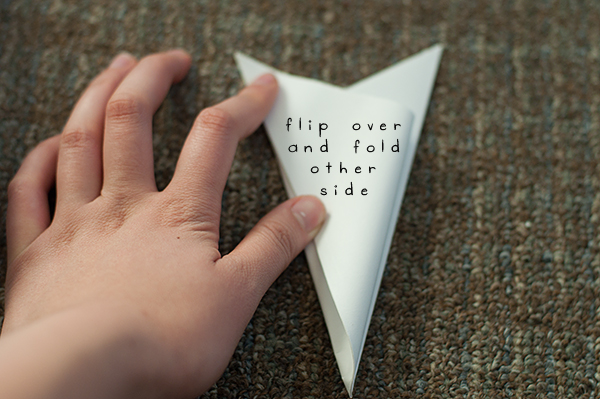
Then I flip it over and fold the other edge in towards the middle and make the edges line up. Once I have it evenly in thirds, I press down hard on the creases with my thumbnail. I find that folding it accordion style like this makes it easier for me to cut all six points of the snowflake more evenly.
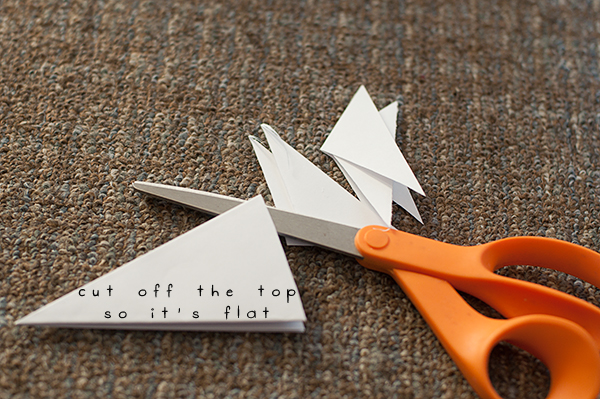
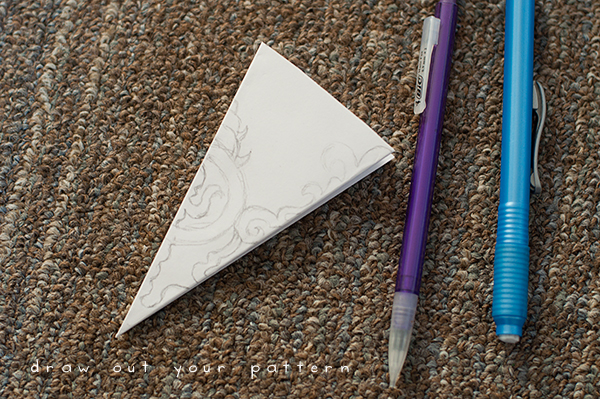
Then I cut the top off, so that it is flat, and I’m left with a triangle
And here’s where you get to be creative! I started drawing out my patterns with a pencil before cutting them this year, which is so much easier for me, because I’m such a visual person! But you can just cut away, if you prefer. One thing is to make sure that your snowflake is connected on both sides, otherwise you will be cutting out a hole in the middle!
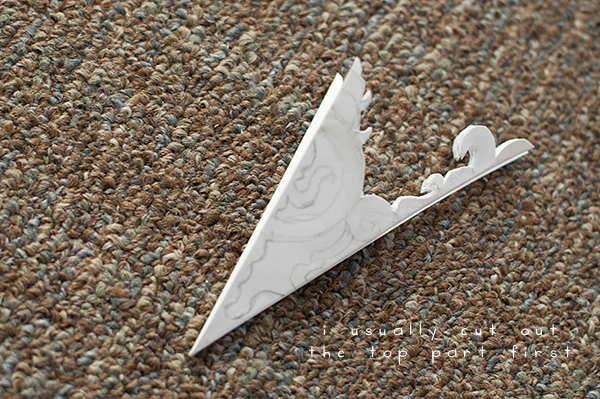
I find it easiest to cut out the top bit first
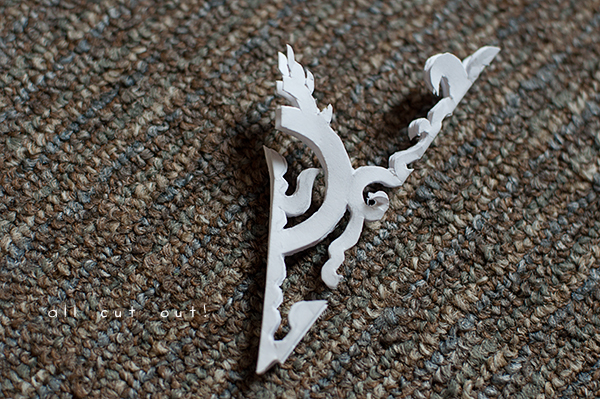
And here my snowflake is all cut out.
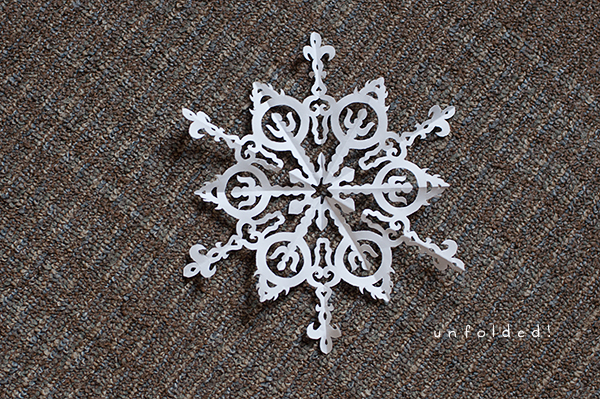
I unfolded it carefully, and this is what I got!
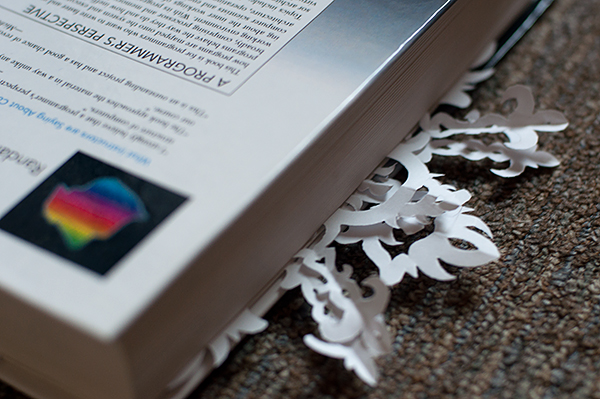
I always put my snowflakes into my textbooks to flatten them
I saw somewhere that you can also iron them on medium heat with a cloth on top of your snowflake! I haven’t tried this yet though.
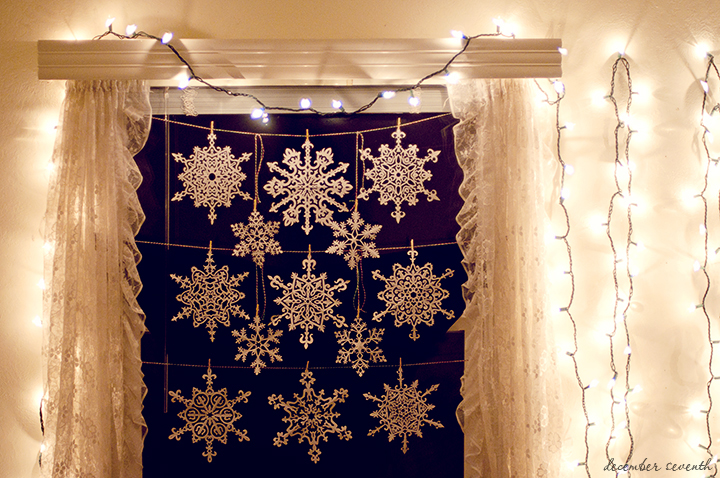
Once you have a bunch of snowflakes, you can decorate with them! The easiest way is to just tape them up on your window or walls (if your walls aren’t white.) This year I used these tiny little clothespin and hung them with red and green bakers twine, mostly so it would be easy to take my snowflakes down and save them for next year! Last year I wrapped all my presents in kraft paper with red and green baker’s twine and a tiny snowflake strung on the twine.
Here are some websites with some wonderful inspiration! The bigger snowflakes are all based off of these amazing snowflakes by Arthur Shramko found at Just Something I Made.
I find curves to be harder though, so you might want to start with snowflakes with straight lines. You can find some lovely ones by Shelley Delton at 7LayerStudio.
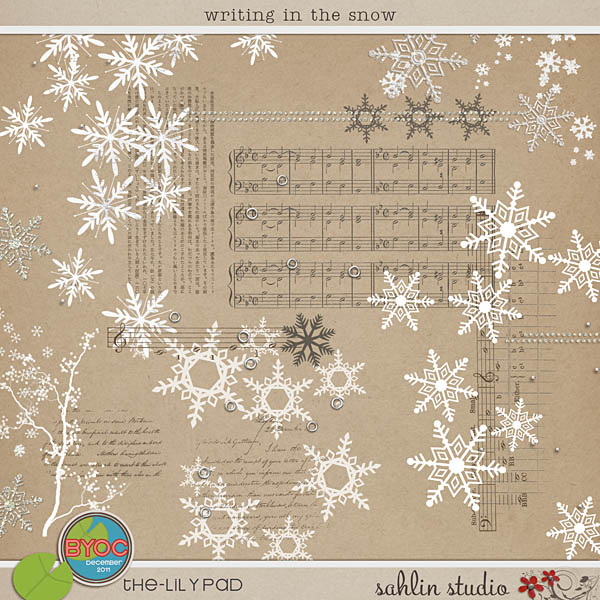
You can also find inspiration from products at TLP! I made a few small snowflakes based off of snowflakes from Krista’s gorgeous writing in the snow
Val also has some adorable snowflakes!
Hope you guys are inspired to go out and make some snowflakes!!