Shadowing Papers
Hey guys! Sorry my post is late today. My computer totally crashed on me. I wanted to show you guys how I shadow papers (when I’m not being lazy). See one of the things I love (and also dislike) about digital scrapbooking is the ease of perfection. It’s so easy to align things perfectly (see a previous post about how to do so!) and the edges are always perfectly straight. But that’s just not realistic! There are always some waves or places where the paper has lifted up.
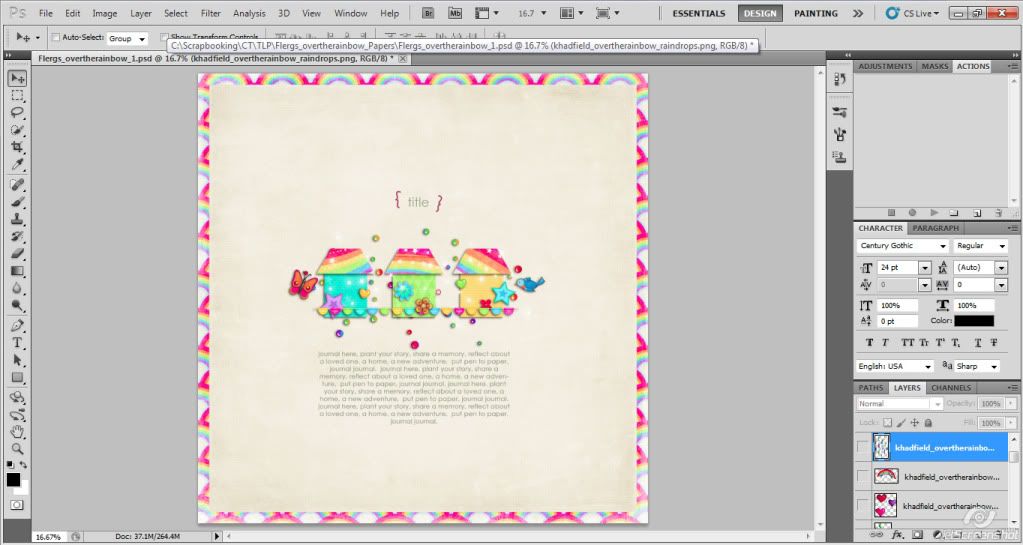
So I started with a layout where I am layering a smaller piece of paper over the background paper (I do this a lot! I like the effect of bordering a page. It seems to pull the page together)
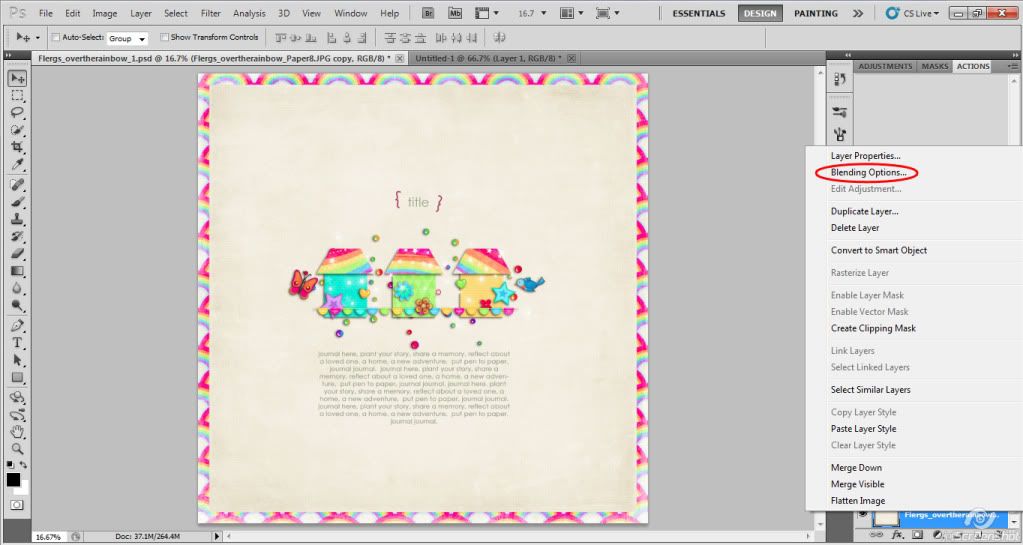
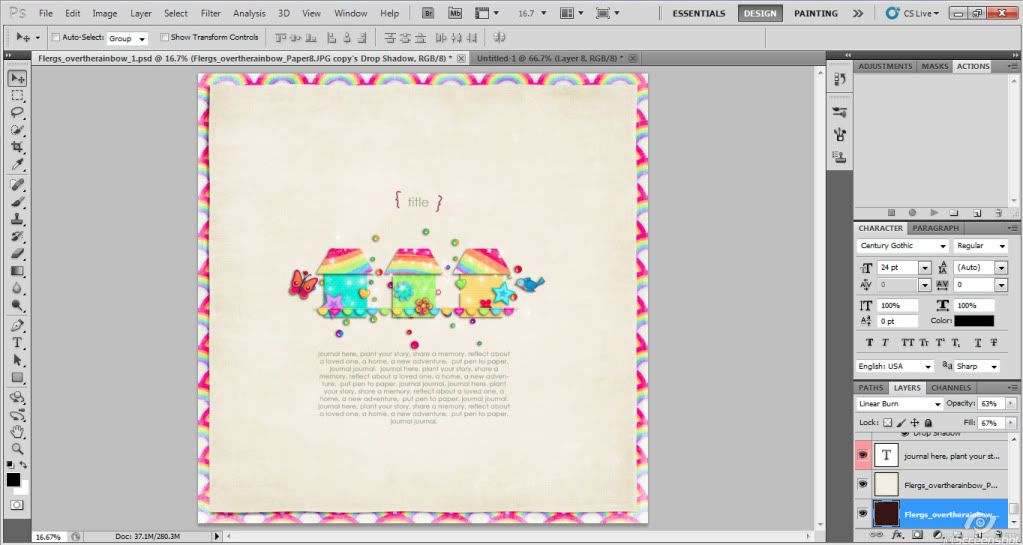
Next I shadowed the paper. I right clicked on the layer, and went to Blending Options.
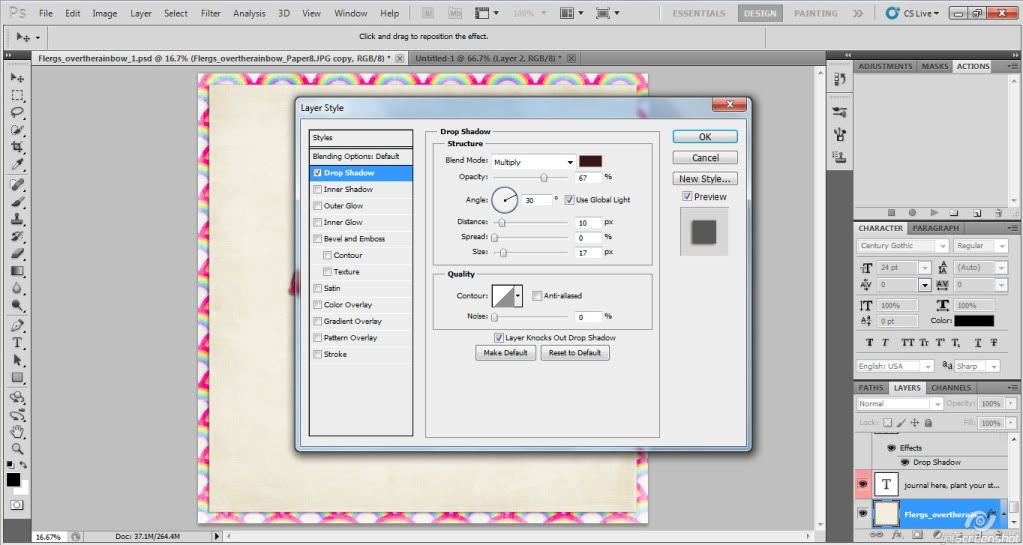
I usually use a distance of 10 and size of 17 for papers.
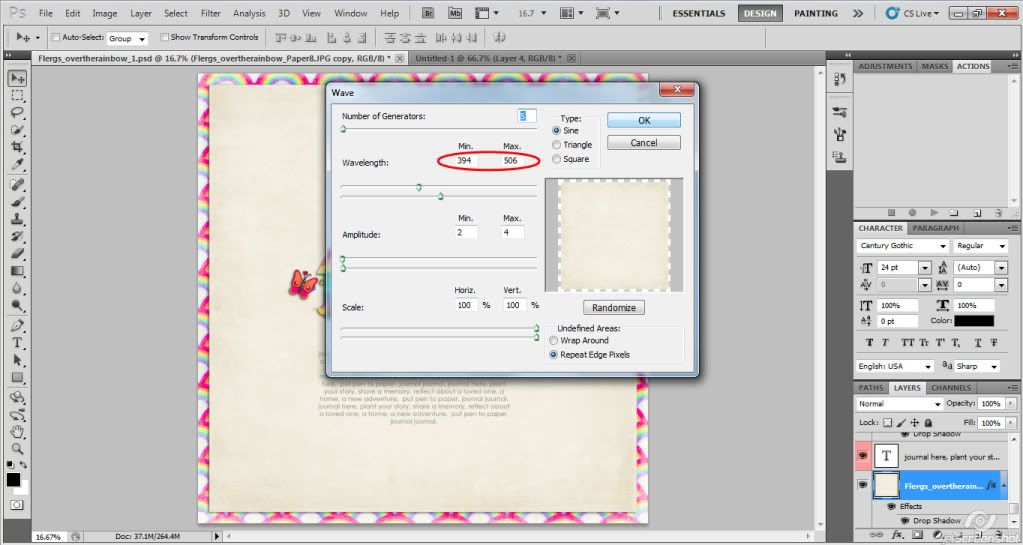
Then I go to Filter>Distort>Wave
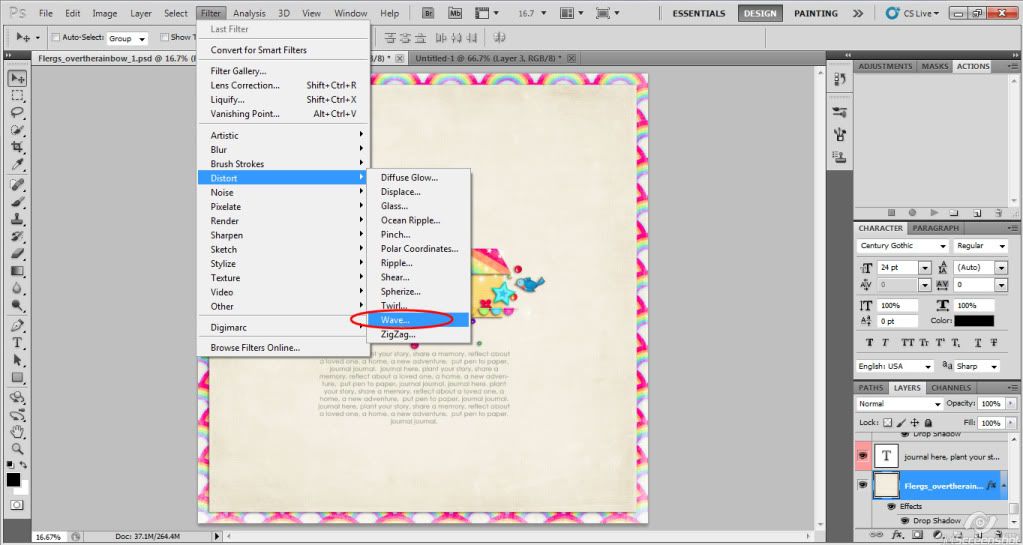
You can play around with the settings, but you want the wavelength fairly large, otherwise you will get tons of tiny ripples around the edges!
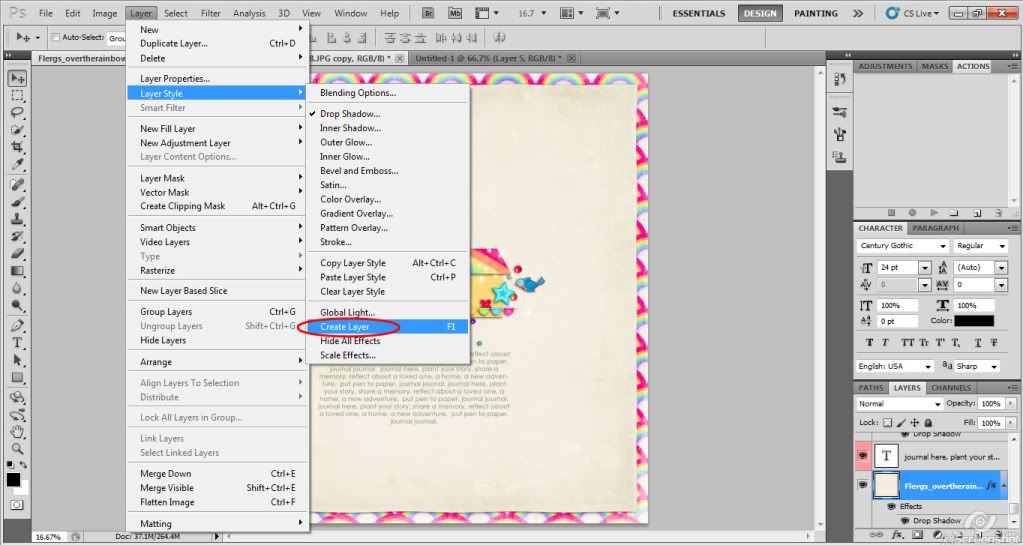
Then I separate the shadow onto another layer.
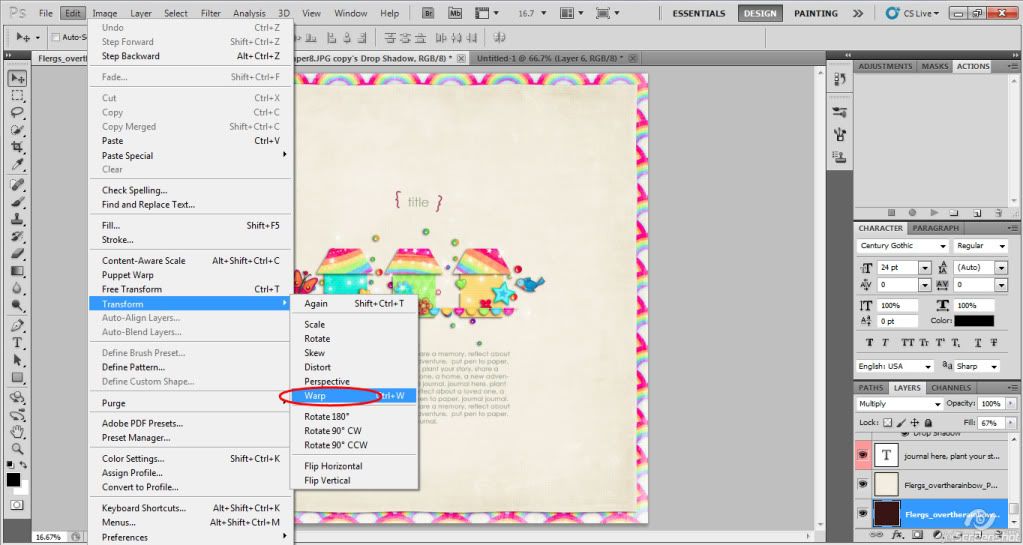
Then I warp the shadow.
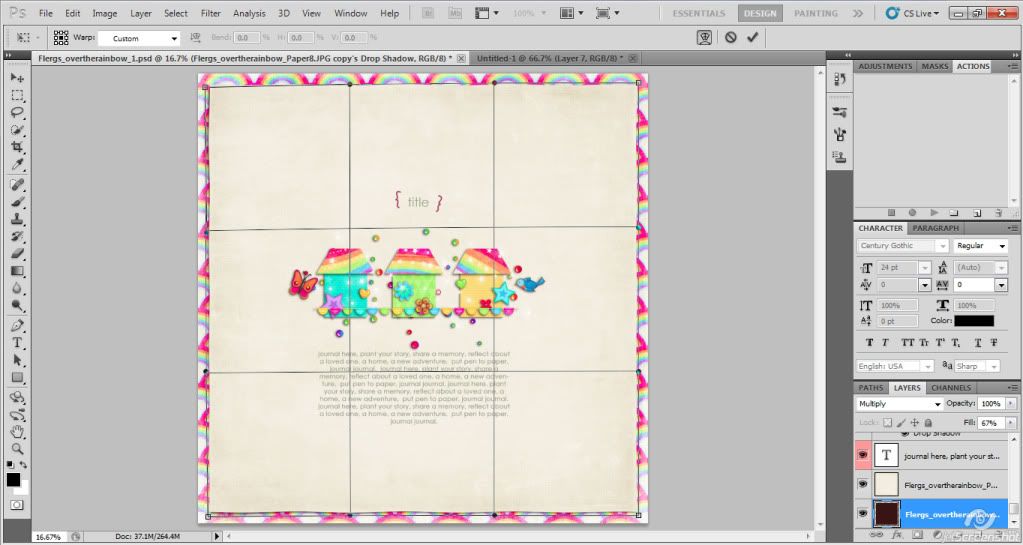
Here’s the final result
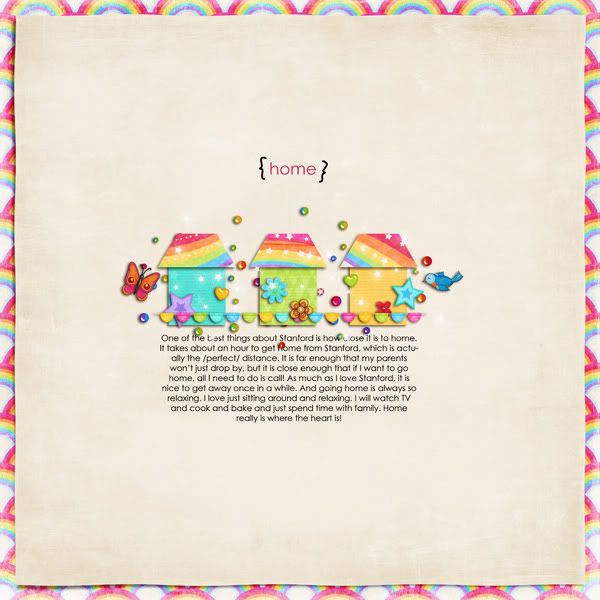
And here is my final layout, using a kit that is coming to the Pad tomorrow (by Kate and Flergs) and a freebie template by Sara Gleason
Hope that was helpful!