
Hey everyone! I thought I would do a quick post on how I did the photo blending on my background on this page with the November 2016 awesome M3. A lot of this was learned from Jana and the November 2016 Champions at Scrapaneers (which featured an awesome kit of Lynn’s!).

First off you are going to need a smart phone, or know how to recreate your own pencil like sketching in your photo editing software. I used the Prisma App for both of my photos editing but for this little tutorial, I am going to focus on the blended background photo.
Open your photo in Prisma and you will find all kinds of fun filters to create painting/drawing effects on your photos. These change regularly! So if there is one that you like edit a bunch of photos with it and save them because it might not be there long!
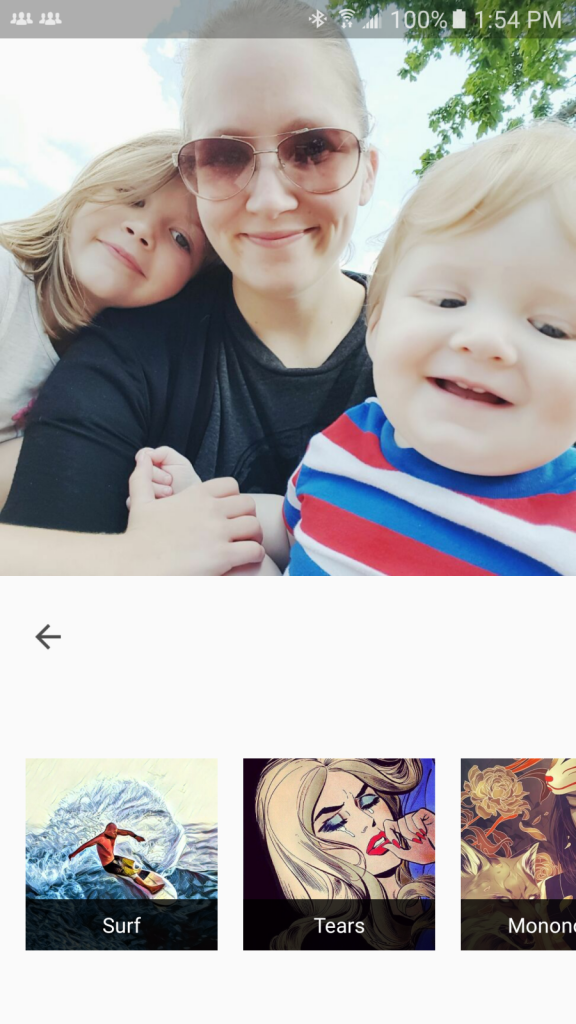
For my photo I ran the #GettUrban filter. I wanted to keep some of the blue of Jasper’s shirt to match the M3 kit and elements. ") Then click the down arrow and save it to your phone or just immediately share the photo to your email or dropbox or whatever works for you. I save to my phone and then email it to myself from my phone gallery. Everyone has their own workflow though and there is no right or wrong. Just get the photo to your computer however you normally would.
Then click the down arrow and save it to your phone or just immediately share the photo to your email or dropbox or whatever works for you. I save to my phone and then email it to myself from my phone gallery. Everyone has their own workflow though and there is no right or wrong. Just get the photo to your computer however you normally would.

Open your photo up into your scrapbooking software. I use Photoshop Elements 15. Work on your layout as you usually would. I decided to do my photo background last to fill in the space above my cluster. Normally, if you know my style, I would keep all the white space, but I felt like using the M3 was the perfect time to be a bit more creative with my page.
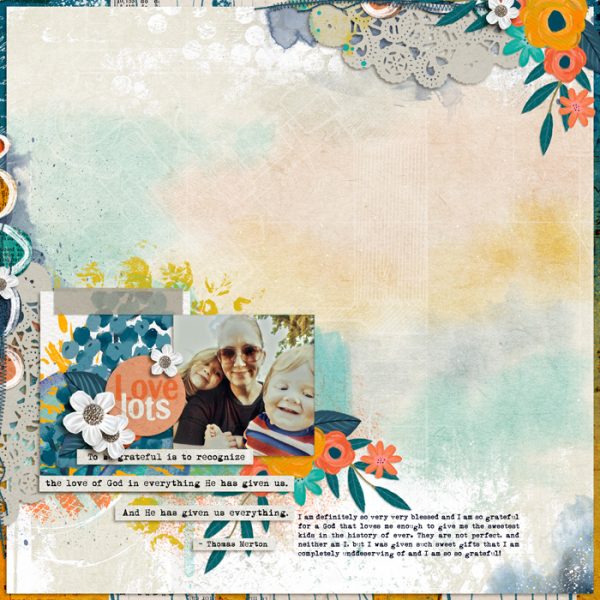
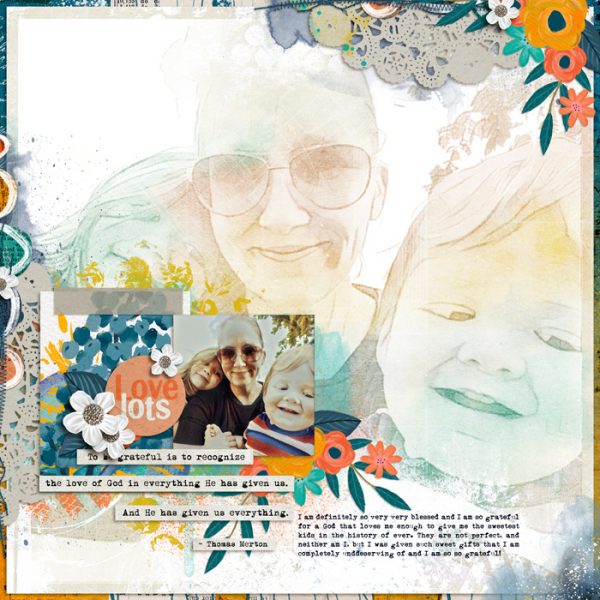
This page is a fine page without the background blending, but it does feel like it could use a little bit of oomph! At least I thought so. So now drag your photo to your background layer…behind everything…and make it as big as you can. Because of the filter and the fact that we are going to blend it, it is fine to make it larger like this. I made it *almost* as big as my background paper.

I didn’t like how harsh the photo looked in “normal” blend mode so I made it “overlay”.
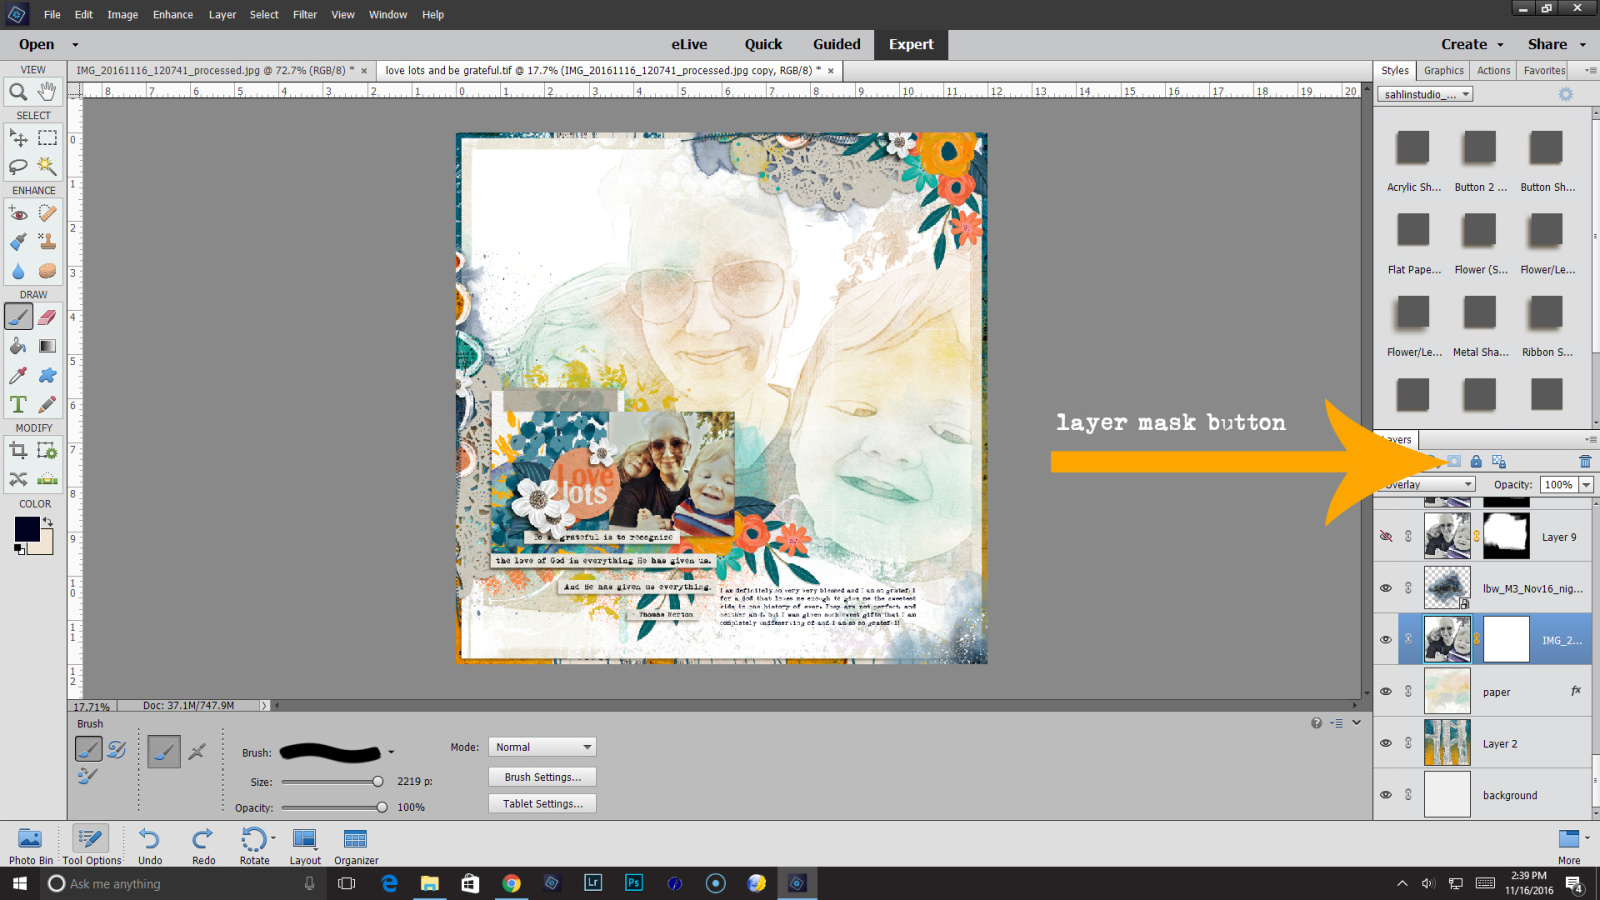
Now the worst thing about this page is the harsh lines of the square photo. There are multiple ways of fixing this…you can clip your photos to a premade mask, erase parts of the photos with a distress brush or soft eraser, or you can paint in a layer mask. I am going to the latter and use a layer mask. Make sure your photo is selected in the layers palette and then click the layers mask button as shown below.
Then we can “erase” the edges with a black brush from the M3 kit. Make sure the white box is selected next your photo, open your brushes and load the ones from the M3 kit. Find one that suits you and then make sure your paint is set to black and start painting along the edges until they are how you like them. If needed, in PSE, click “brush settings” to and drag your angle around to change the direction of your brush. Here is how my page is looking so far.

As you can see, Stella is hiding, and I also think it could be a little darker. So! Duplicate your photo and mask layer and then link those two layers by clicking on the little chain next to them while one of the layers is selected. Then you can drag, resize, do whatever you need to do to the photo and they both will go with you. Then we want to clip them to the background so there is no hang off. You can right click on the photo and then “Create clipping mask” to each to clip them to the background, or you can hold “alt” on your keyboard and then drag your mouse in between each layer and click when you see the box and down arrow.
Voila! You are done! It sounds like a lot of steps but it is just explaining it that took a bit. All in all it takes just a teensy bit of time…I think my whole page was done in under 40 minutes if that helps!
Here’s a quick video walkthrough in PSE 15 if that is helpful. I had to make it small to fit in the blog post, so you may need to make it full screen to see everything. :)

Wonderful tutorial. I’ve never used a phone filter app. I’ll have to look into this. Looks like fun!
That is awesome, Crystal! Tahnks for sharing!
super le tuto mais je ne sais voir la video …..
I would love to try this. I love the look, but am so afraid to give it a go!
I love blending, so this something I’d like to try. Thank you!