Hey scrappy peeps!! It’s Katrina, aka katrinahunt13, on the blog here today to share a little altered hybrid project for you! I love little things that are quick to alter and use a a decoration or even just a fun pick me up for my lost mojo. Sometimes, doing something just a little different will get those creative juices flowing in the right direction.

I had a wooden spool that was bare and decided it would be perfect to fit up for today’s post. I have done these in the past and I STILL have them sitting around with pictures stuck in them!
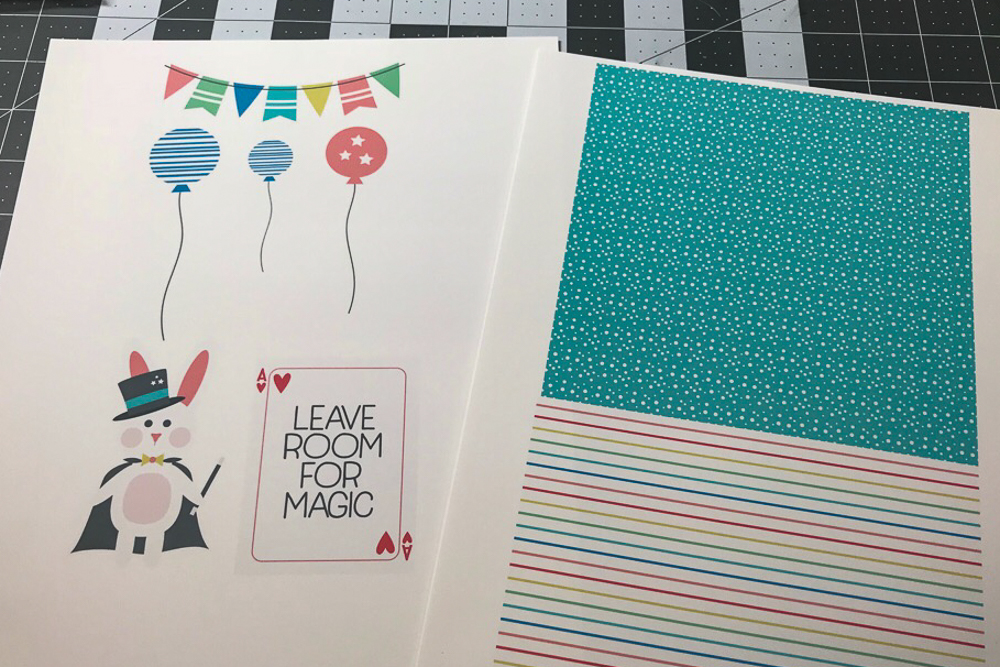
I used the new Create Crate Monthly Add-On by Becca Bonneville that hit the shop on Friday. You can find that kit HERE. There was something about the little bunnies in the kit that called to me and then I saw the card and knew it was perfect for this project!
Start by measuring the circumference of your spool by just using a piece of thread and then a ruler to measure how long the piece of string is. Do the same thing for the up and down measurement. This will give you the true dimensions of the “set in” area under and above the rims of the spool.
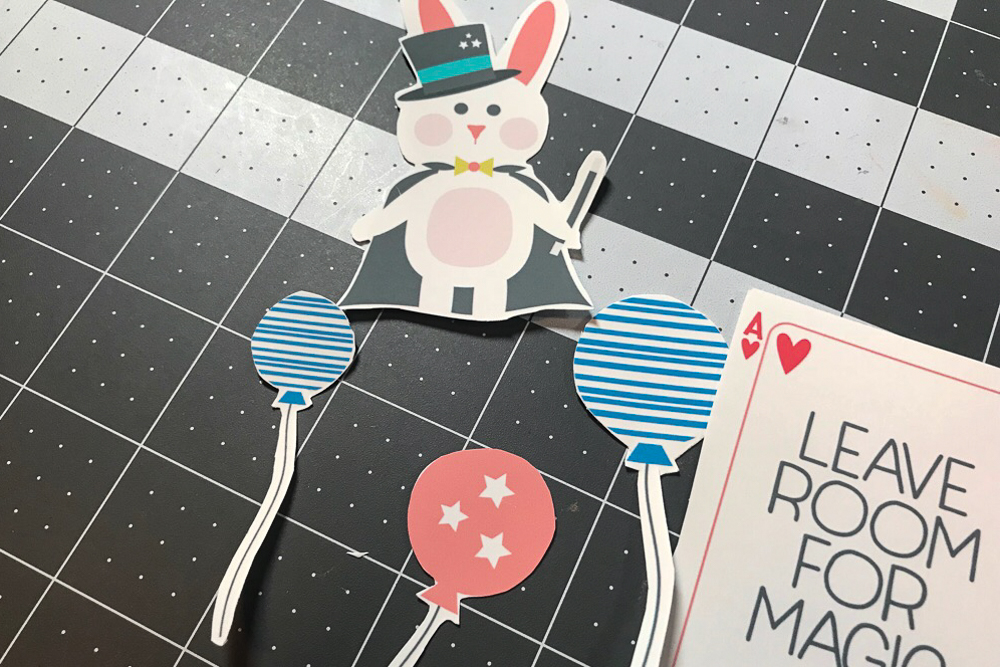
I picked three balloons, the bunny magician and then the card from the elements that are in the kit and printed them out. I could have used print and cut on my Silhouette Cameo, but since these were just a few pieces I didn’t mind cutting them by hand. At the same time I picked a couple of the pattern papers and sized them down to about 5×5 inches. All you need to do is make sure they are big enough to wrap around your spool, with a about a 1/4 inch to a 1/2 inch left over so you can overlap and adhere the ends together.
I then cut out my little images by hand using a pair of small detail scissors. If you don’t have a die cutting machine, etc detail scissors are an essential tool to have in your hybrid arsenal. There are quite a few companies out there that have them. I use Cutterbee’s or Fiskars, but there are others by Tonic, American Crafts, etc.
After everything was cut out, I started piecing the “scene” together. I ended up using a piece of the striped paper as a “backing” for the card and adhering the balloons between the pieces of paper. This give the project a finished look by covering up the adhesive holding the balloons on the card.

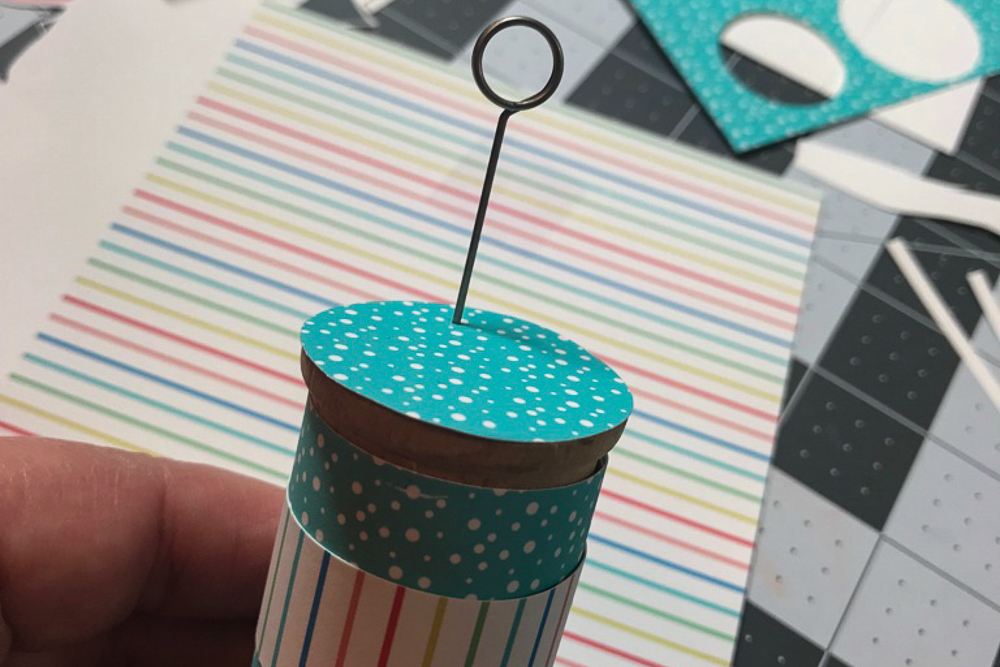
Next up, I covered the middle part of the spool with a couple of strips of paper. I just used trimmed pieces, but you could also use a border punched piece for the middle. The top of my spool was a little under 1.25 inches and I happened to have a circle punch that worked to just punch out the circle out of the paper and then just adhere on top of the spool. Next I used a paper piercer to make a hole to hold the clip in. The clip is from Tim Holtz and I just picked up a pack at Michael’s.
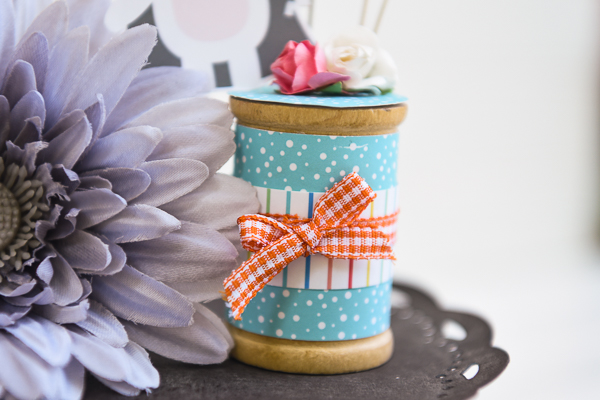
Once I got the clip in, then I set to work to decorate. I placed the card in and then decided to use the paper roses at the bottom of the clip to fill in the top just a little. Then I just attached the bunny on, but I still felt like it needed something. I had these fun stick pins from Maya Road (the roses are from them also) and they matched with the theme, so I made a couple more holes to stick them in. I did cut off part of the pin on the pink one to make it shorter. Just do it in a trash can so that you don’t have a sharp pin piece flying and then landing where you cannot find it!

Then I added the ribbon around the spool. A little trick I get for a good looking bow is to tie it and attach it separately on top of a another piece of ribbon that is the base!
These are a fun way to get your mojo going if it’s lacking and are just cute to sit around. You can substitute pictures in the clips also. I have a few of those sitting around my house right now! Thanks for stopping by the blog today!

Oh Katrina! This is just so adorable and amazing! It makes me want to make all sorts of decorations haha! Love how you used the bunny magician and the card! The balloons were just the perfect pieces to bring it all together and make it more festive! Now I need a spool hahaha!