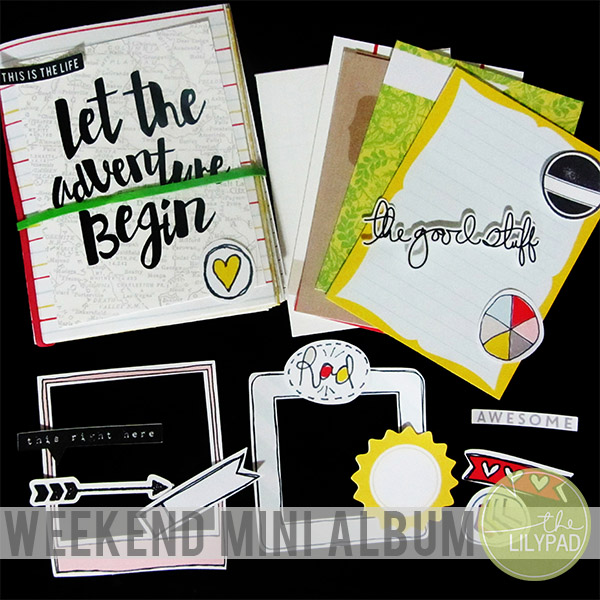
Hi, all. Sarah here and I’m so glad to share with you the newest project I’ve created with the May BYOC collection. My family and I are getting ready to go on a long weekend mini vacation and I thought it would be fun to create a little pocket album to carry with me to document the weekend when I have a little downtime.
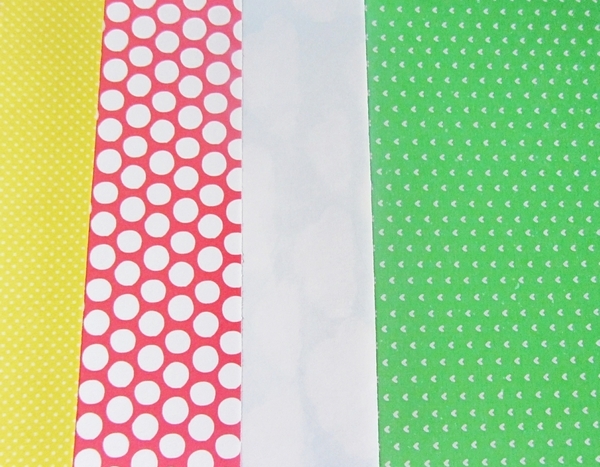
To begin this album I printed off four double sided papers using paper packs from the collection. I reduced the sizes of the papers to 8″x8″ and then printed them centered to the page. this allowed me to be able to cut the 6.5″x7.5″ pieces I needed for my pocket folder pages without worry of the designs being offset. Tip: if you have a pattern that needs to face a certain direction such as the hearts and clouds in the photo below pick a paper for the reverse side where the orientation doesn’t matter. That way you eliminate the possibility of having the patterns print in different orientations.
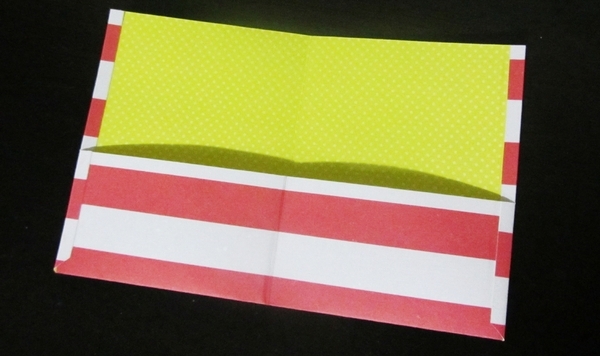
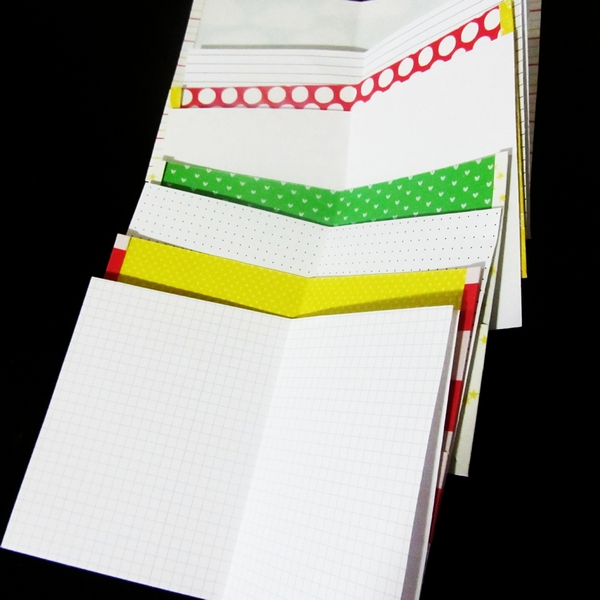
To create the pocket folder pages I took each 6.5″x7.5″ piece of paper and scored it 2″ from the bottom. I also scored in the center going the opposite direction (4.75″) as well as at .25 from each side. I folded the bottom 2″ up and then folded the small side strip over and adhered it securing the bottom flap to create the pockets. I did have to do a small amount of trimming to make sure everything laid flat and also snipped between the pocket and top part of the folder to make sure I would have the full pocket to work with. Once these pages are folded along the center they measure 3.5″x4.5″, just the perfect size to slip in a journal card.
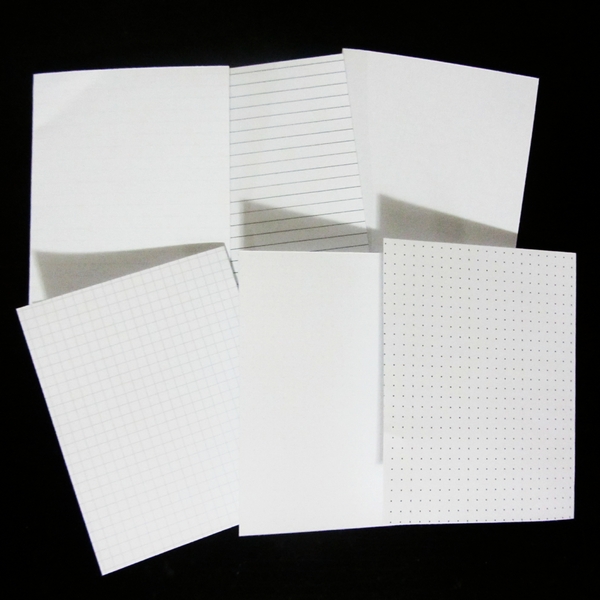
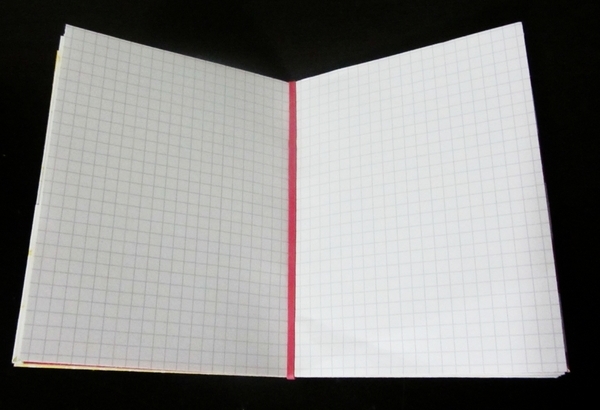
Next I printed some papers just with lined notebook paper, grid paper and dots to create some more pages to journal on. I printed two of each pattern single sided so that I would have blank pages throughout the album as well. I trimmed these papers to 4.5″x7″ and then folded each of them in the center alternating whether the patterned or blank side was on the outside.
I then lined everything up placing a pocket folder page on the outside to serve as the covers. I placed the remainder of the pages alternating pocket folder pages with either one or two of the notebook pages ending with grid paper in the center.
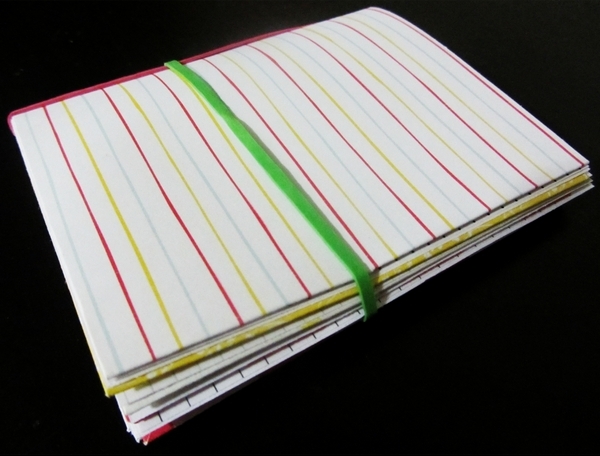
My original plan was to bind my album with staples but it ended up too thick to bind this way. My new plan is to stitch the binding but I won’t have time to do this before the trip so I simply wrapped a rubber band around the spine to hold it together while I work on it over the trip. The bonus to binding with this method is that if for some reason I’m not happy with the page placement that I have now it will be easy to change the pages around.
Here’s another view with a second rubber band in place to hold the album closed.
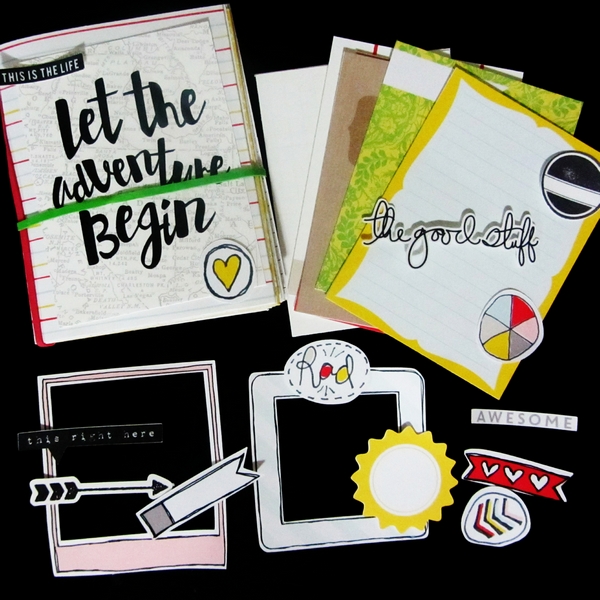
I also print and cut quite a few journal cards and embellishments from the May BYOC collection to use in my album. I love that by adding a pen and some adhesive I’ll have everything I need to document as I go. When I get back from the trip I’m hoping that all I will need to do to complete the album is to print some photos, add titles to a few of the pages, and stitch my binding.
I’ve never documented a trip in this manner and I’m really excited to see how it works for me. Have you ever documented a trip in this fashion? If so I’d love to hear how it worked for you and if you have any tips on documenting in this manner.

love this Sarah!!!! I may follow you up on this!