Have your spent loads of time working on a card for someone and then slipped it into a plain old white envelop? I’m guilty of doing this quite often. Today though I have a fun little tutorial for you of how you can “dress up” those boring old envelopes.
Supplies Needed:
- White envelope
- My Story by Laurie Anne
- Jump for Joy by The LilyPad Designers
- Made for Each Other by The LilyPad Designers
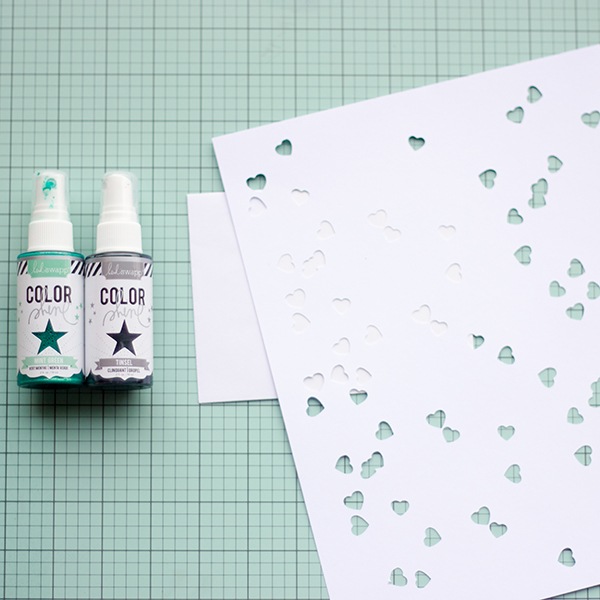
- Stencil
- Mist
- Embellishments
- Adhesive
If you have a stencil on hand, go ahead and use it! However, I didn’t so I made one. I thought I would share how you can make a stencil using your silhouette.
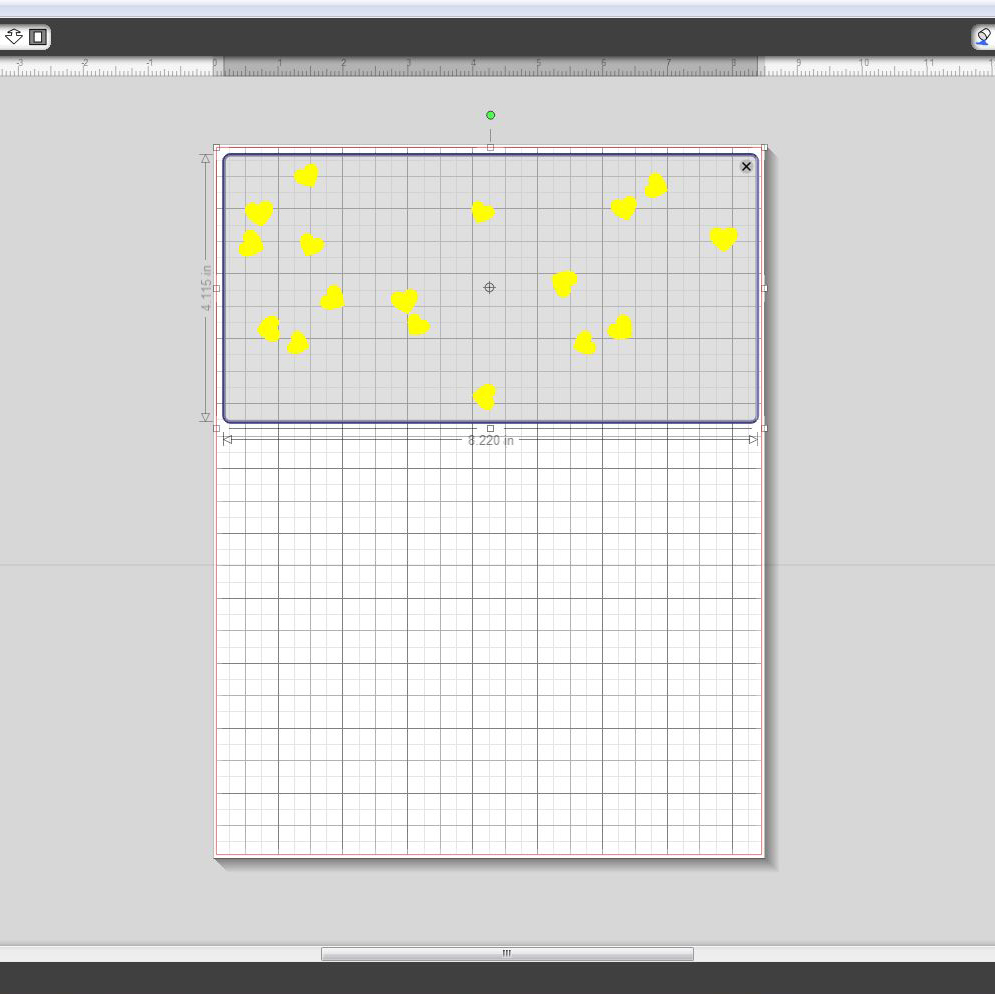
1. Open a new drawing in your Silhouette software. Change the size to letter.

2. Open up Sara’s heart scatter from Made for Each Other.

3. Resize the scatter so that it fits onto the drawing.

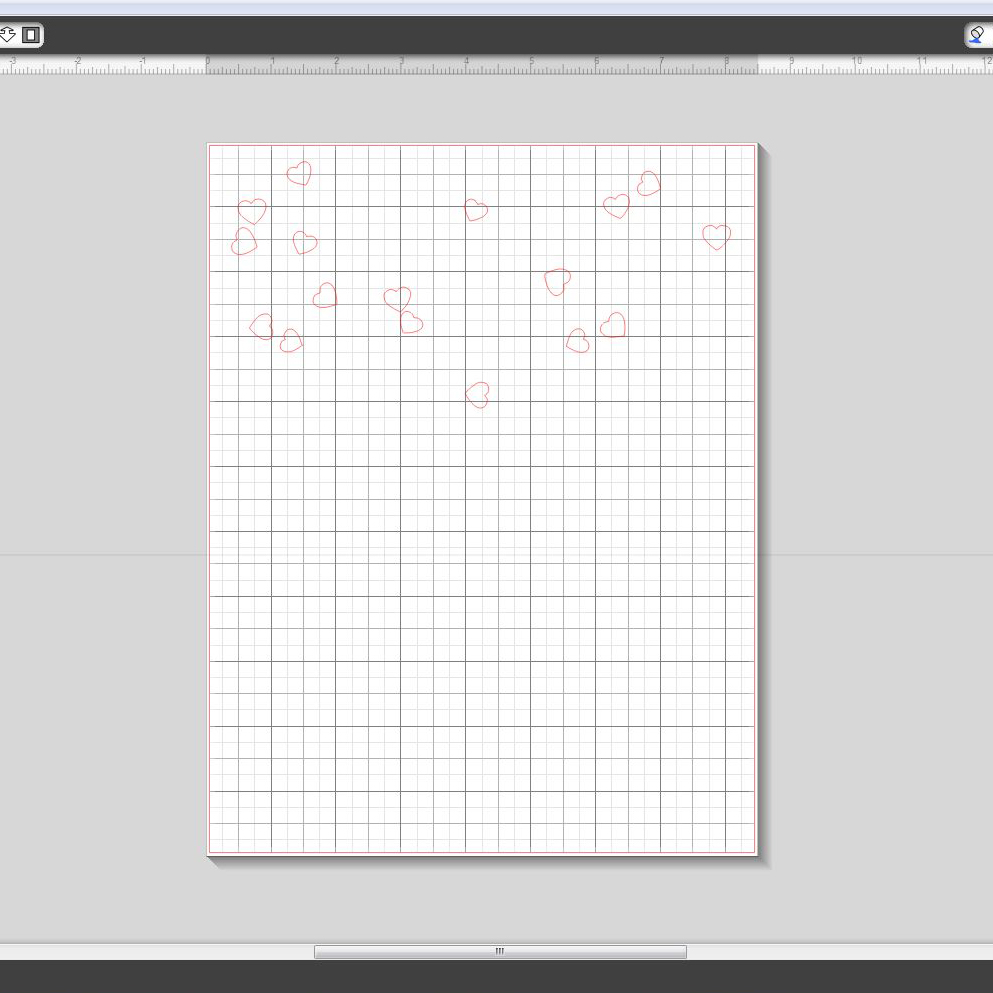
4. Go to the trace menu and select the trace area. Drag a box around the shape to trace. Uncheck the box next to high pass filter. Change the threshold to 100%. All of your shape should be yellow at this point. Select trace.
5. Delete the shape inside your cut lines. To make sure I have the right thing selected I move my shape away from the cut lines THEN delete the shape.
6. Duplicate and rearrange your cut lines until you have a paper that you are satisfied with.
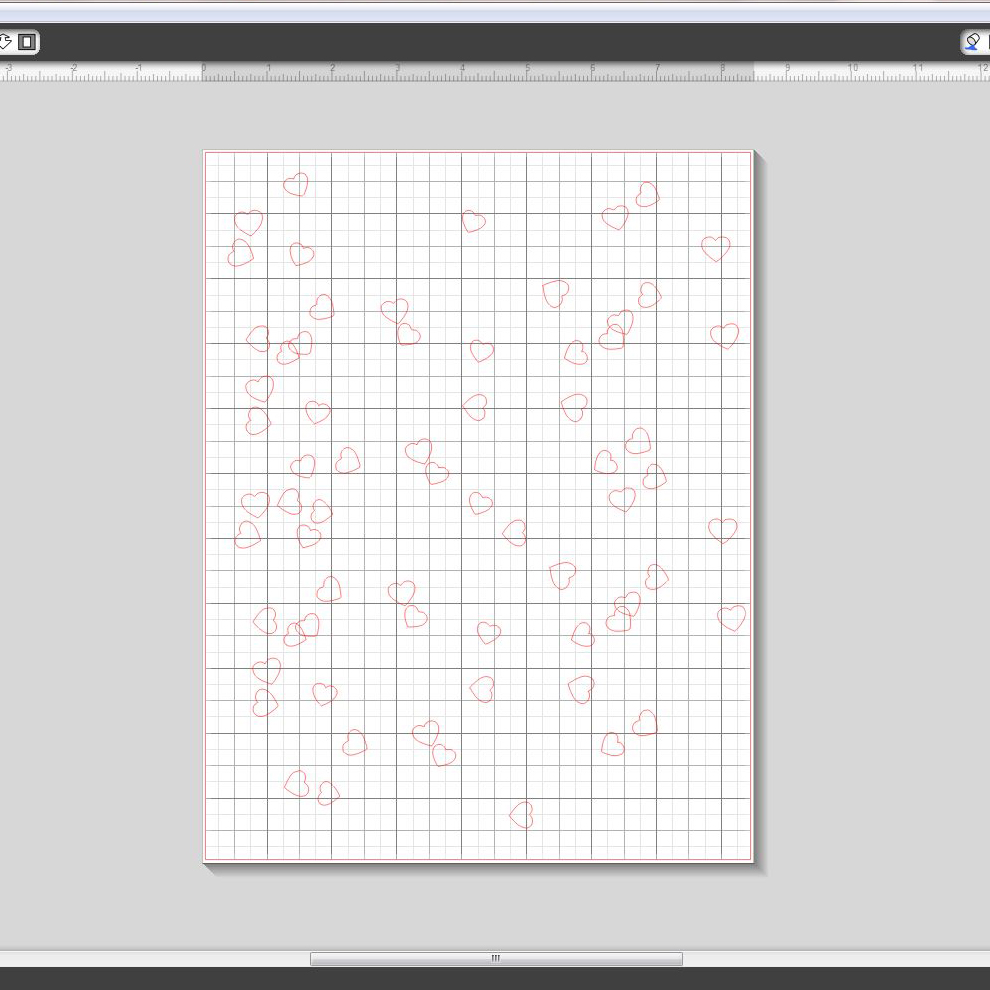
7. Cut your stencil out either on stencil material, transparency, or cardstock. I cut mine on cardstock because that is what I had on hand.
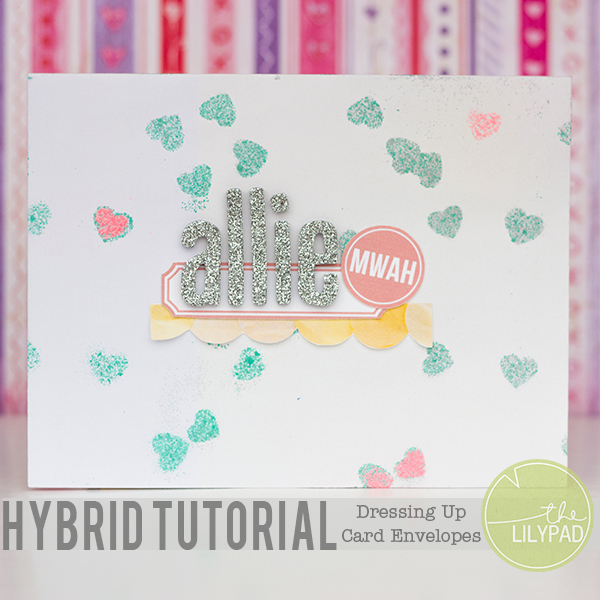
Now that we have our stencil in hand we can begin to dress up our envelope!
1. Lay your stencil over your envelope and spray with your mists. TIP: If you want a finer mist, spray from farther away. If you want a more concentrated mist, spray closer to your stencil.
2. Allow time for your mist to dry.
3. Print and cut out digital elements to place on your envelope. I used elements from the kits Made for Each Other, Jump for Joy, and My Story.
4. Adhere digital elements and any other embellishments you want to dress up your envelope with! In case you are curious I used Thickers for the letters of my daughters name. I also embossed the pink hearts to add a little variety to the hearts.
Super easy huh?! Now you just need to add a special card in there and you are all set! If you create your own dressed up envelope, be sure and post it in the LilyPad Hybrid Gallery. We love to see what our members create!

[…] Hybrid Tutorial: Dressing Up Card Envelopes – 1 freebie(s)? […]