Hello scrappers! Have you noticed that the trend of washi tape is still around and going strong? I love to use washi tape on my digi layouts and also my hybrid creations. However, washi tape is really hard to find in my area (for my hybrid creations) and I don’t always want a huge roll when I do find some. Because of this I have started to make my own washi tape using digital supplies! I have found three ways to make washi tape. They are:
- Using Avery labels
- Using sticker paper
- Using digital washi tape on sticker paper
Over the next couple of weeks I am going to do a tutorial on how to use each of these techniques to make do-it-yourself washi! I’ll also provide an example of how I used the washi on a project of my own. All three techniques are useful in different ways, so I thought I would show how to use them in different ways. Lets get started on our tutorial!
1. Open up a 8.5″ x 11″ blank document in Photoshop.
2. Open up several of your favorite digi papers and resize them to 6″ x 6″. This is done so your patterns will be to scale. I used papers from The Love List Papers by One Little Bird, Heimili Papers by Pink Reptile Designs, and WILD ONE Papers by Forever Joy Designs.
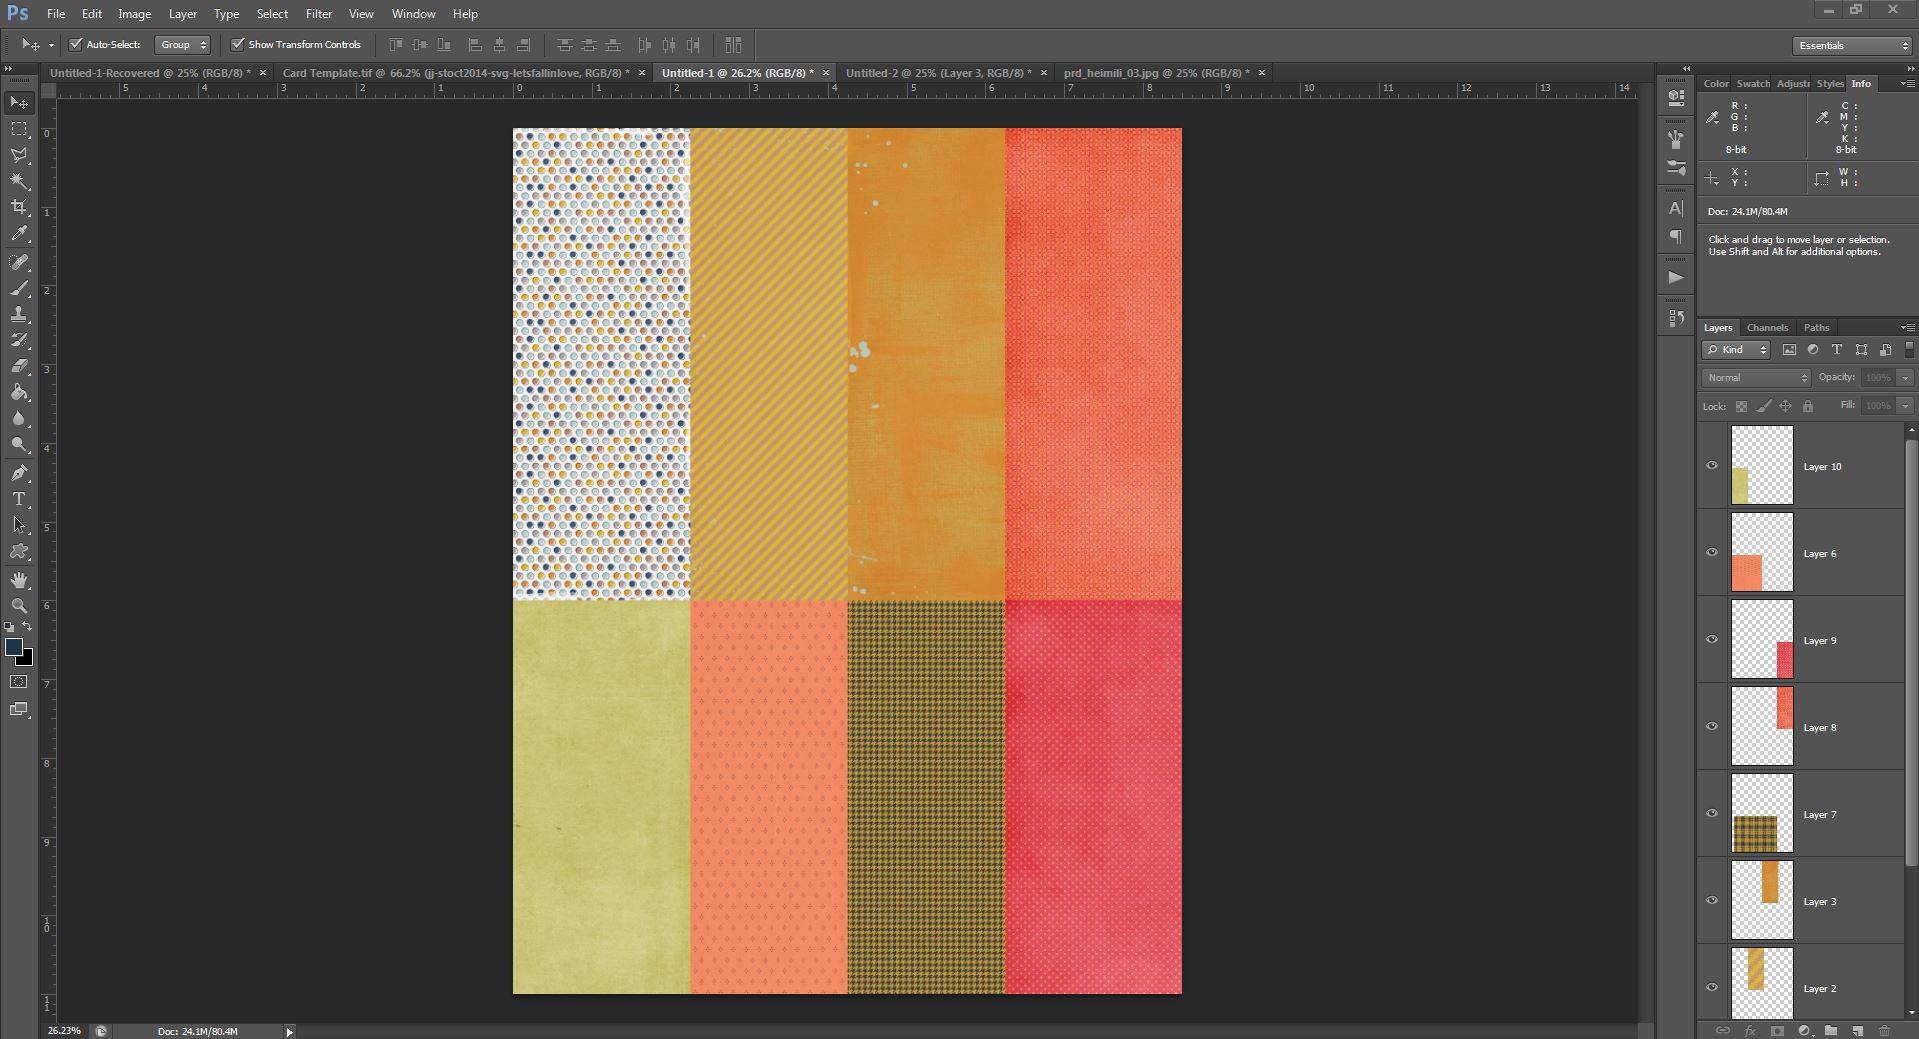
3. Drag and drop your papers on to your blank document. Arrange the papers into four columns. The first and last column should have a width of 2.25″. The second and third column should have a width of 2″. This is what my document looked like after placing the papers.
4. Print your document on Avery clear return address labels (88695 or 5195). These labels are the perfect size for washi pieces! You could use a different size of labels depending on your preference, just make sure your labels are clear. The clear labels are what give you the “faux” look of washi tape. Also, make sure and print on your best ink setting. This guarantees vibrant colored washi. Here is my document coming out of the printer. Pretty isn’t it?

5. Peel your “washi tape” off its backing and use for a project!
For my project, I decided to trim a few of my labels into thinner strips. Almost instantly I had ultra thin washi, which is so hard to find! I also took a craft punch and punched leaves out of my labels before taking off the backing. I have quite a few labels left over to use on other fall projects, but not so many that I’m wondering if I will ever use them all!

I hope you have enjoyed this tutorial! Be on the look out for parts 2 and 3 later on in the month! If you create something with your DYI washi tape be sure and share with us! We love to see your creations in TLP gallery!

BRILLIANT!!!!!!!
I have for the longest time tried to figure out a way I could print washi. It never occurred to me to use address labels! I’m eagerly awaiting your part 2 and 3.
Genius!