How to Make Your Own Stencils
Making stencils is made easy as well as affordable when you follow the steps in today’s tutorial. 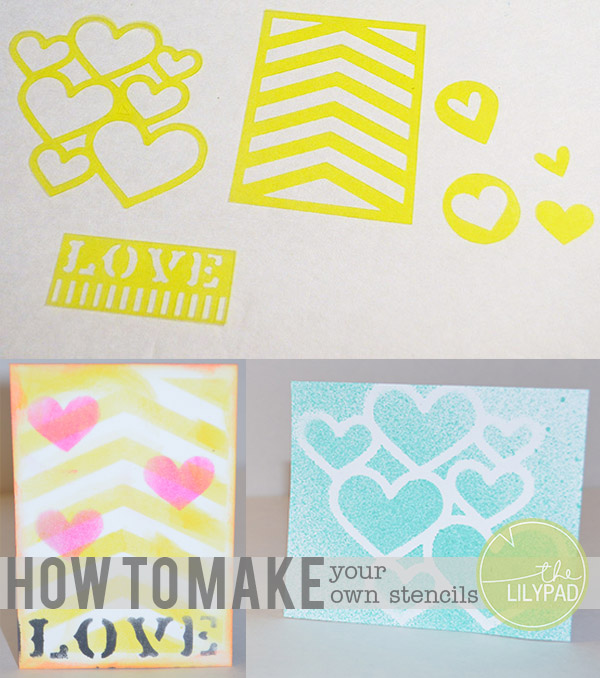 Let’s gather our supplies and get started. Supply List
- Digital images from The Lilypad of course!
- Silhouette Cameo or other digital die cutting machine
- Silhouette Studio Software or other die cutting software
- Stencil material (or plastic dividers from local Dollar Store)
- Card stock
- Various inks and paints
For this tutorial I am using Storyteller February 2014 SVG Cutting Files by Just Jaimee

—————————————————————————————–
1. Open Silhouette Studio Software and edit the new document to “Letter” size. 
2. Drag images onto the blank document and resize the images to fit the cut area. Keep adding images to fill the document.
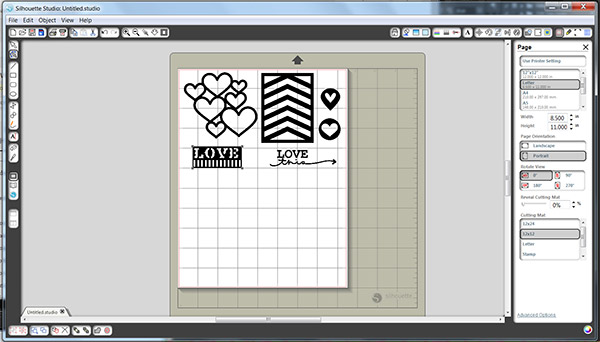 *Tip: Keep images away from the right edge where the holes are cut in the plastic divider.
3. Open the trace window by clicking on the Trace icon. 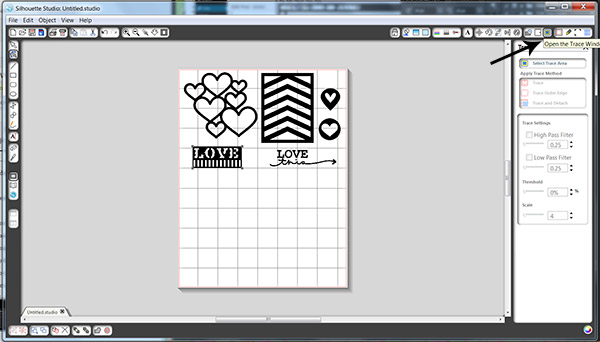
4. Click “Select Trace Area” from the Trace menu. 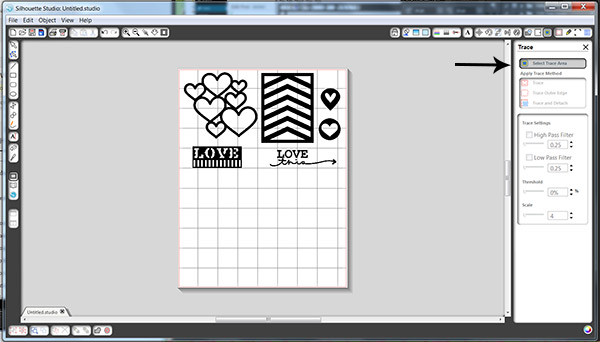
5. Click and drag the mouse over the image to be cut. 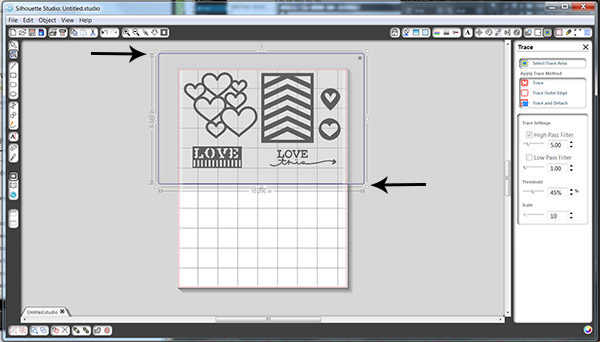
6. Uncheck “High Filter Pass” and bump the threshold up until the selected image is highlighted in yellow. 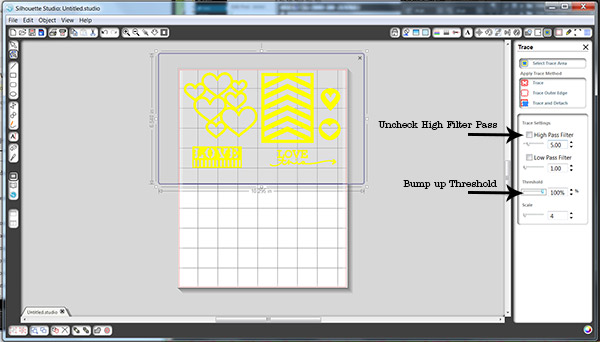
7. From the Trace Method window select the trace option that works for you. I chose “Trace”, to include inside and outside edges. 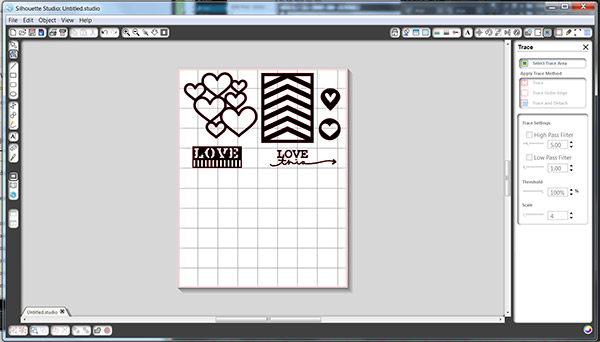
8. Click on the Cut icon and edit the cut options as well as adjusting the blade. 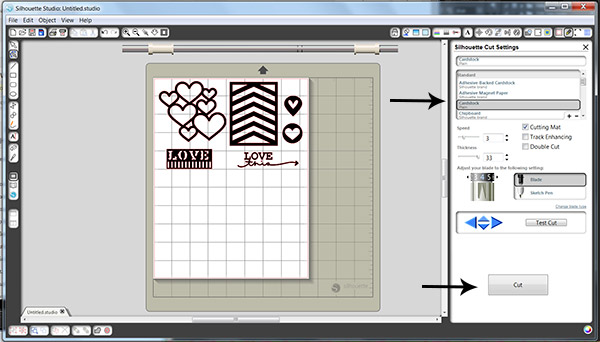
9. Place the stencil material or a plastic divider onto the cut mat with the holes facing the right side of the mat. 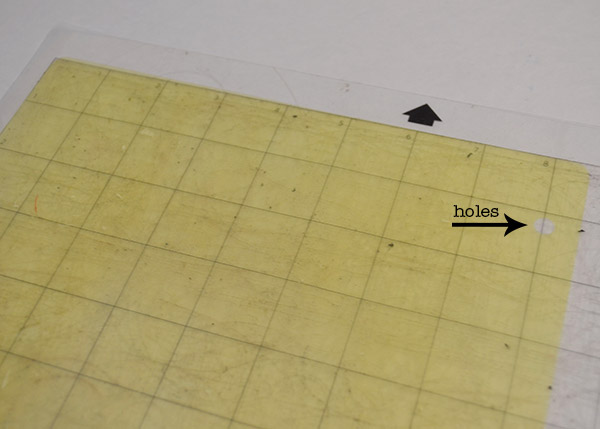
10. Load the mat into the Silhouette die cutting machine.
11. In the Silhouette Studio Software click “Cut”.
12. Once the cut is complete, unload the mat from the Silhouette.
13. Remove the plastic from the mat, weeding the cut pieces from the main part of the stencil. 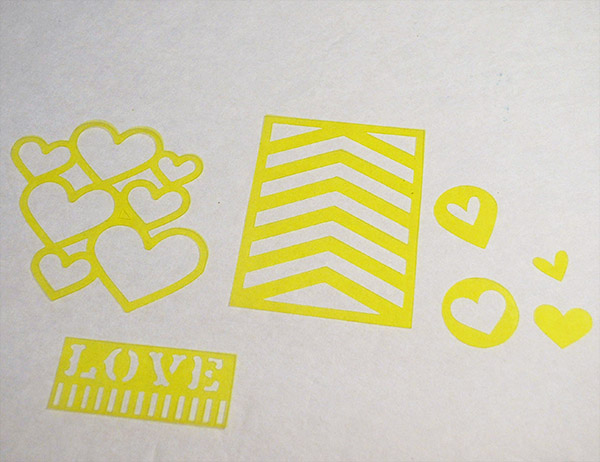
14. The stencil is ready to use. The possibilities are endless!
—————————————————————————————–
Let’s see the stencil in action!
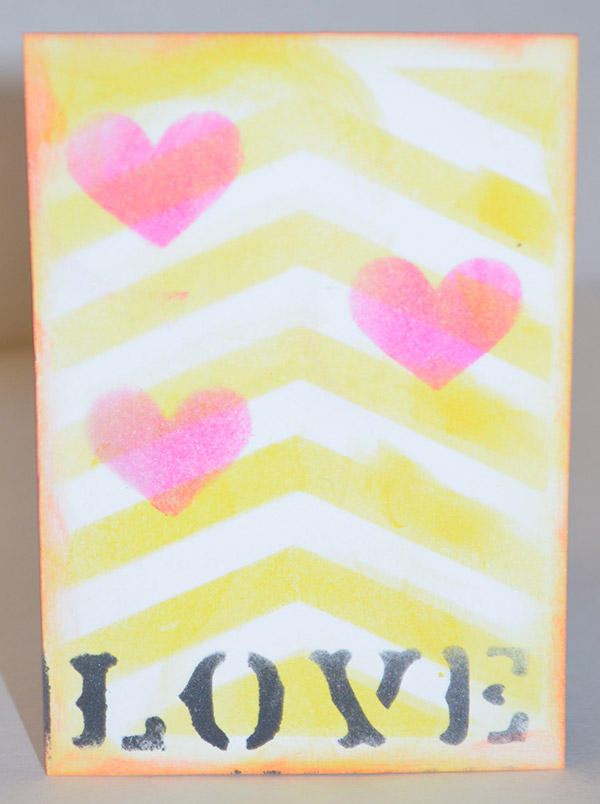
You can place the stencil over cardstock and dry stamp over the stencil with ink. 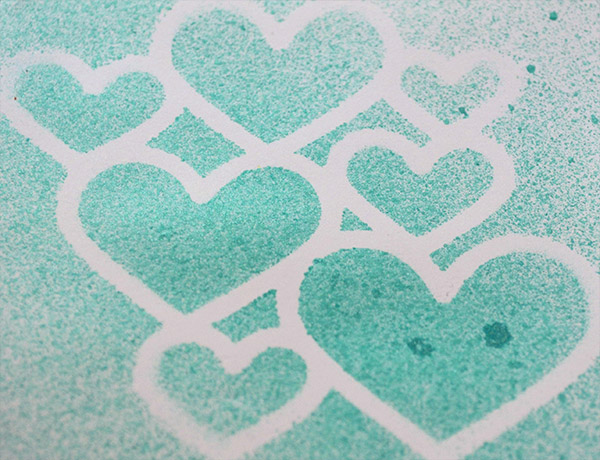
Use masking tape to hold stencils in place and to avoid getting ink in unwanted areas. 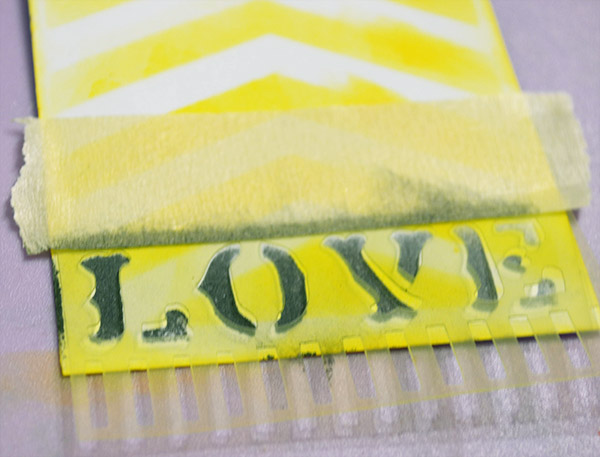 Move a stencil around to create a pattern.
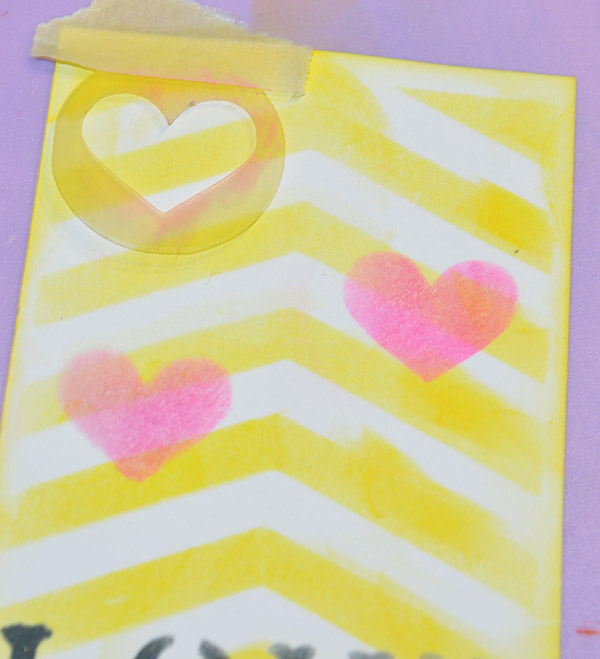
 Spray inks work well with the plastic stencils.
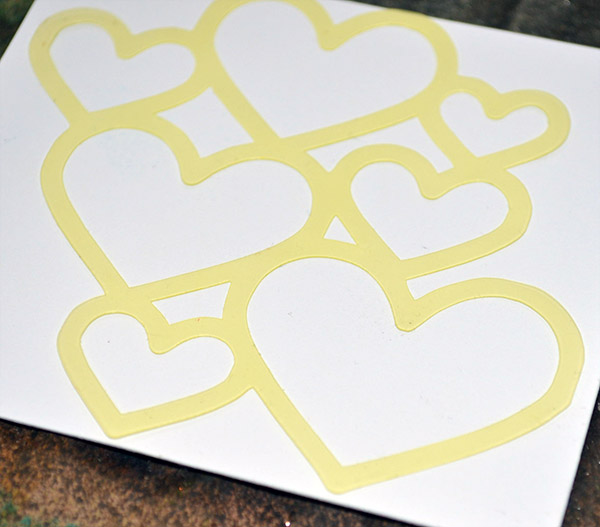
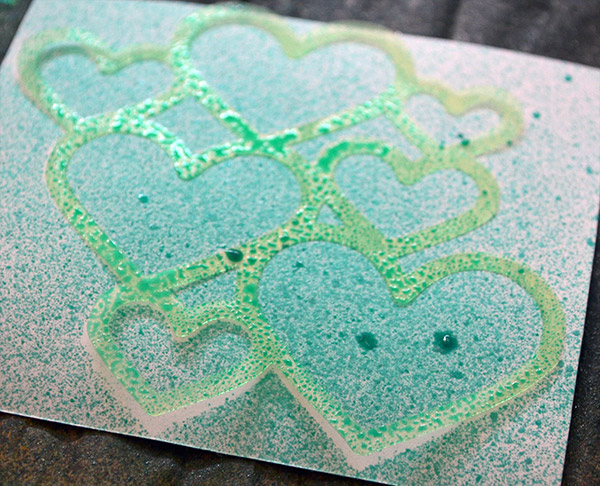
Place another piece of cardstock over the wet stencil to create a secondary “ghost” image. 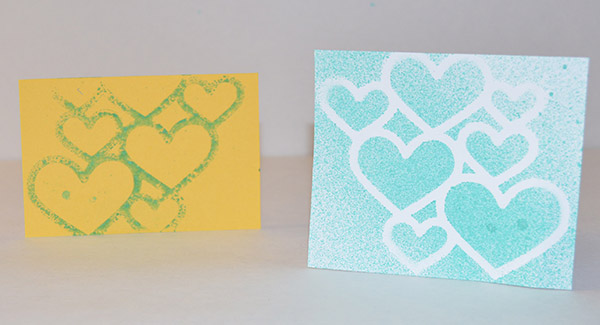
———————————————————————————————–
I am a mixed media fanatic and really enjoy the cut files that are available at The Lilypad. The beauty of this tutorial is that there is versatility beyond actual cut files. For example, let’s have a look at the embellishments in this kit from Jacque Larsen and Jenna Desai. 31 Wicked Way includes some PNG files that work perfectly to create a stencil. 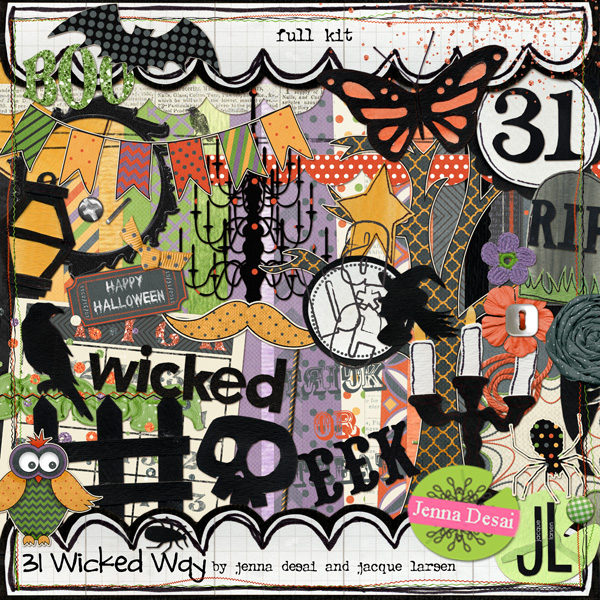 Word art images also make great stencils. These Days by Paislee Press include hand lettered days of the week and can be used for many different types of projects.
 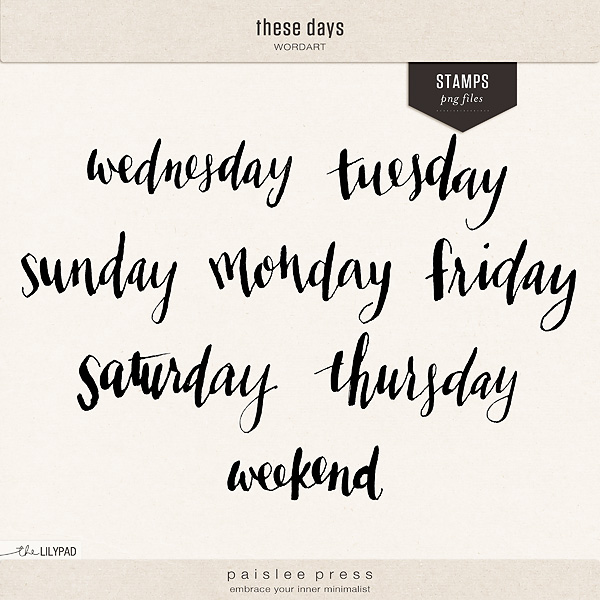 For a more abstract look an alpha sheet does the trick as with this Typo: Folio alpha by Valorie Wibbens.
 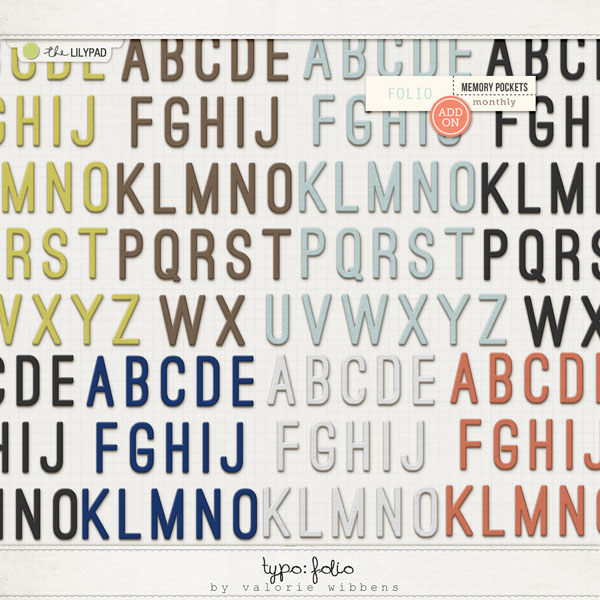 Now it’s your turn to get crafty. Head to the local dollar store and snag a pack of plastic dividers so that you can create your own stencils.
Leave a Reply