Hello and welcome to the December Project Parade! Last months parade (Part 1, Part 2, Part 3) was so much fun!
We are back again this month with a Holiday theme! This month we are thinking ahead to the holiday season and taking some time to reflect on reasons to be thankful. This month you can join on the fun and recreate your own projects, like those seen in the parade. Just visit the December Project Parade category and shop for these products at a 20% discount.
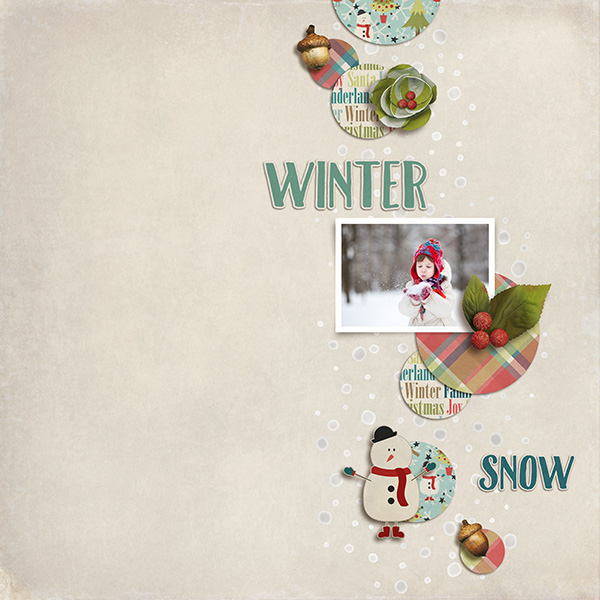
Lets get this parade started! The parade begins with Winter Traditions by Etc. by Danyale.
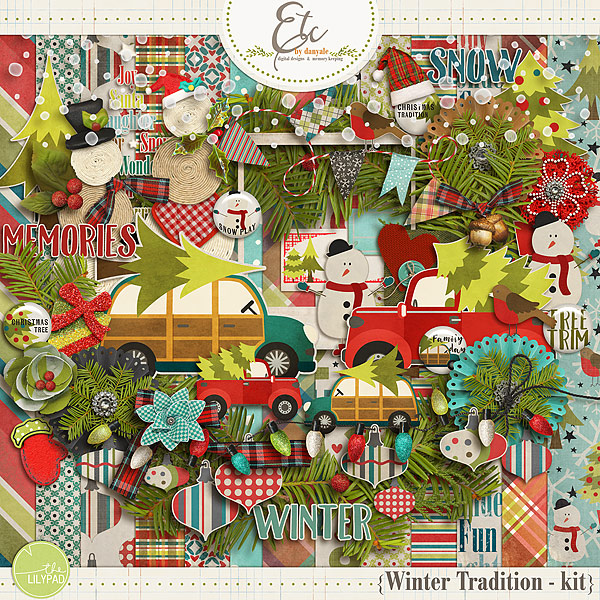
Susanne created a stunning layout using the kit. Her precious layout shows us how to use a minimal amount of elements while still create a statement with them. Also using smaller amounts of a busy patterned paper allowed the photo to still be the focus of the page.
Next up is the fun kit Storyteller December Riley : Christmas Mini Kit by Just Jaimee.

Aaron created this whimsical layout using the kit. He shares this tip,”When I went to use the “Merry Christmas” word art, I found it was too long for the space I had on my layout. So, I rasterized the layer, and then used the selection tool to select the “Merry” part and hit CTRL+SHIFT+J. That put Merry on another layer so that I could move it around to fit the space.”

The parade continues on with Allison Pennington’s Glad Tidings, Etc: Documented Tabs.
")
Trista made this tabbed notebook to stay organized in December. Stay tuned to see more of it in an upcoming blog post. Trista shares, “Having tabs for multiple to do list makes specific things easy to find.”

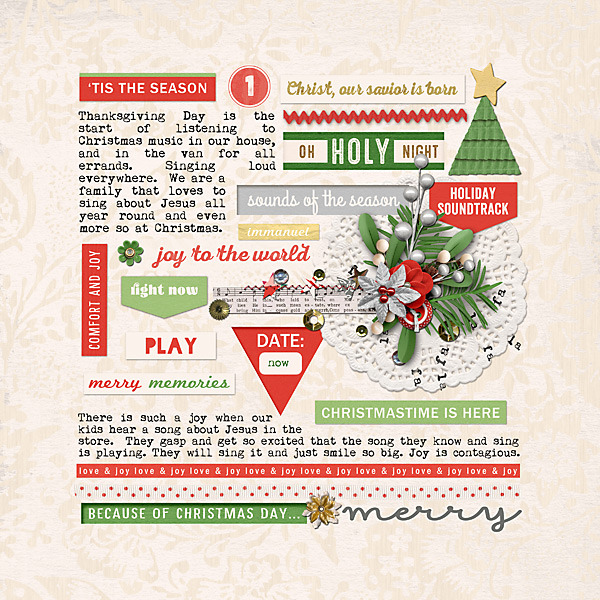
Next on the parade route, Advent {story seeds} by Sara Gleason.

Anne’s creative layout about Christmas music display the perfect use fore these word art snippets. She has taken a favorite memory and documented it without needing a picture for the layout.
JOYFUL PLANNER HOLIDAYS by ForeverJoy Designs is next on the parade.

Susanne took this cheerful planner kit and used it in her own planner. She relates this tip, “The kit was designed for the 8.5×11 format. Using Photoshop I changed the sizing so that it fit into my personal size planner. This was really easy!”

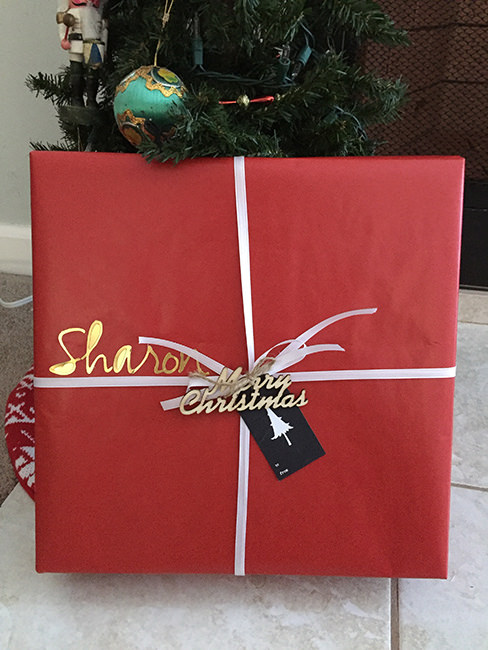
Rolling along the parade we see Tagged For Christmas by Valorie Wibbens.

Amanda got an early start on her holiday wrapping. She used Valorie’s tags to spruce up her package. She explains how simple it is to do this, ” I printed Val’s tags out with my Canon printer and then used plain scissors to cut them out and add to my packages.”
 Up next on the parade we have two exciting products. Feast your eyes on Deck the Halls Papers and Elements by Kim Jensen.


Kristina shows us a cute and educational Christmas project she has made for her children. She tells us, “Christmas projects and activities for my toddlers have been so much fun thus far this season. A new thing, and something I hope we continue. For this activity, I created a mini-layout and printed one version with elements and one without. The one with elements is for my younger toddler – he’ll practice matching up extra cut out elements with the printed ones, and maybe gluing with a glue stick, too. The second one is blank, and that’s for my older toddler to decorate on her own. I printed up one sheet of extra elements between the two of them, and cut around the elements. This can be educational, too, by adding discussions about color or descriptive words (thick or thin, short or tall) to describe the different gifts!”

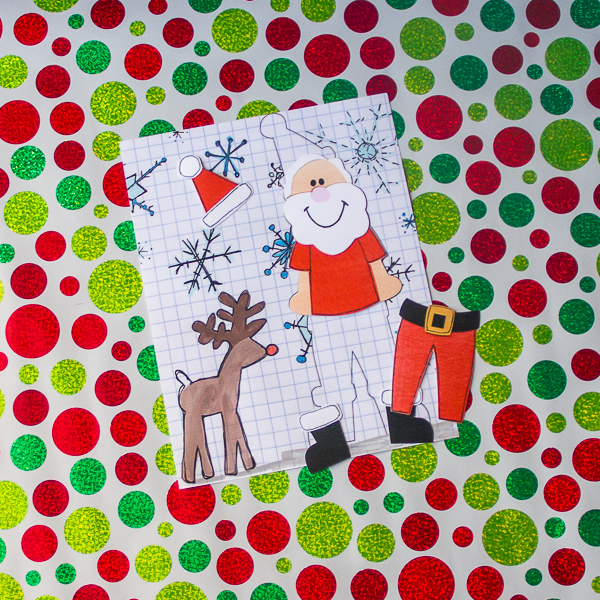
It wouldn’t be a holiday parade without Santa! DYD Santa Dress Ups by Jacque Larsen is up next.

Jewelle created another activity for children. She gives us this tip, “To help young children understand the correct placement of clothing on Santa provide them with an outline of his body on the background. First merge all layers of Santa’s body together. CTRL + Left click on the merged layer. Click on the background layer and create a stroke. Simple as that you have an outline for Santa. Print your Santa pieces on a separate piece of paper, stand back and watch as your children giggle as they help Santa get ready for his big night!”
Our last goodie on today’s parade is Photo Pockets No. 2 by One Little Bird.

Kim turned these into a hybrid pocket for her December Daily album! She relates how, “I knew I wanted to add my holiday card to my December Daily 2015 Album, but since my album is only a 4×6 this year, it was going to be a challenge. I decided to use Photo Pockets No. 2 to create a pocket to slip a mini version of my card into it, along with a photostrip of the boys too. I embellished with a few things and will add some journaling and then Day 3 is finished!”

Thank you for following along with the parade. Stay tuned next week for the rest of the parade!

Thanks for the inspiration: lovely kits and ideas using them. I’m wondering if Susanne’s planner came with the charm holder, and if not, where she got the piece(s) – it’s a nice touch.
Great post Jewelle!!! I love all the projects, and need to go do some more hybrid! !
Vianna…do you mean the holder with the tassel? If yes, it didn’t come with the planner. I bought it together with some “cosmetics”…it was a “freebie” which came with it… If you want to know more you can send me a PM in the forum, my name there is “sucali”.
So many great products!!! Great post Jewelle!