Hi everyone, Sarah here! So excited to share another December album project with you. I started thinking about things that I would like to have in a planner and came up with a few ideas. Color and texture are a must. I want my planner to make me feel happy when I open it. I need multiple sections. I love to keep lists, talk about what happened in my day, and even occasionally plan for something (this is actually the least important aspect of this planner for me, I want it for the day to day tracking more than anything). Then it dawned on me, the biggest reasons that I need a planner are for my to do lists and for recording info for memory keeping. So why not use the same album for both. I’m sure in ten years I’ll love looking back on my daily tasks in addition to the normal day to day activities that I normally record in my scrapbooking.
As I thought more about what I wanted out of my planner I came to another realization. I already had the perfect tools for this planner, lots and lots of digital journal cards. Heavily inspired by Lori’s 30 Days of Grateful album, I created this quick template in my scrapbook software. I set up an 8″x10″ canvas and placed four 3″x4″ rectangles in a quadrant, making sure to leave a half inch border to the left side for binding.
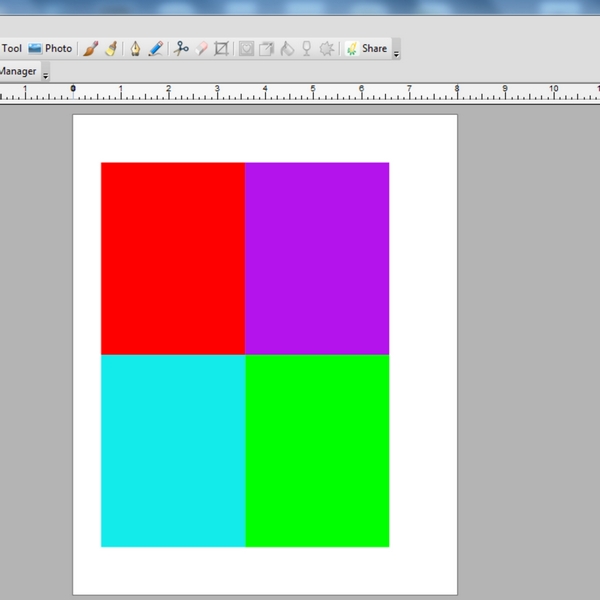
After I had this set up I began creating planner pages. The beauty of having the template set up is that in addition to 3″x4″ journal cards I was also able to clip papers and other sizes of journal cards to the template giving me even more variety.

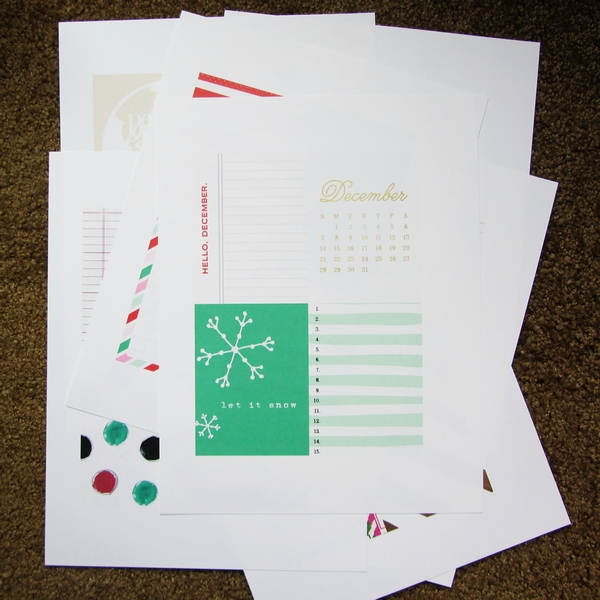
My album was created mostly using the Joy Memory Pockets Monthly and the 2014 Document You December Collection. Using these two collections gave me a wealth of material to choose from. Here are some of the printed pages, ready to be trimmed and bound. For printing I printed on normal quality setting and found it to be satisfactory for a project like this. I began trimming each page on the right side and then the bottom, I then measured 6.5″ from the right side to allow that half inch for binding and 8″ from the bottom to complete each page. I then stamped the date on each page with a simple office date stamp.
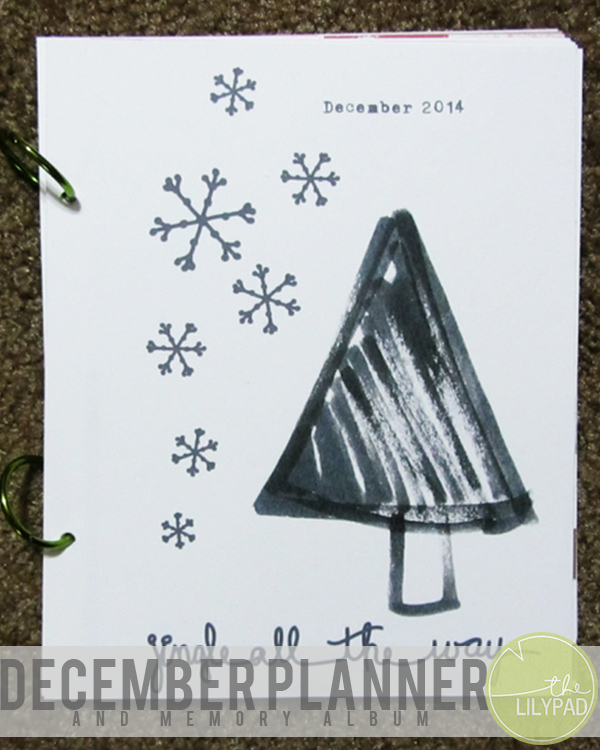
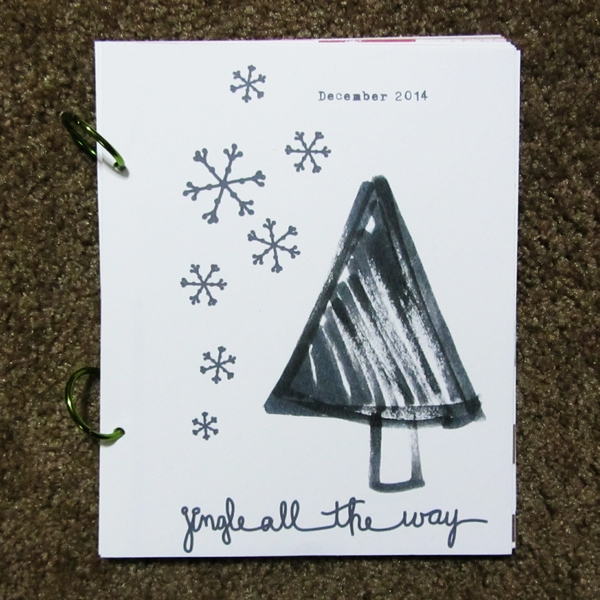
I also created a cover page and cut it to the same 6.5″ x 8″ dimensions. I punched two holes in the binding area (the same distance from the top and bottom of the paper) on each page and bound them with book rings.
Each day I pulled out my planner and at the very least documented what we did that day. The beauty of creating an album this way is the back of each page is blank giving space for photos or other memorabilia to be attached for each day’s pages. For the first day I loved this picture of my daughter with her eggnog latte I knew I wanted it to take up the entire page.

For this page I created a collage of some of the photos I took when we went on a favorite holiday outing of ours. I also used a different stamp set to stamp the date on this page because I wanted such a fun date to stand out.

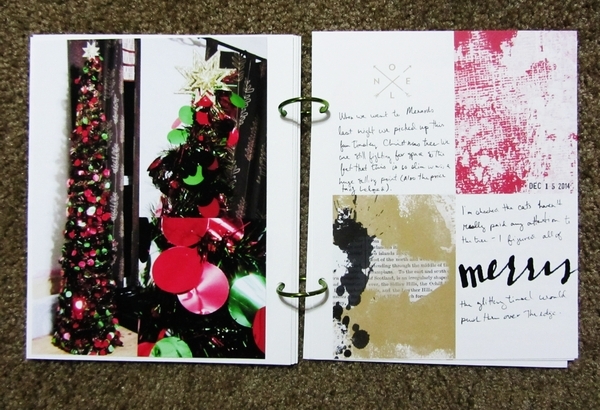
Another collage, this time with some close ups of our very nontraditional Christmas tree.
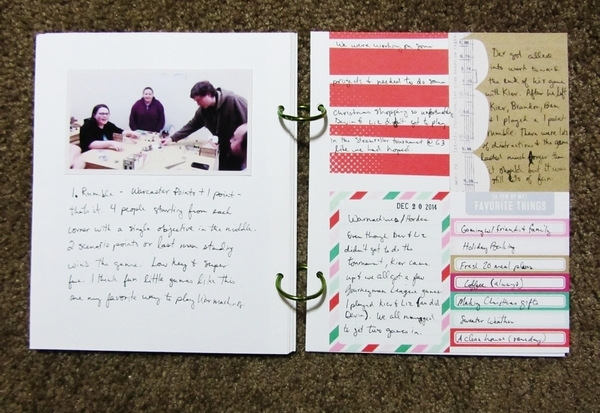
Not every page is Christmas focused. On this day we went to our favorite game store and played some games. I also didn’t think to take any photos so instead of a large photo or photo collage I borrowed a photo from Facebook that a friend of mine posted (with permission of course) and wrote out a little bit about the rules of the game we were playing.
I used December as a test run and have decided that this method will most likely cover the majority of my memory keeping for 2015. Of course, I still have 2012-2014 pocket scrapping as well as my traditional layouts and art journaling to keep me busy, which is why I’m really looking forward to this low key method of memory keeping for the upcoming year.

Waw, love what you created here, it sure is an inspiration!
This is so smart, Sarah! This works well for travel albums as well! I’m going to try this on my next trip.
Now, can someone also tell me how Sarah (PLM) got a photo next to her name ^^^????