Hi friends!
Last night I decorated a reception table for an event and as part of the decorations I used faux polaroid photos. They were such a hit that I thought I would share my process for making them with you today!

I absolutely love the vintage look of polaroids!! They are perfect for scrapbooking, for putting into albums, and even for some fun decorating!
Here’s how I created these faux polaroid photos:

1. In Photoshop, create a 4×6 sized image
2. Place a guideline in the horizontal center (at 3 inches)
3. Create two square layers on either side so that each side of the image resembles a polaroid
4. Clip photos to each of these two squares
5. Print on 4×6 photo paper
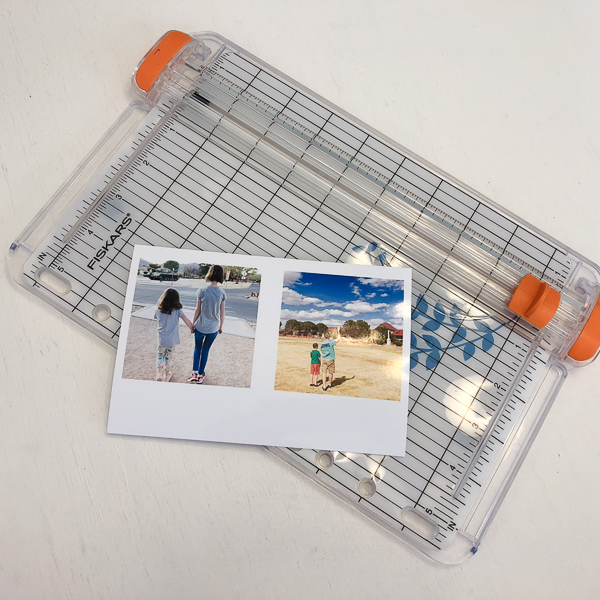
After printing, you can use a paper trimmer to cut at the 3 inch mark, in between the two faux polaroids.
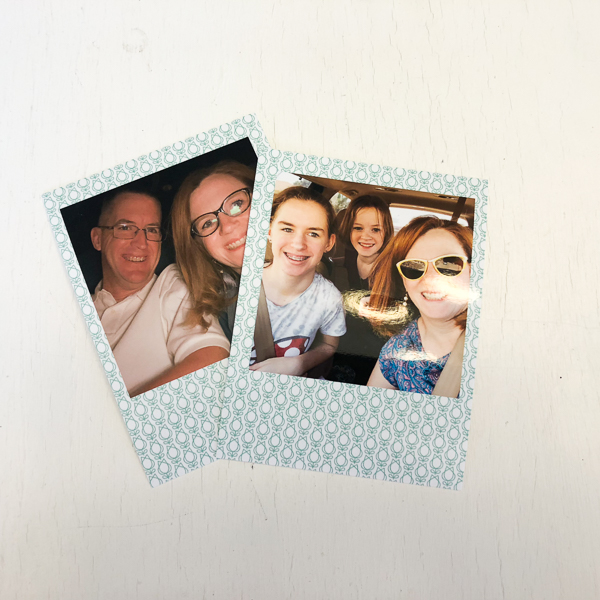
You can also clip fun patterned papers to the background in Photoshop, or whatever editing software you’re using to add some fun to these Polaroids!
I have my polaroids hanging on wire in an open frame in my dining room and I love to change them out from time to time! The uses for these fun prints are really endless!

Leave a Reply